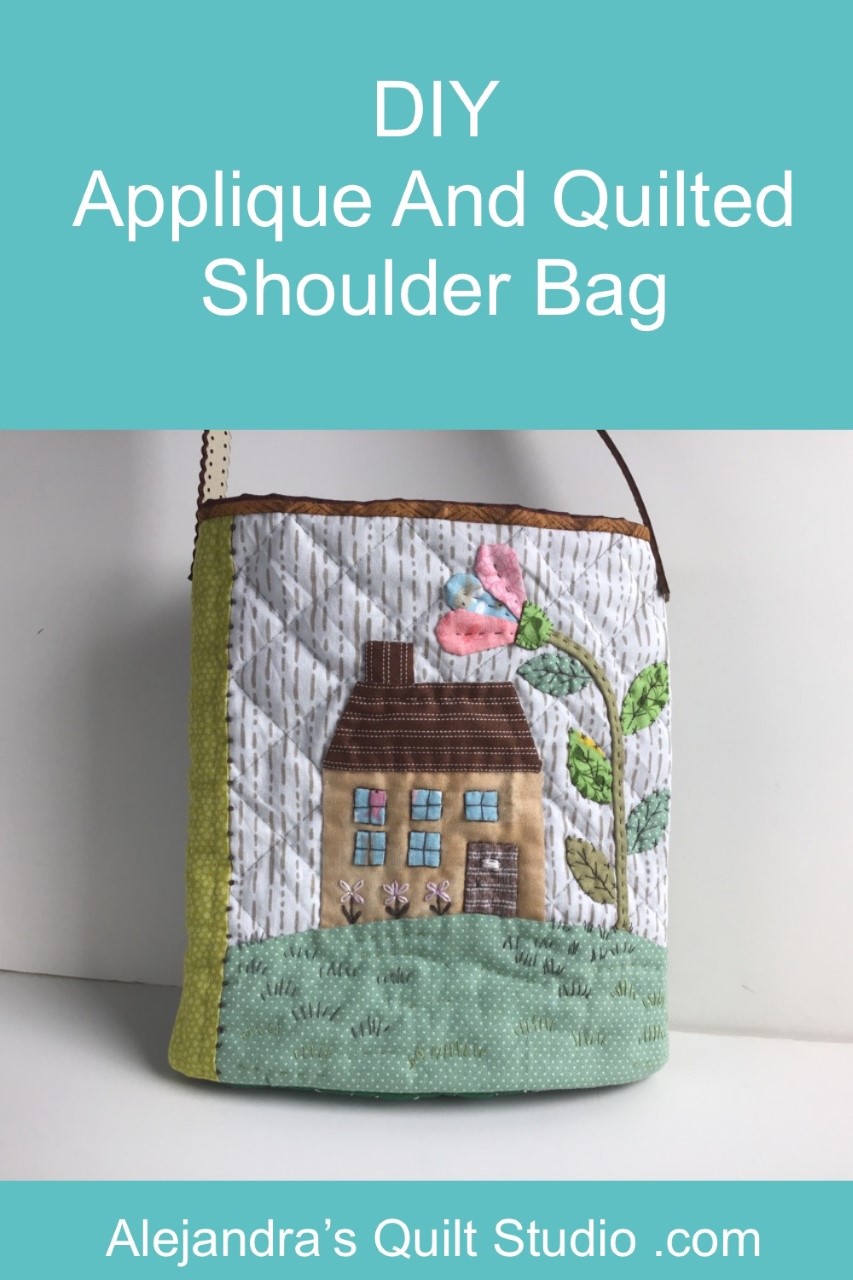
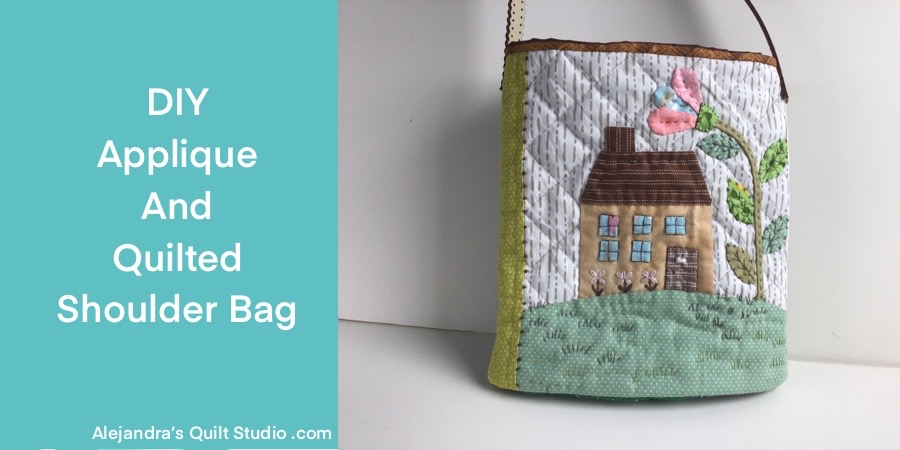
Applique And Quilted shoulder Bag, is an easy step by step tutorial to make a quilted bag with two blocks made with two stitching methods.
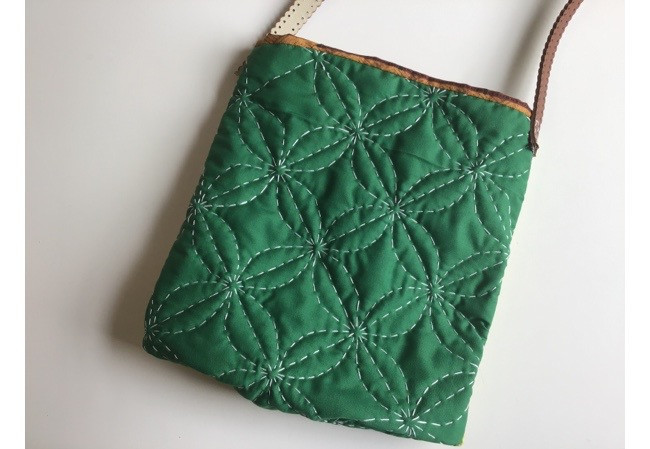
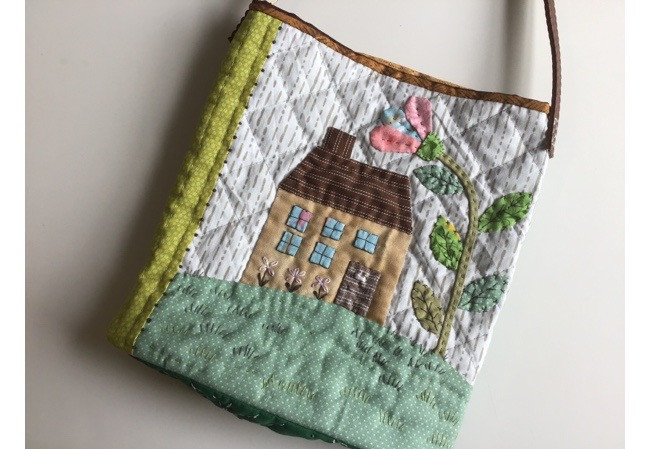
When you love to sew, there are many different ways to make a bag, today I want to share the steps to follow to make a bag with an applique block on the front, and a block on the back made with a quilting inspired by Sashiko.
The applique block I’m using to make the shoulder bag is a tutorial you can find on the blog, How To Make An Applique Block.
If you have any other block you already made, it will look great too. The Applique block is 10 x 10 inches
How To Make An Applique And Quilted Shoulder Bag
1. Sew On The Fabric For The Bag Back Side
You will need 2 pieces of cotton fabric of 11 x 13 inches, and 1 piece of thin batting fabric the same size.
Lay on your work table the piece of batting fabric, lay over it one piece of cotton fabric, pretty side up, lay over it the applique block, pretty side up, and lay over it one piece of cotton fabric, pretty side down.
All the fabric pieces and the applique block should be arranged to be stitched on the bottom side of the applique block, pin all the layers together and sew on your sewing machine, 1/4 inch seam allowance.
Open to one side the two pieces of cotton fabric and the batting fabric, and the applique block should go to the other side, this way the seam will be inside and the batting fabric will be inside the two pieces of cotton fabric.
Related post:
2. How To Do The Sashiko Inspiration Quilting

With the help of a ruler and a pencil for marking fabrics, trace a diagonal line on the cotton fabric, from one top corner, to one bottom corner, then mark a second line 2 1/2 inches from the first line, continue tracing more lines to one side and the other side from the first line.
Do the same to trace diagonal lines on the other way, when all the lines are traced on the fabric, you will have the fabric with squares.
Pinch a few safety pins and do the quilting with long stitches, with three strands of embroidery floss, I did the quilting with white thread, if your fabric is white or any other light color, you can use a thread in other color.
When all the lines are quilted, you will need to draw on a piece of paper the “orange peel” shape, as long as 2 1/2 inches, and width of 1/2 inch.
Place the “orange peel” paper template over each line, and trace the orange peel shape on each square, when you finish tracing all the squares, you can do the quilting,
When all the quilting is finished, with the help of a ruler, trace a straight line on each side, take the quilted block as reference.
The quilted block should be 2 1/2 inches longer than the quilted block.
Do a running stitches on the traced line on the two sides and the top of the quilted block, trim the cotton fabric and the batting fabric.
3. How To Sew On The Shoulder Bag
Lay the piece on your work table, pretty side up, fold the piece in the middle, and match well both ends, pinch a pin on each side.
Lay the folded piece on your work table, with the quilted side up, now you will make a fold in the middle 1 1/4 inch up, pinch a pin on each side to keep the fold while you sew on both sides of the bag on your sewing machine.
At the same time you sew on both sides, add a piece of cotton fabric (1 1/4 inch width) or a bias on each side, when the two sides of the bag are all stitched, open the piece of cotton fabric to the other side, fold it like a bias and sew on to close each fabric piece like a bias.
Turn the bag out.
4. Sew On A Bias On The Bag Opening.
You can cut a piece of fabric 1 1/4 inch width or you can use a bias tape to sew on it all around the bag opening. You can close the bias by hand or with your sewing machine.
5. Stitch On The Bag Strap
This time I got a strap for the bag, but you can do a strap for your bag with fabric too, and when it’s done, all you need to do is to stitch it on the bag.
The Applique And Quilted Shoulder Bag is done and it looks amazing!

Thanks so much for reading my blog today!

Video Tutorial:
