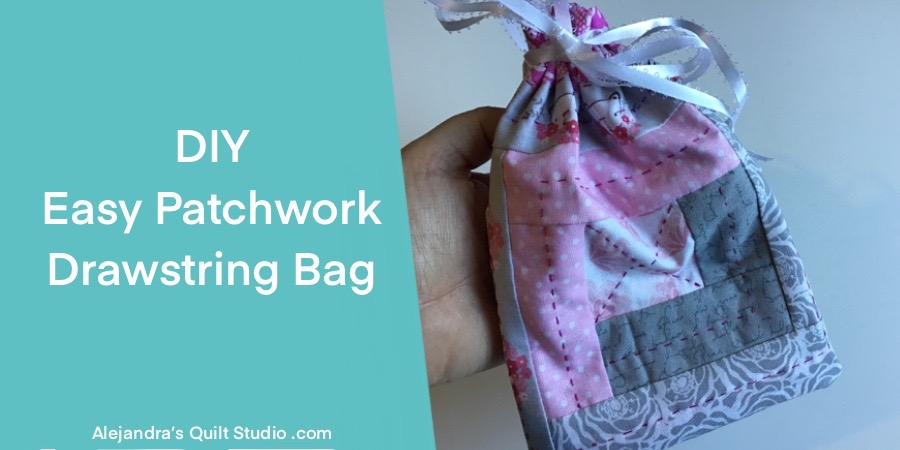
Easy Patchwork Drawstring Bag made with two Log Cabin blocks and it can be used as a gift bag, or to carry your makeup in it.
As people around the world are looking for a way to stop using any one time items, paper or plastic bags to give a gift to a family member or a friend, are not the best idea to use, making a cute patchwork drawstring bag is easy to make and you can be sure it can be used over and over again.
When you love to sew and make your own quilts, you might love the idea to start making some easy to make fabric bags to be used as a gift bags, as they can be used over and over again, after the receiver gets his or her gift in it, and when they see how cute is the bag, they will use it to keep or carry something in it all the time.
Easy Patchwork Drawstring Bag
On this tutorial, I’ll be sharing the easy steps to make a small Patchwork Drawstring Bag, the steps on this tutorial are the same to follow, if you want to make a bigger bag, all you need to do is to make the Patchwork blocks bigger, and cut the strip of fabric to stitch together these two patchwork blocks together and the piece of fabric for the inside, to the size of the blocks you’re working with.
1. Let’s Make The Two Patchwork Blocks

To make the two Patchwork blocks, you will need:
Log Cabin Block:
- 1 piece of fabric of 2 1/2 x 2 1/2 inches
- Strips of fabric of 1 3/4 inches width
Patchwork Block, this block is made of a piece of fabric for the center 4 1/2 x 4 1/2 inches, and four strips of fabric that are leftover from the Log Cabin block, just stitch on a strip of fabric on each side of the piece of fabric used for the center, and cut each strip of fabric after to finish sewing it on.
Press both blocks.
2. Sew On The Top
Cut a piece of fabric of 6 1/2 x 1 3/4 inches
Sew on both patchwork blocks to the strip of the fabric.
3. Let’s Make The Quilting Piece

Cut one piece of fabric of 20 x 6 1/2 inches.
Lay this piece of fabric on your work table, pretty side up, and lay over it the patchwork top, pretty side down, you will notice that the piece of fabric is the same width as the patchwork top, but it’s longer, this is because it will make the piece for the strings canals on the bag.
Sew on the patchwork top to both ends on the piece of fabric for the inside.

Open the seams and lay the piece on your work table, be sure both ends have the same length on the fabric for the inside, pinch a few pins and sew on both sides of the piece, but you need to leave a gap open for the strings canals 1/2 inch from the edge on both sides on both ends, and also leave a gap open on one side of the piece to turn out the piece, reinforce the stitching at every beginning and at every end of the stitching.
Turn the piece out and press the seams, pinch a few safety pins, and the piece is ready to be quilted.
As you noticed, I’m not using any batting fabric, as this bag will be light and it can be quilted as a Summer Quilt.

You can do the quilting by hand or with your sewing machine.
On this piece I did the quilting by hand, with one strand of embroidery floss and with big stitches, as I want the quilting to be part of the design on this bag.
4. How To Sew On The Easy Patchwork Drawstring Bag

Lay the quilted piece on your work table, pretty side up, fold the piece in the middle and pinch one pin on the top of the bag on each side.
On the bottom, you will need to make a fold up of 1/2 inch on both sides, pin each side.
Sew on both sides, leave open the channels for the strings on both sides, you will need to sew on the top, short stitching, and reinforce this short stitching, then sew on both sides of the bag. Reinforce each stitching.
Turn the bag out, and push out the channels for the strings with your fingers.
5. Place the Cords in the Channels
With the help of a safety pin, you can place the two strings or cotton cords on the channels, one string should be placed from one side, and the other string should be placed from the other side.
When both strings are placed on the channels, match both ends of each string and make a knot, trim the string with a pair of scissors.
The Easy Patchwork Drawstring Bag is done and is ready to be used as a fabric gift bag.
I’m sure when you see how easy is to make it, and how cute it looks, you’ll be making more of these bags, to use them as a fabric gift bag made by you.
Related Articles:
Thanks so much for reading my blog!

Video Tutorial: