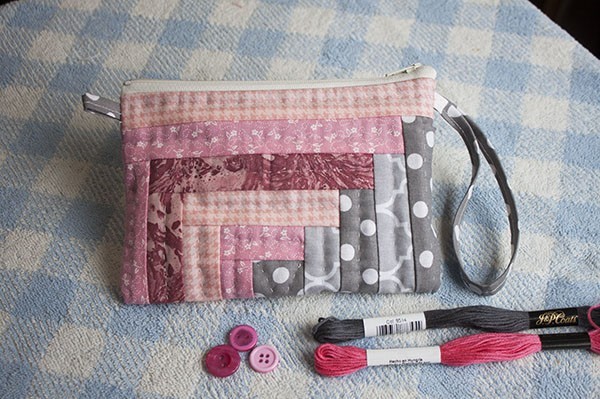
Sewing a Patchwork Pouch is a great way to show off many fabric prints when you make an Easy Patchwork Pouch with the log cabin pattern.
A patchwork pouch is always great because the layers of batting or base fabric give them structure, you can also make them without the batting and just make the top, and the fabric for the inside and it will be also perfect.
To learn how to make an easy patchwork pouch is such fun and you can finish it in just a couple of hours!
This cute quilted pouch is perfect to help you to get more organized and carry everything you need in your purse or bag.
I’m sure you have a few strips of fabric that you are keeping them to make something unique, and this quilted pouch is a perfect project to use them to make it.
You will need to make this patchwork pouch:
1 batting fabric 10 x 20″
a few strips of fabric of 1 1/4″ wide
1 piece of 2 x 1 1/2″ for the center.
1 zipper 8″
Thread, scissors, needle and safety pins. (you can check on Amazon what kind of scissors I use)
Tutorial.
You can watch the video to make this patchwork pouch, it is in Spanish (sorry about it, I need to work on my confidence when I speak in English to make one video for you, working on it )
1. Place the piece of fabric for the center on the batting fabric on the center, and place your first strip of fabric to work to sew a log cabin piece using the technique of Quilt as you go.
2. You can make the block of log cabin by adding one piece of fabric to make a log cabin. You need to keep adding strips of fabric until you get to strip number 16.
3. Add one strip of fabric more on the top and on the bottom of the block.

4. Place the fabric for the inside under the batting fabric and do some quilting on the block.
I did it by hand but if you want to do machine quilting it will also look great.
5. Trim the batting fabric and the fabric for the inside on the top and the bottom of the block.

6. Sew the zipper on the bottom and on the top. You can also make a zigzag stitches on both, top and bottom.
7. Trim the fabric on both sides only on half of the pouch.
8. Sew a bias with one of the strips of fabric that you still have. Cut 2″ of it for one of the handles and cut a 10″ of it for the other handle.
9. Fold in half the two handles and place them on each side of the pouch, run a few stitches to hold them on their place.
10. Fold the fabric for the inside as it was a bias on each side and sew. By doing this your work will have perfect finish.
11. Make some finishing stitches on both sides of the zipper to hold the fabric on its place and do some stitches on both ends of the zipper.
12. Turn out your pouch, it’s finished.
This is an easy and fun way to make a patchwork fun, it will look nice always and it’s perfect to help you to get organized or to give it as a little present to your best friend.
Don’t forget you can follow me at Pinterest, Facebook, Instagram and now also on YouTube where I’ll be sharing more videos to share with all you how I work with the beautiful technique of Patchwork and quilting.
Puedes leer esta misma entrada para hacer la bolsa cosmetiquera en espanol en mi blog de Ale Cose y Cose.com
If you have any question, please leave a comment below and I will replay to you.
If you make this patchwork pouch I would love to see it, you can share a photo on my Facebook page on a comment to give you a like or a heart on your work!
You can also read:
How to make a baby quilt – part 3
How to make a baby quilt – part 2
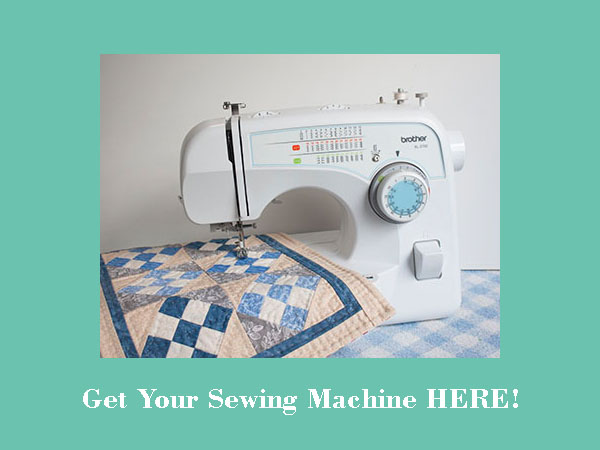
I hope I’ve inspire you to make this cute patchwork pouch and do some quilting too, in case you’re looking for a small sewing machine to start quilting, you can see which sewing machine I have at home, just click on the photo.
If you like this patchwork pouch and you think you’ll make it later you can Pin it so you can find it later.
