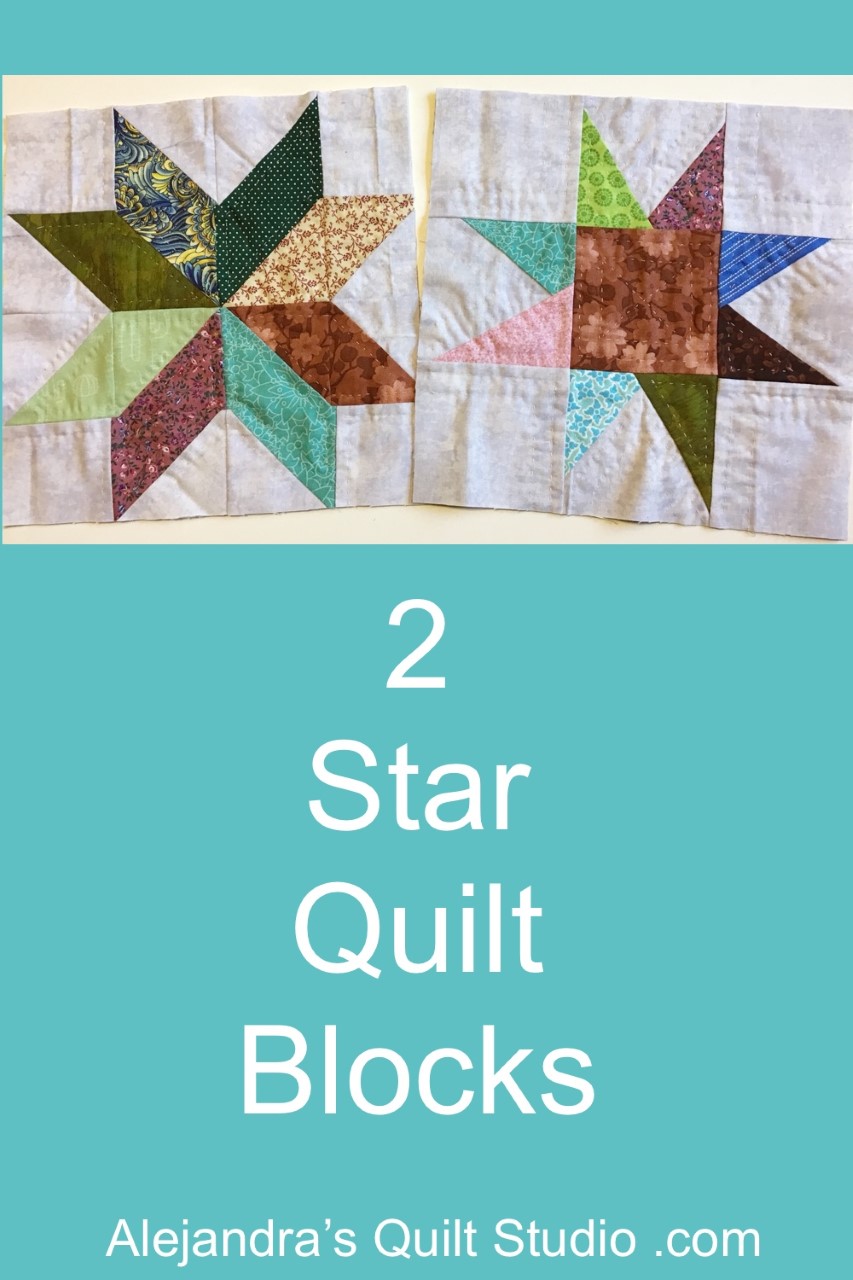
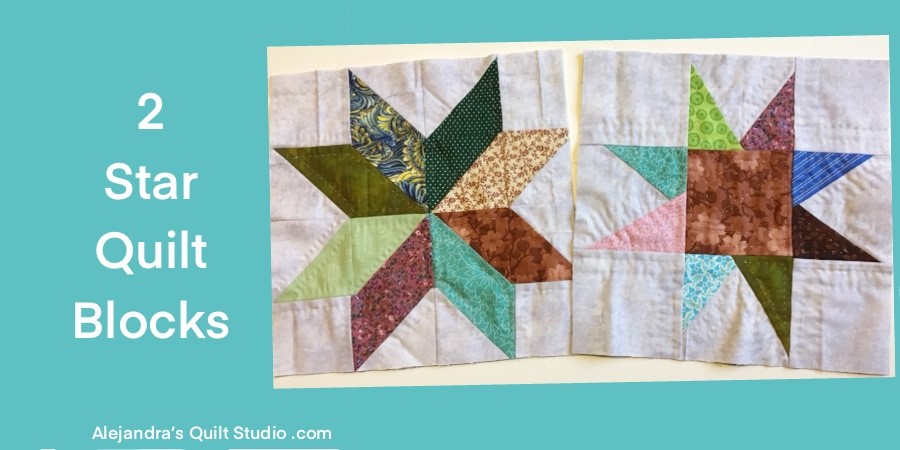
Star Quilt Blocks 10 x 10 inches, to make for the Sampler Quilt 2021, two easy patchwork tutorials you will love to make!
Quilts made with patchwork star blocks are always pretty and it can be made by hand or stitching on your sewing machine.
On this post I will share the easy steps to follow to make two of the most liked Star Quilt Blocks, the Maverick Star and the 8 Points Star.
2 Easy Star Quilt Blocks
Maverick Star
1 – Cut All Your Fabrics
You will need:
- 1 square of fabric of 4 x 4 inches, in the color of your preference.
- 8 squares of fabric of 4 x 4 inches, in the color you choose for the background
- Scraps of fabric, any color and any print

2 – Stitch On The 4 Squares With The Points For The Maverick Star
Take one square for the background and fold it in the middle and with your finger nails, press to mark the middle point.
Take one piece of scrap, any color and any size, and lay it over the square for the background, where one point will go, once you see the scrap of fabric covers the area on the square you want to cover to make one point of the star, flip it and stitch on the 1/4 inch for the seam.
Open the fabric and press it, turn the piece to the back, and you will see the extra fabric on the scrap, trim the scrap to the size of the square of fabric., this square will help you to follow both sides to trim the each scrap of fabric.
You got the first point of the star done.
Pick another scrap of fabric, and lay it on the square where the second point of the star should go, flip it and stitch on the 1/4 inch seam, flip it again and press it with your fingers.
Flip the square and trim the scrap with your scissors or with the rotary cutter and the ruler to the shape of the square of fabric for the background.
Follow the same steps to make 4 squares with two star points each one.
As you keep working to make the 8 points on the Maverick Star, you can play with the points and make them shorter or bigger, anyway will be OK and the star will look great once is finished.

3 – Layout the Maverick Star On Your Work Table
Once you finished sewing all the 8 points of the Maverick Star on 4 squares, lay all the pieces to make this star on your work table, follow the layout on the image

4 – Stitch On The Rows To Make The Maverick Star
Stitch on the three pieces to make each one of the three rows, press

5 – How To Make The Maverick Star
Stitch on one row to the other until you finish stitching the three rows that make the Maverick star, press.
Below, you can take a look how this patchwork star looks like and how to make the quilting sandwich.
8 Point Star, Step by Step Tutorial
This 8 Point Star is made of half squares triangles
1 – Cut All Your Fabrics
- 4 squares of 3 1/4 3 1/4 inch of any fabric for the background
- 8 triangles of 3 1/2 x 3 1/2 inch from the fabric for the background
- 2 triangles of 3 1/2 x 3 1/2 inch from each one of the 8 fabrics.
- 1 piece of fabric for the back of 11 x 11 inches
- 1 piece of the batting fabric of 11 x 11 inches (optional)
Once you cut all your pieces of fabric to make this patchwork star, lay all the pieces following the layout on the image below on your work table.

2 – How To Sew The Triangles To Make Squares
Take two triangles at a time to pair the two of them to make a square, pretty side to pretty side and pinch a pin, do the same with each pair of triangles to make a square.
Stitch on the 1/4 inch on each pair, open and press each square, lay all the squares on your work table, the 8 point star should look like the image below.
To help you to keep the order of all the pieces to make this patchwork star, you can stick a piece of painter’s tape and write down the number of each row.

3 – Sew On The Four Rows To Make The 8 Point Star
On this step, you will need to work row by row.
Pinch all the four pieces on each row with pins, once you have the four rows pinched with pins, you can take the four rows to your sewing machine, and stitch on the 1/4 inch seam, remove the pins as you stitch on each piece, open the rows and lay the four rows on your work table.
The four rows should look like the image below.

4 – Sew the Four Rows To Make The 8 Point Star
Flip row #1 over row #2, nest the seams and pinch enough pins, stitch on the
How To Prepare The Quilting Sandwich for the 2 Star Quilt Blocks
Lay on your work table the two pieces for the back, pretty side down, and lay over them the two star blocks, pretty side up, in case you’re making the Sample Quilt 2021 with batting fabric, put it in between the two layers of the quilting sandwich.
Pinch enough safety pins (4 to 9 pins) to hold the two (three) layers of fabric.

How To Quilt The 2 Star Quilt Blocks
Work on the quilting on these two blocks, the same way you have done the quilting on the previous block tutorials to make the Sampler Quilt 2021, by hand or with Free Motion Quilting.
How To Finish The 2 Star Quilt Blocks
Once you finish the quilting on these two blocks, you can trim the four edges on each block, so it measures 10 x 10 inches, with the help of the rotary cutter, the patchwork ruler and the cutting mat, or with the help of a pair of scissors.
Congratulations, the 2 Star Quilt Blocks are finished, and they look awesome!
Thanks so much for your interest to make the Sampler Quilt 2021 along with me, today we finished block #10 and #11!
Don’t forget to follow me on my Social Media!
- Facebook – Alejandra’s Quilt Studio
- Instagram – alebalanzario.patchwork
Puedes leer este mismo tutorial patchwork para hacer los 2 Bloques Estrellas Patchwork en español, aqui!
Thanks so much for sharing my blog on your Social Media!

Sampler Quilt 2021 Tutorial
- Simple Suares Quilt Patterns – Trip Around The World and The Postage Stamps 10 x 10 inch
Watch the video tutorial here:
