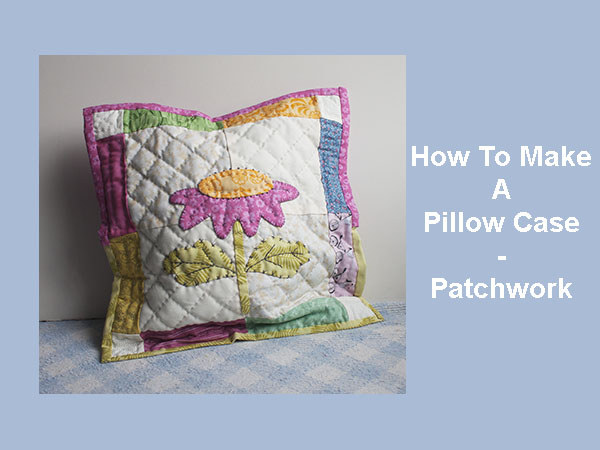
How to Make a Patchwork Pillow is a tutorial easy to follow to make a cute small pillow for the ABC quilt or a case to put in the pajama.
I made a while ago the tutorial to make the ABC quilt, in that time I didn’t have my YouTube channel and I didn’t make a video to share with you the steps I follow to make it.
Today, I’m sharing a video where you can see me making a ABC block with all the steps, from sewing the 4 white and beige squares, making the applique, the embroidery, the quilting and as a final step I make a pillow case or a case where to keep the pajama during the day.
This pillow case will keep the pajama in one place at the same time the bed will look pretty with it and the ABC pillow.
Materials To Make A Patchwork Pillow
2 pieces of cotton 100 % fabric in white or beige of 5 x 5″
2 pieces of cotton 100 % fabric in white or beige with small prints of 5 x 5″
8 pieces of cotton 100 % fabric in different color and prints of 2 x 5 ”
4 pieces of cotton 100 % fabric in white with or without prints on it of 2 x 2 ”
A few pieces of cotton 100 % fabric of different color and prints to make the applique.
1 piece of thin batting fabric of 15 x 15″
1 piece of cotton 100 % fabric for the inside of the case (pillow) any color or print of 15 x 15″
1 piece of cotton 100 % fabric for the back of the case (pillow) any color or print of 15 x 8 1/2″
1 piece of cotton 100 % fabric for the back of the case (pillow) any color or print of 15 x 9″
Patchwork ruler
Rotary cutter
Cutting mat
Scissors
Pins
Safety pins
Polyester 100 % thread
Cotton DMC embroidery floss in gray
Embroidery hoop
1 zipper or 2 snap fasteners medium size
Download the free pattern to make two blocks for the ABC quilt with two cute birds, just click on the blue button.
Video
Tutorial To Make A Patchwork Pillow
Step 1
Cut all the different pieces of fabric you will need to make the patchwork pillow.
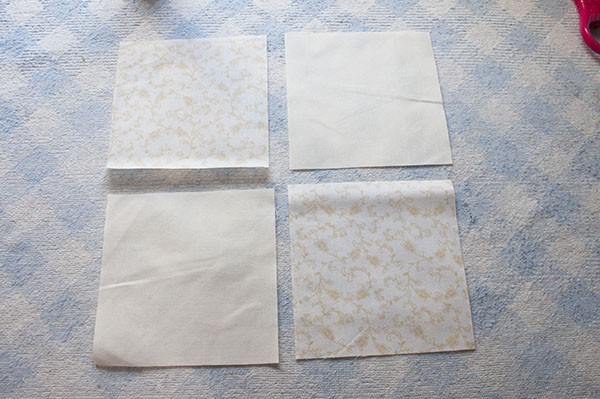
As the first step you can lay the four squares of fabric of 5 x 5″ this way and sew in pairs to make two strips.
This time, as this is a small project to make, I’ll be sewing everything by hand, at home you can make the different steps with your sewing machine.
In case, you don’t have a sewing machine, you can also make full projects sewing by hand with excellent results.
Step 2
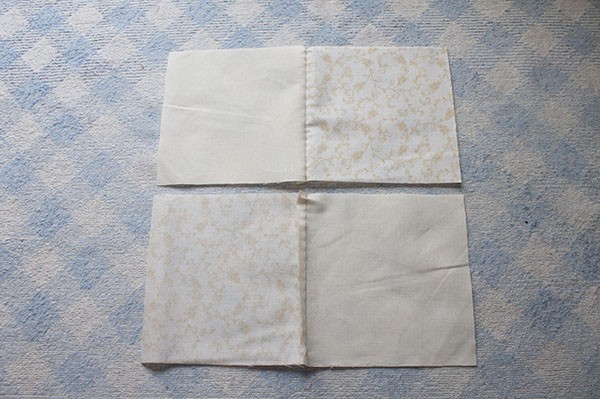
On this photo you can take a look to how the two strips look like, iron.
Lay one strip over the second strip and sew both together, don’t forget to make 1/4″ seams.
Open and iron.
Step 3
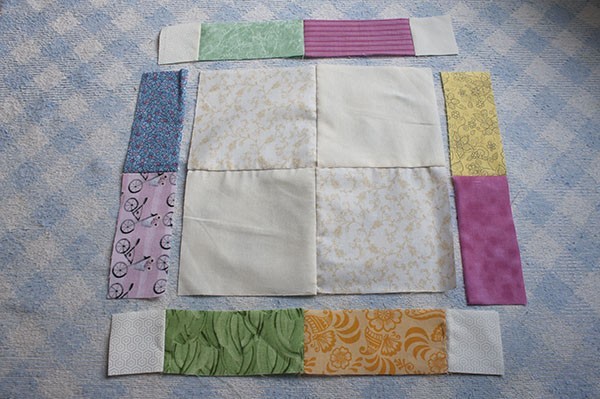
On this step, you need to sew the 8 strips of fabric to make 4 pairs.
Sew two white squares of 2 x 2″ on each end on two of the strips you made before.
You’ll have then two strips with two strips of different color and two strips with two strips and 2 squares each one.
You can display the four pieces this way.
Step 4
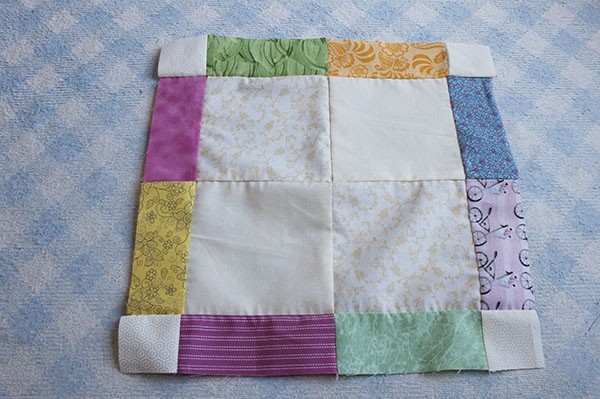
On this step you need to sew the two pieces with two strips to each side of the first block you made with the four 5 x 5″ squares. Open and press.
You can sew the two pieces with the two pieces of different color and the two white squares now, sew one on the top and one on the bottom, open and press.
This is the block to make the pillow case, now it’s time to do the applique.
Step 5
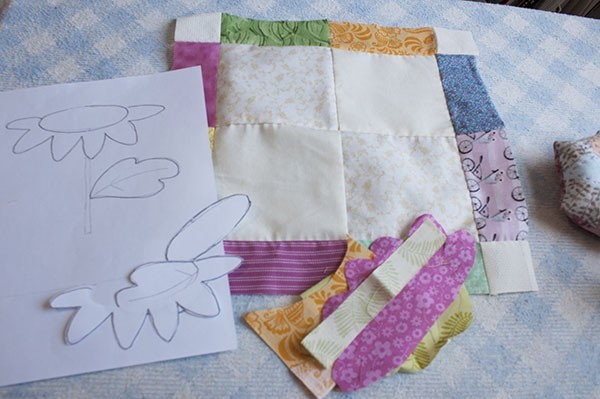
You can download the free pattern for the applique for the ABC Quilt and make two copies of it, one will be to cut out the different templates and one is for you to keep it, just in case, you can to make more blocks with the same templates.
The templates have no seams. This will help you to trace each template on the fabric and it will help you to do the applique for each piece on the block.
Lay each template on the fabric and trace around it with the help of a pencil or a marker for fabric, cut out the piece and don’t forget to add the 1/4″ for the allowance.
Make little cuts on the allowance of each piece with the help of your scissors, place each template under the fabric of each piece and fold the allowance to mark the shape of each template.
The free pattern to make this flower applique, you can download it here
Step 6
Display all the pieces on the block and pinch a few pins, you can also make some medium size running stitches as I do to keep each piece on its place while you work on the applique.
You can do the applique now.

Step 7
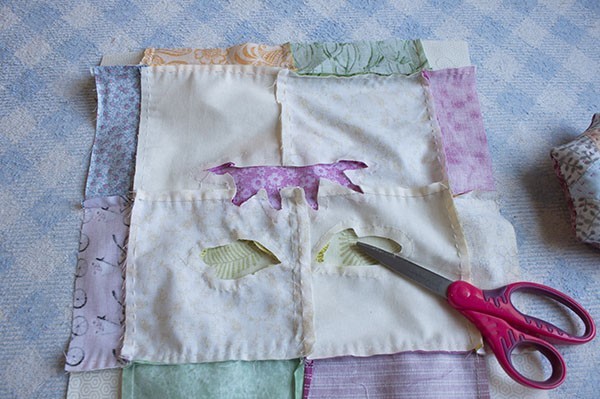
As you work on the applique, you can trip out the fabric of the block with the help of a pair of sharp scissors, this way when you work on the quilting, it will be easier for you to work on it.
Step 8
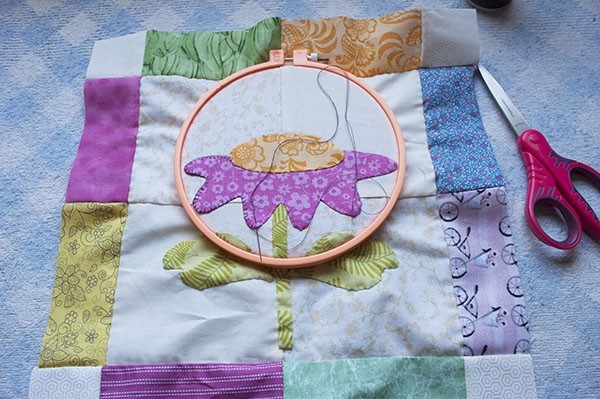
The block is ready to work on the embroidery, place the block on the embroidery hoop and do the button hole stitch on the flower.
Step 9
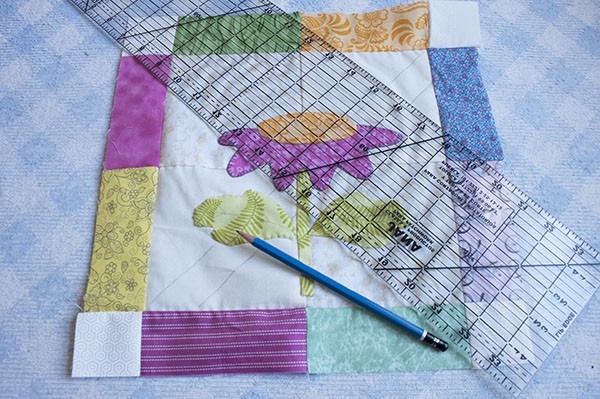
Take out the block from the embroidery hoop and trace with the help of the patchwork ruler and the pencil for fabric the lines to do the quilting.
The quilting lines were made of 1 inch, in diagonal, one way and the other way.
Step 10
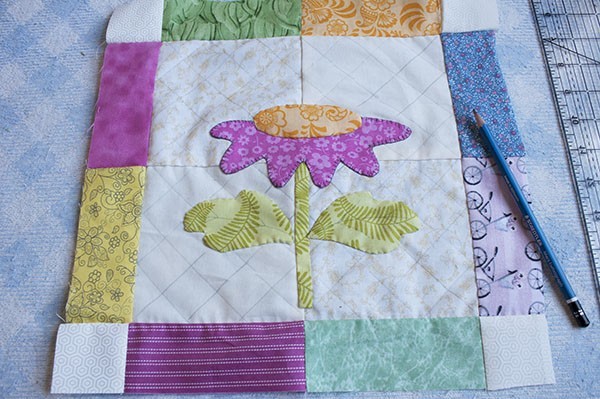
This is how your block will look when you finish tracing all the lines for the quilting.
If you want to make a different design for the quilting, it will be OK too, it will look great.
Step 11
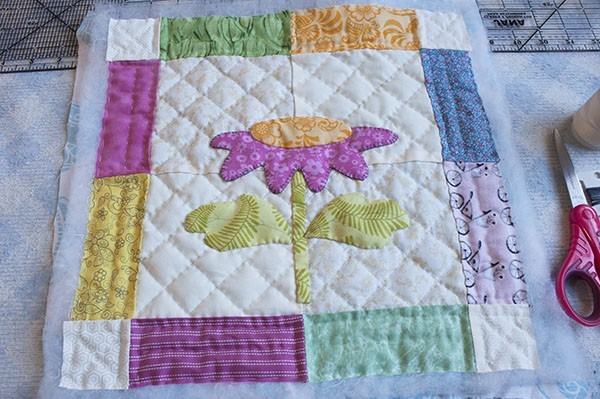
Make the quilting sandwich, by placing the three layers of fabric, the bottom fabric the batting fabric and on the top your block.
Pinch a few safety pins to hold the three layers and you can do the quilting.
As always, I did the quilting by hand, but if you want to do it by machine it will look great too.
When you finish doing the quilting, make medium size running stitches all around the edge of the quilted block.
Step 12
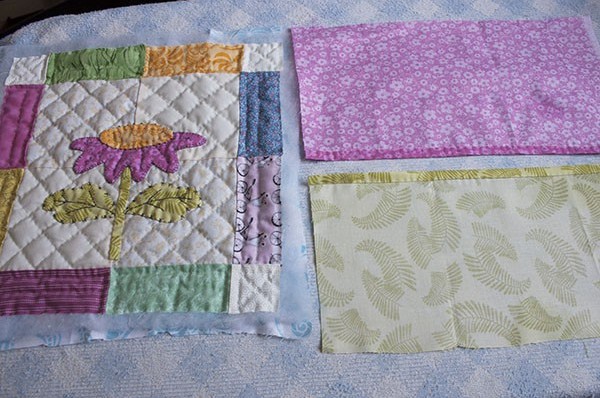
Trim the block with the help of the scissors.
Make a double fold of 1/4″ one side of the two pieces of fabric for the back of the pillow case.
Place both pieces of fabric, right side down and place the top on the top, center it, and pinch a few pins.
Step 13
Finish the pillow case by making self biding on the four sides of the pillow case.
You can sew a zipper on the open of the back of the pillow case or you can sew two snap fasteners as I did.
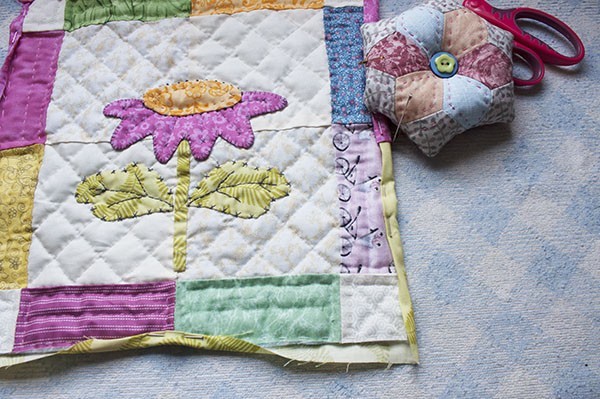
Congratulations your pillow case is finished and it looks amazing!
After you finish this quilted pillow case, you can see how easy it is to make a quilting project, as you keep working to make more patchwork and quilting projects, you’ll feel more confident to make one big project as a full size quilt.
I made this tutorial so you can take a look to the different steps to make a quilted project, not as hard to make as you thought it could be, eh?
When you make a quilt, these are the same steps I follow always.
- Making the top
- Making the quilting sandwich
- Work on the quilting
- Finish the quilt.
As always, it will be easier to make and to finish one small project than a big quilt.
If you’re a beginner I will recommend to you to make this pillow case before you get all the materials you need to make a big quilt.
To make a bigger quilt with this design, you will need to follow the same steps I did on this tutorial to make one block and to do the applique.
Then you will need to sew together all the blocks with the different color strips to make the top. When you have the top as big as you need, then you can measure it, the length and the width to get the batting fabric and the fabric you will need for the back side of your quilt.
When you measure the top of your quilt, don’t forget to add some extra inches for the batting fabric and the fabric for the back of the quilt
- Baby or crib quilt – 3 inches per side
- Lap quilt – 3 inches per side
- Twin quilt- 4 inches per side
- Full size quilt – 5 inches per side
- Queen or King size quilt – 6 inches per side.
How many blocks will you need to make the ABC quilt.
- Pillow –
- Baby or crib quilt –
- Lap quilt –
- Twin quilt –
- Full size quilt –
- Queen size quilt –
- King size quilt –
Well, I think you want to go to get some fabric to start working to make this cute pillow case.
Follow me on my Social Media where you can take a took to my work updates.
–
–
If you have any question about how to make a pillow case – patchwork, leave me a comment here and I will reply to you shortly.
If you make this pillow case, you can always share a photo of it on my Facebook page Alejandra’s Quilt Studio on a comment, I would love to see it, if you share a photo of your pillow case on your social media, add a #patchworkwithalex so I can take a look at it.
–
Puedes leer este mismo artículo para hacer un cojín con el patchwork en español en mi blog de Ale Cose y Cose.com, te espero!
–
To see more tutorials to make more patchwork and quilting projects, visit my page FREE Patterns.
If you like this pillow case made with patchwork, but you want to make it later, you can PIN it, so you can find it later.
