This past week I was asked to make a present for a baby shower, something small and not expensive but something useful and cute.
I was happy to have a client who knows exactly what she wanted to give as a present on a Baby Shower.
On moments like this one, I’m happy I’m a quilter, a quilter is never short of options for a present, so I thought I would make a bib, as I worked on it I took some pictures to share them with you as a tutorial.

- 1. As I didn’t have any bib patter for this project at home, I went to the dollar store and I found these two bibs for a low price, I thought I could use one as a pattern, at home I thought I could use one of the bibs as the back fabric for the bib as bibs fabric is thin enough with one plastic side.
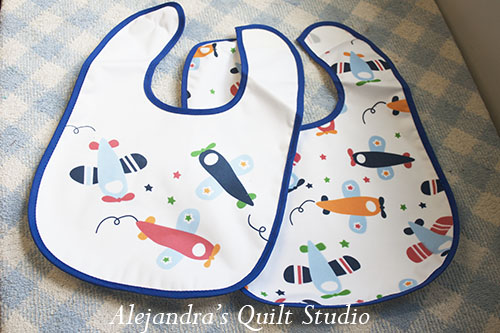
2. With the help for a pointed scissor I took off the bias.
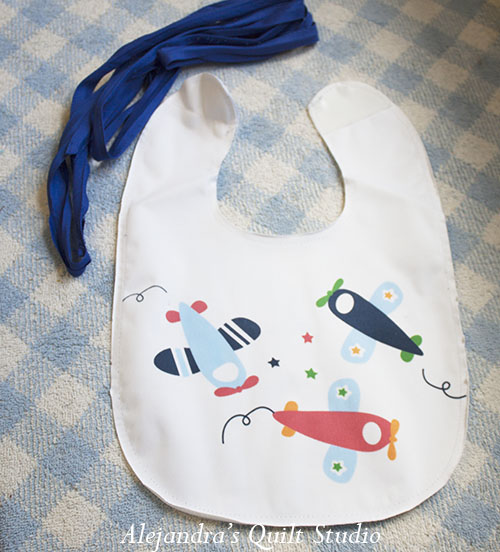
3. From my fabric box where I keep all those little pieces I refuse to get rid off them, no matter how small they are, I found a long strip of this white and blue cotton fabric, great for a bib for a boy.
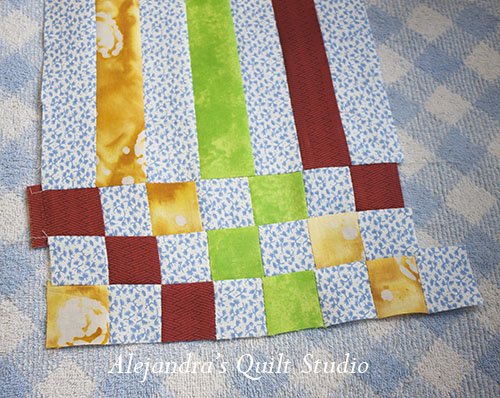
This strip was 1 3/4″, so I cut three other strips same wide but in three different color. Sew all the strips together and iron it gently.
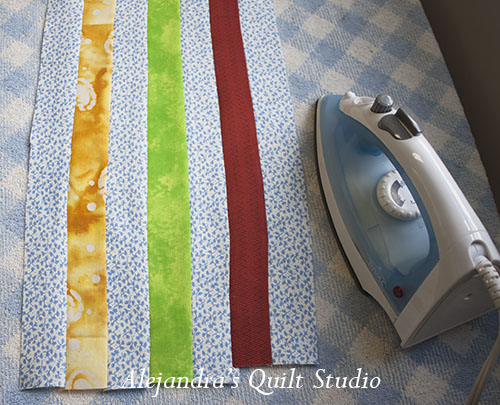
4. Cut out with your rotary cutter three strips of 1 3/4″ wide each one, you will need also two squares of 1 3/4 x 1 3/4″
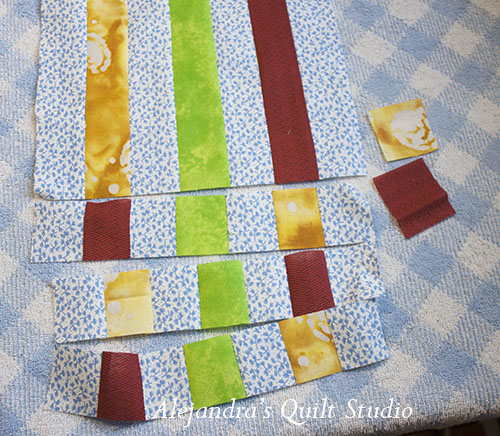
5. If you are making this bib with the same color diagram as I did, four strips of the same fabric, you will need to remove two squares of two of the strips and sew at the end one of the extra squares. If you make this bib with all the strips on different fabrics you may not need any extra squares.
Sew all three strips to the long part, iron gently.
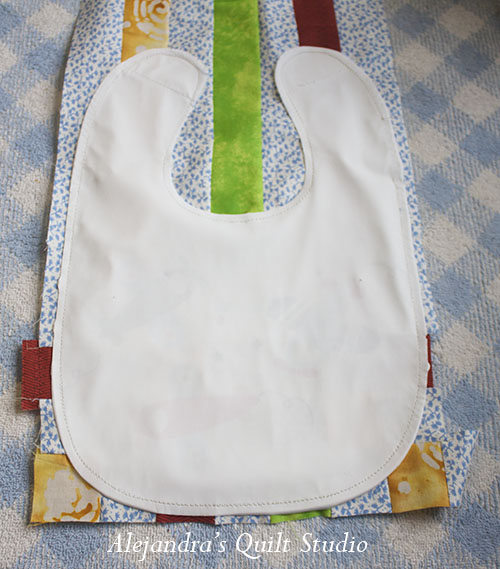
6. Place bib upside down to face the right side of your patchwork top, I didn’t put any pin to hold two parts together, as the bib is made of plastic fabric, with pins I could make some hole marks, in case you need to pin it, place pins on the edge.
Sew all around the bib, leave 2 ” open on one side,
7. Trim bib, and with your scissor make little cuts on rounded sides, don’t cut the sew. Turn bib out, with the help of your scissor push all the edge of the bib. Do not iron. With your hand place the bib on its place.
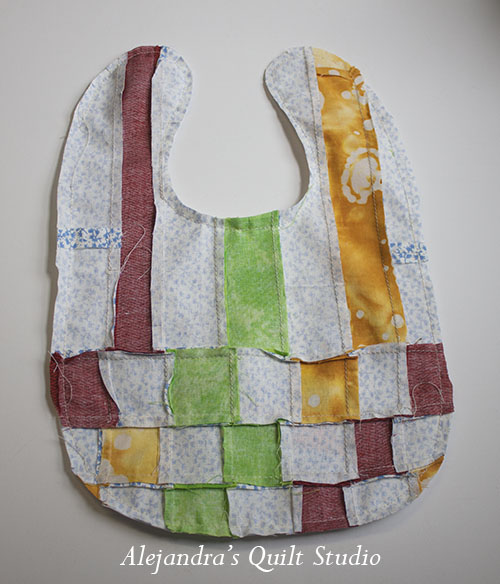
8. On this pic I just want to show you how it looks.
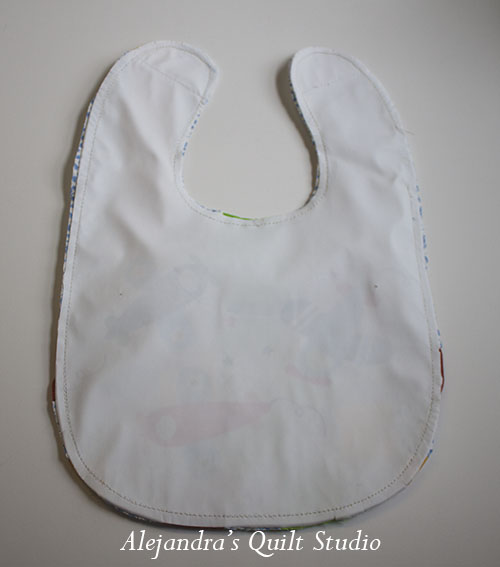
9. Once bib looks like all edge is in its place, on the open space fold the fabric inside, you can start sewing here on the edge to close it with your sewing machine, and keep sewing all around the edge of the bib,
You can place now some Velcro to the bib on the two ends,
This time I didn’t make any quilting, the bib looked nice this way, if you think your bib may need some quilting, go ahead, quilting always make things look nicer.
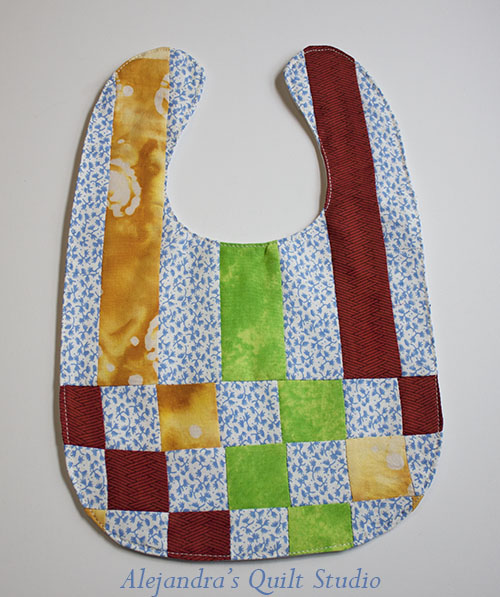
Hope you like this small Patchwork project to make, always easy and nice to make.
If you find this idea good to make, you can PIN IT so you can find it later. I thank you for any links to my blog and to my work.
You can visit my Facebook Page to get the latest of my work.
