Making a tote bag when you love to sew and do patchwork, is the best way to use some of the leftover scraps from your stash, and you can make one tote bag with a different patchwork method, and all of them they will be so pretty!
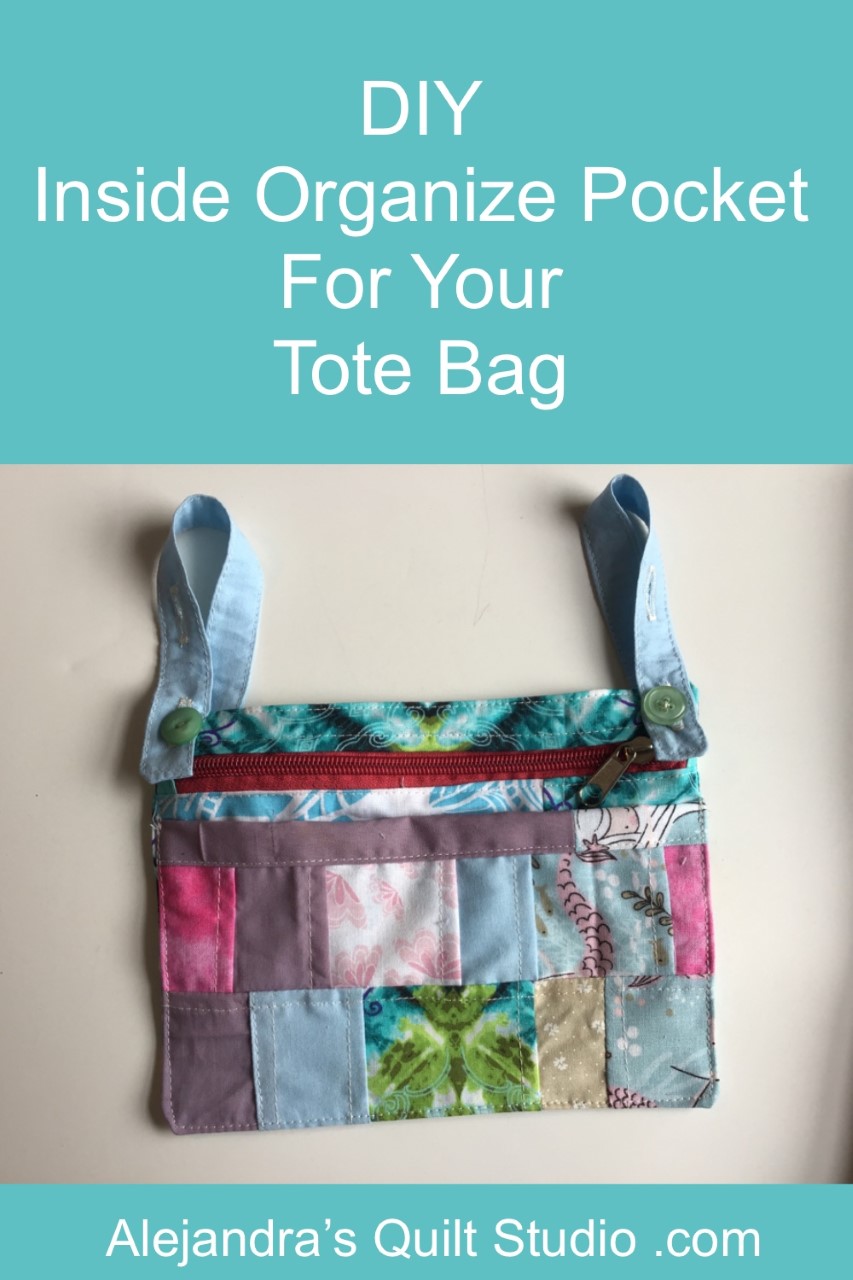
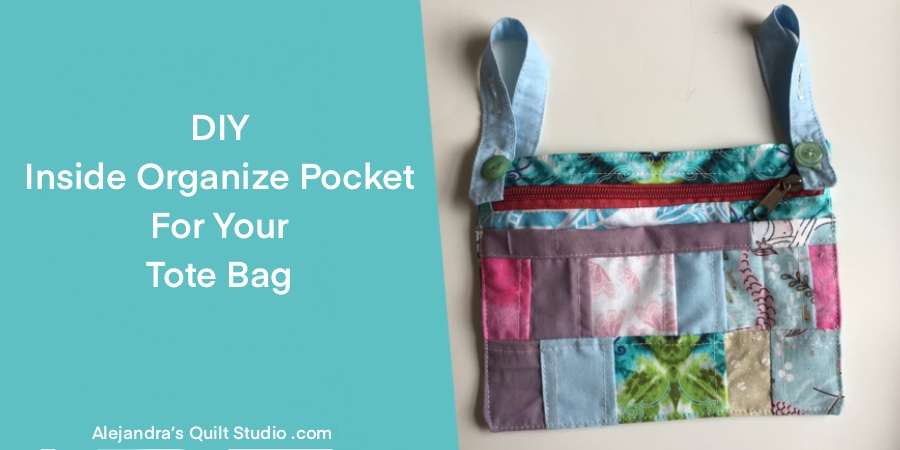
Inside Organize Pocket For Your Tote Bag, is the best way to keep everything well organized, and it will help you to carry with you everything, no matter which bag you’ll be using today, and it only takes a little time to take the organized pocket from one bag to the other.
Inside Organize Pocket For Your Tote Bag
When you love to sew and do patchwork, I’m sure you’ll be making more than one tote bag for you or to give it as a gift to a friend or a family member.
Tote bags are back, and when you do one with applique, two blocks made with patchwork, or with the Korean patchwork, they will be so pretty, that you will be using it all the time.
But carrying everything on a tote bag can be messy and it will be hard to find what you need, whether it is your money, a card, your ID, or a pen or even a small notebook to take a note.
Making an Inside Organize Pocket will be the best way to keep everything well organized and secure, and changing the organize pocket from one tote bag to another, will take only a one or two minutes, and you will be sure, you’re not forgetting anything!
Inside Organize Pocket For Your Tote Bag, Tutorial

You will need a few pieces of fabric, one 8″ zipper and two buttons.
- 1 piece of fabric of 8 1/2 x 1 1/2 inches (top side of the zipper) A
- 1 piece of fabric of 8 1/2 x 5 1/2 inches (bottom side of the zipper) B
- 1 piece of fabric of 8 1/2 x 4 1/2 inches (exterior pocket) C
- 1 piece of fabric of 8 1/2 x 1 1/4 inches (bias on top of the exterior pocket)
- 1 piece of fabric of 9 x 6 1/2 inches (back of the organize pocket)
- 2 pieces of fabric of 2 x 8 inches (straps)
Step by Step Tutorial
You can cut all the pieces of fabric needed for this tutorial from a pretty fabric of your choice, or you can stitch on some small pieces of fabric to make each piece needed for this tutorial, as I did.
1. Sew on the zipper to the pieces A and B

2. Sew on the bias to the piece C.
3. Lay on your work table the piece with the zipper, pretty side up, and lay over it the piece with the bias, pin the two pieces together and stitch on the three sides of the external pocket to the piece with the zipper, no need to trim the piece for now.

4. Take the two pieces to make the straps, and fold in the middle lengthwise each piece, pretty side inside, stitch on each piece, one end and lengthwise.
Cut the two corners on the stitched end, and turn the piece out, press and top stitch on both sides and the stitched end.
You can make two buttonholes on each piece, if you’re using snap buttons, skip making the button holes.
5. Lay the piece with zipper and external pocket on your work table, pretty side up, and place one strap on each top corner, 1/4 inch inside from each side. Pin each piece to the piece.
6. Lay over the piece for the back, pretty sides together, pin the two pieces and sew on the four sides on your sewing machine, remove all the pins, and trim the seam allowance to 1/4 inch.
You can over lock the four seams, or just zigzag stitching on the four sides of the pocket, turn the piece out and press the seams.
Top stitching on the four sides of the pocket, you can skip top stitching where the zipper is, to prevent breaking the needle on your sewing machine.
7. Sew on one button on each corner on the top of the pocket, or sew on a snap button on each top corner.
The Inside Organize Pocket For Your Tote Bag is finished and it looks amazing, and its ready to be used.
I’m sure when you see how easy is to make it, you will be making more than one, they will be great to make for a friend who loves to use tote bags too!
Thanks so much for reading my blog today!

Video Tutorial:
