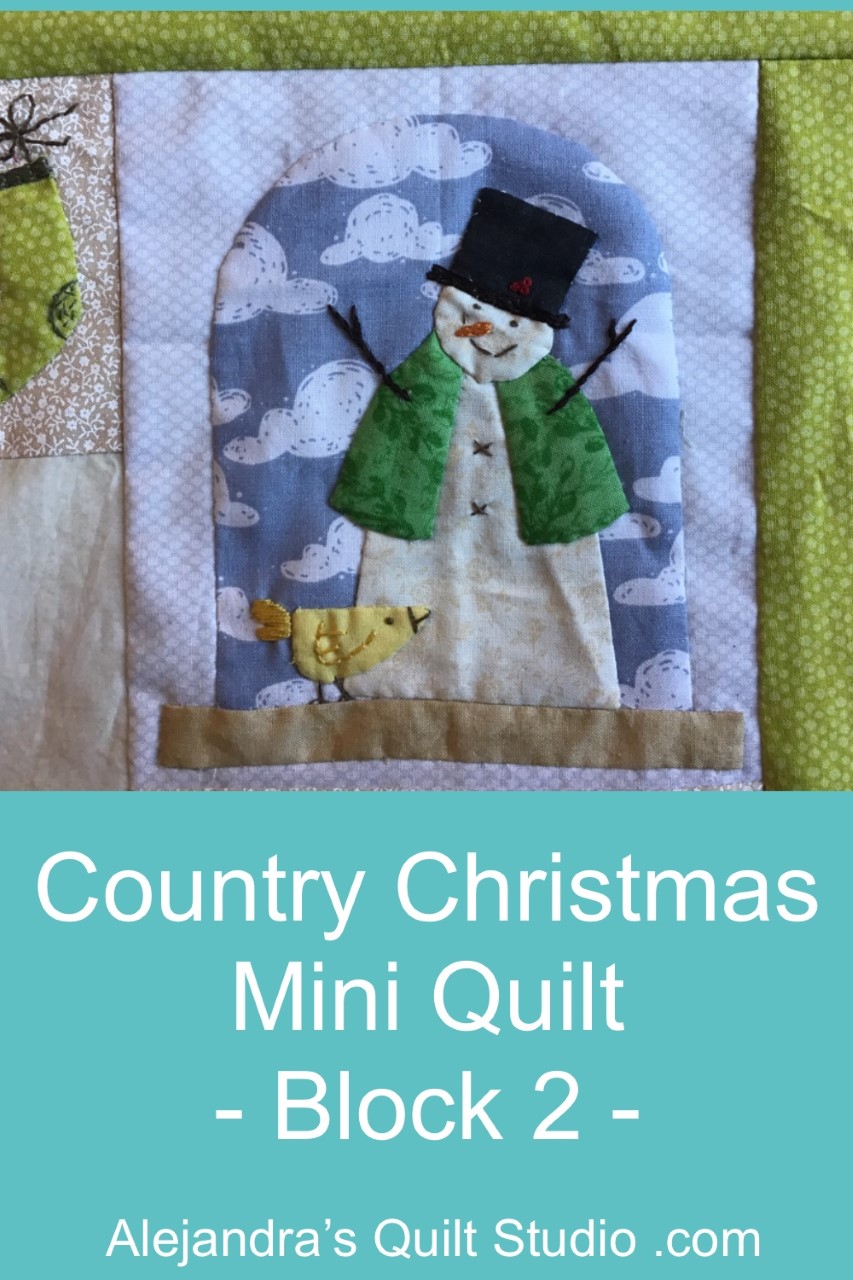
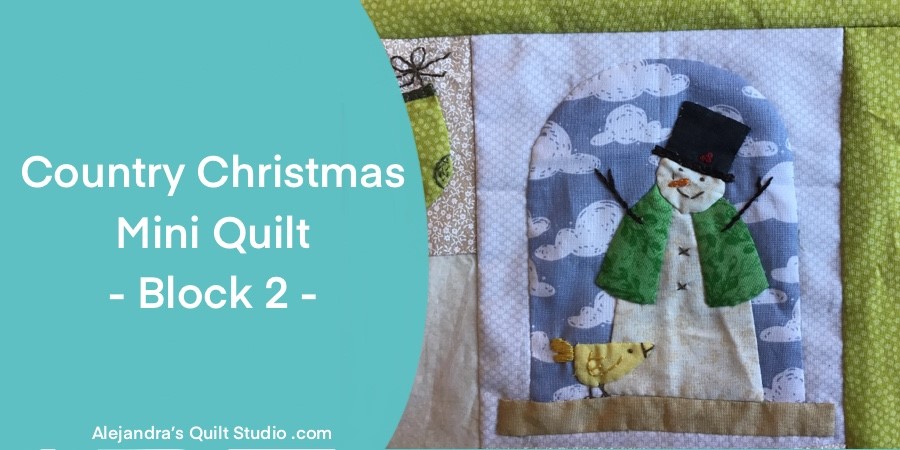
Country Christmas Mini Quilt – Block 2 is an Applique and embroidery tutorial easy to do to add the cozy touch to any corner in your home during the Holidays
Nothing takes us to think about the joy of the Holidays as a cute Snowman with his best friend a small yellow bird in a snow globe!
Nothing better to add the touch of the Christmas Mini Quilt than the best friends the Snowman and a bird that are always happy and together.
Country Christmas Mini Quilt – Block 2
1 How To Prepare Your Applique Pieces
Download and print the Country Christmas Mini Quilt – Block 2 here.
2 How To Prepare Applique Pieces
From the free pattern, cut out with the help of a pair of scissors to cut paper all the paper templates for the Block 2
Take one paper template at a time and place it on the back of the fabric you’ll be using for each piece, pinch a pin or make a few basting stitches.
With a pair of scissors for cutting fabric, cut the fabric with the same shape as the paper template, adding 1/4 inch for the seam.
Make some cuts on the seam, anywhere you have a curved seam.
Fold to the back the seam and do basting stitches to hold the seam on the back of each applique piece.
Note: when doing this last step, you can use glue to keep the seam on the back of the paper template, I don’t use glue, as I find it can stick to the paper template pretty well, and it’s hard to remove the paper template later, when doing the basting stitches, I only have to remove the stitches out and is easy to remove the paper template later.

3 How To Do The Applique.
You will be working with the applique pieces that goes down first, then you will be doing the applique of the pieces that go on the first pieces.
To do the applique of the first pieces, the snow globe and its base, fold each piece in the middle, like its shown on the image below, and fold on the middle the block too, lay the two pieces on the block, match the middle points on the three pieces and pinch a few pins to hold the pieces on their place, I like to do some big basting stitches and remove all the pins.
You can do the applique of these two pieces on the block.
When the applique of these two pieces is done, remove all the basting stitches from the two pieces, with a pair of scissors for cutting fabric, make a cut on the back of the block fabric, follow the applique stitches as a guide, to cut out the fabric of the block on the back of these two pieces.
Remove the paper templates.

3 How To Applique The Snowman and Bird
Place the pieces already prepared for the snowman and bird on their place on the snow globe, pinch a pin on each piece, you can do some basting stitches to hold each piece on its place and remove the pin.
Do the applique of each piece and make a cut on the fabric on the back of each piece, remove the paper template from each piece.

4 How To Do The Embroidery On The Snowman And Bird
This is a small piece and the embroidery is small and simple to make:
- French knot – Snowman and bird eyes
- Back Stitch – Snowman arms and bird wing – 3 strands of embroidery floss
- Back stitch – Snowman smile – 1 strand of embroidery floss
- Hat – Chain stitch – 3 strands of embroidery floss
- Satin stitch – Bird tail – 3 strands of embroidery floss

The Country Christmas Mini Quilt – Block 2 is done and it looks fantastic!
Materials
- Country Christmas Mini Quilt Top
- Assorted color cotton fabric for the applique
- Hand sewing needle
- DMC embroidery floss in assorted colors
- Pins
- Scissors
- Embroidery loop
I hope you join the fun of making the Country Christmas Mini Quilt, it will add a cozy touch to any corner in your home.
Thanks so much for reading my blog and sharing it on your Social Media!

a
Puedes leer el tutorial para hacer la Mini Quilt Navidena – Bloque 2 en espanol, aqui!
a
Read more quilting tutorials to make this Mini Quilt here:
- Country Christmas Mini Quilt Pattern – On this post you can read the instructions to make the mini quilt top and the applique on the first block.
Watch the video tutorial here!
