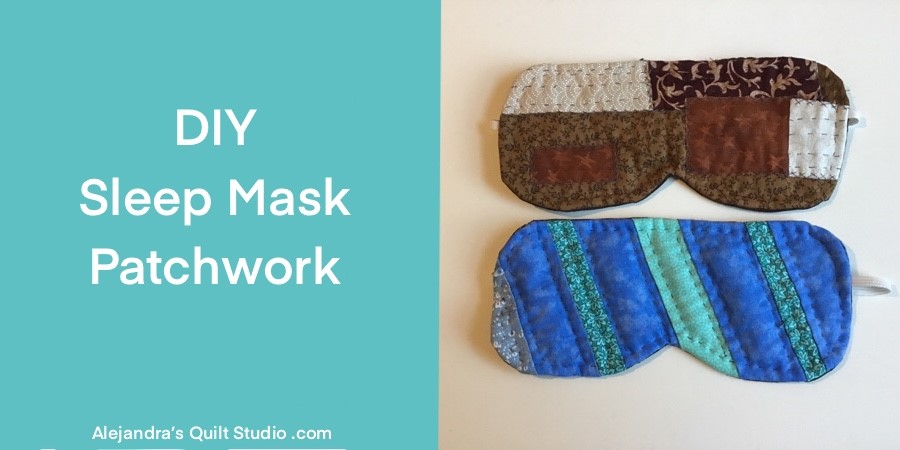
DIY Sleep Mask Patchwork is an easy tutorial to make a mask that will help you to get a good night sleep or a good nap at home or when traveling
 When you love to do patchwork and quilting, you might want to find an easy tutorial to make a small project, today I will share the step to follow to make a useful sleep mask.
Whether you use it at home to get a good night sleep or if you have a trip in your agenda, this tutorial is so easy to make that I’m sure you’ll be making more than one, for yourself or to give it as a present to a friend.
DIY Sleep Mask Patchwork
Fabric and Supplies You Will Need:
- Cotton 100% fabric scraps in one or in different color and prints
- 1 piece of cotton 100% fabric of 5 x 10 inches
- 1 piece of thin batting fabric of 5 x 10 inches
- 1 pieces of 1/4 inch elastic of 11.5 or 12 inches long
- Polyester 100% thread, you can also use cotton 100% thread
- Needle
- Pins
- Scissors
- Sewing Machine
DIY Sleep Mask Patchwork – Step by Step
Step 1 – Draw And Cut Out The Pattern
This time you will need to draw the patter to use to make the sleep mask on a piece of paper size A4, the first thing you need to draw is an 8.5 x 4 inches rectangle, mark in the middle, and draw all the curves, your pattern is ready to cut out.

Step 2 – Quilt As You Go
Do the quilt as you go on the batting fabric, you can do it by sewing strips of fabric as I did, or you can do it with any other Patchwork pattern. I did this step by hand, but at home you can do it on the sewing machine.

Step 3 – Trim The Patchwork Block
Once you finish the quilt as you go on the batting fabric, you can turn it on the back (batting fabric side) and trim the fabric to the batting fabric with a good pair of scissors.

Step 4 – Basting The Pattern
On this step, on the right side of the patchwork block, lay over it the pattern and pinch a few pins, run basting stitches all around the edge of the pattern, do this step with a colored thread, so you can see the basting stitches on the batting fabric.

On the picture below, you can see how the basting stitches look like on the batting fabric, these stitches will be the sewing guide when sewing on your sewing machine.

Step 5 – Add The Elastic Piece
Lay the patchwork piece on your working table (right side up) and lay over it the elastic piece, pinch a pin on each end of the elastic.
Step 6 – Prepare The Sleep Mask
 Lay the fabric piece for the back over the mask with the elastic piece, pinch a few pins to hold both pieces, you can remove the pins that hold in place the elastic piece and pinch the pins on top the fabric for the back to hold the elastic piece in its place.
Step 7 – Stitch On
Take the sleep mask to the sewing machine and stitch following the basting stitches, stitch on inside the basting stitches, don’t forget to leave a gap to turn the piece out. Remove all pins.
Step 8 – Trim The Piece
With a good pair of scissors, trim the piece leaving 1/4 inch seam all around.
With the same pair of scissors clip all curved seams. The piece is ready to be turned out, with your fingers or with a round point scissors, push out the piece from the inside.
Step 9 – Stitch To Close The Gap
Stitch to close the gap by hand.
If you want to make an easy sleep mask with no patchwork, you can find a good tutorial here!
Step 10 – Top Stitching By Hand
Make some quilting stitches all around the edge of the piece, 1/4 inch from the edge.
You can do as I did some hand quilting on the sleep mask, it will add some quilting texture to the mask.

Voila, your sleep mask looks amazing!

On the photo above you can see three samples of the sleep mask, so easy to make and you can do it with any piece of fabric that you have been saving to make something pretty, but you can make it to use all those fabric scraps you have at home, as a quilter I know we keep all those little pieces of fabric as they are so pretty and we know we can do something with them later.
I also made one sleep mask with the Boroboro Japanese technique and it looks great.
I hope you like this tutorial, and don’t forget to follow me on Facebook and on Instagram.
You can also take a look to more tutorials here:
- How To make A Patchwork Boroboro Pouch – Learn the Boroboro technique!
You can watch the video here!
–
Puedes leer este mismo tutorial en español en el blog de Ale Cose y Cose .com
