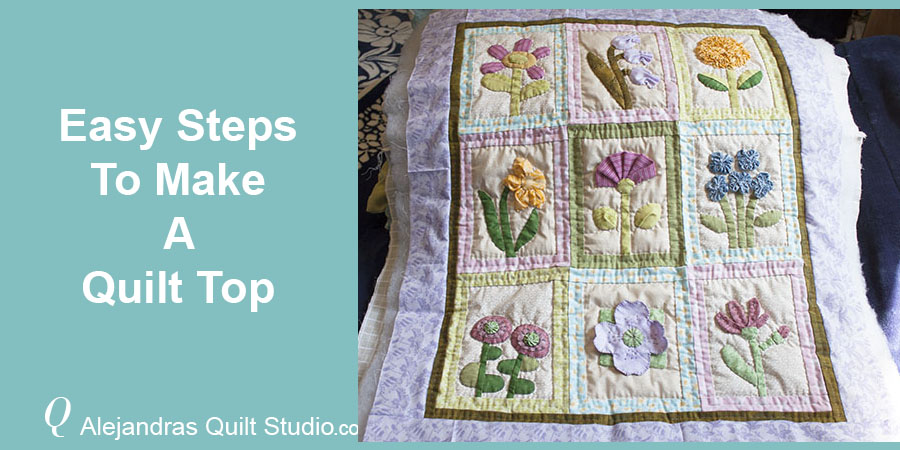
The Easy Steps To Make A Quilt Top will help any beginner to make their first quilt, learning to quilt is back and it’s lots of fun!
 This is the day you have been waiting for, today we’ll be working to make the Block # 9 and I will share the steps to follow to sew the two borders to make the quilt top!
We have been working on 9 different blocks to make the Floral Quilt, and I think this is a great idea for anyone who is interested to learn new sewing techniques to make a quilt.
Materials You Need To Make Block # 9
- One block, the instructions to cut block and borders are on fist tutorial of this series
- Cotton fabrics in assorted color for flower, leaves and stem
- Scissors
- Needle
- Thread
Materials You Need To Make The Quilting Sandwich
- Quilt top
- Batting fabric 1 inch bigger each side from the size of the quilt top
- Fabric for the back of the quilt, 1 inch bigger each side from the size of the battin fabric
- Safety pins
Tutorial To Make Block # 9 For The Floral Quilt
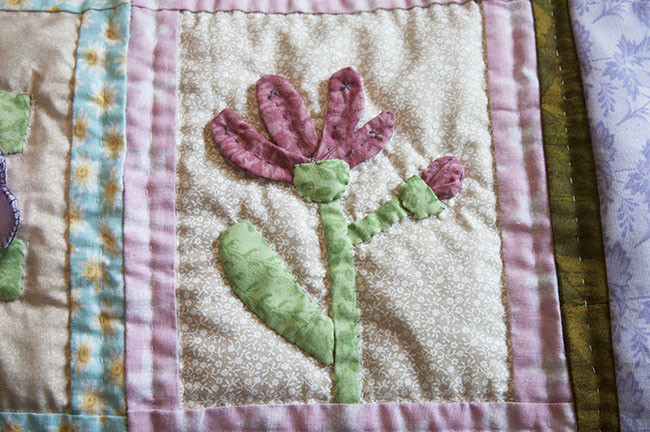
This time we’ll be working on an easy flower applique, you will find the patterns to make this block on the previous blog post.
1 – Cut out all the templates you will need to work on this block, lay each template on a piece of fabric and trace the shape with a pencil or a marker for fabric.
2 – Cut out the templates to make the leaves and the stem adding 1/4 inch for the seam. You can work on the applique.
3 – To make the flower petals, you need to mark the four petals on the back of a piece of fabric with a pencil, sew on with your sewing machine,
Cut out each petal adding a seam all around, make some small cuts with a pair of scissors, and turn out each petal, on the video I show you two ways to do this step.
4 – Lay the four petals on the block, pinch a pin on each petal, make a few quilting stitches on the center of each petal and end with an X stitch.
5 – To make the flower button, cut a half circle (1 1/4 inch diameter) and make a hem on the circular side with running stitches.
Make two folds on the straight side of the half circle and lay the piece on the small stem, applique this piece to the block.
6 – Applique the two pieces in green fabric to hide the flower petals and the flower button.
Tutorial To Make The Top For The Floral Quilt
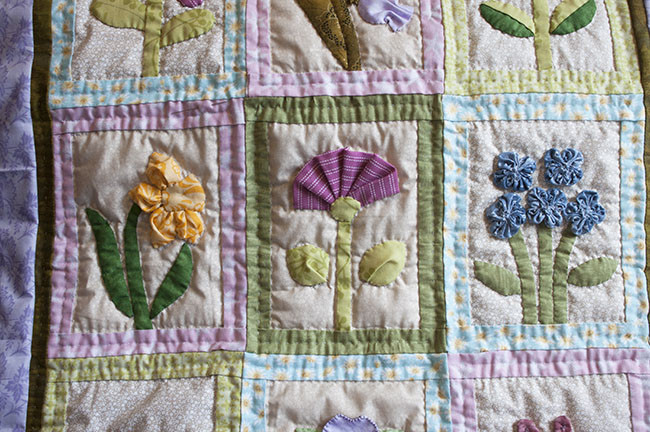
This time we are making a small quilt with 9 blocks, so it will be easy for you to stitch together three blocks to make three columns.
You can set up the block the same way I did to make the layout for this quilt, or you can decide where to place each block, but you need to stitch together 3 blocks to make each column.
1 – Lay on a table, on the floor or on a bed, the 9 blocks in 3 columns, stack the columns in order and pin the blocks and number the columns to sew the columns together
2 – To sew the quilt top together, on this step you can pin one column to the next one, pinch a pin on each block and at the beginning and on the end of each column, remember to mark the 1/4 inch seam.
3 – As this is a small quilt, you can pin the three columns together to sew on with your sewing machine. Press
How To Add Two Borders To The Floral Quilt
This time this quilt will have two borders with squared corners.
1 – To add the first border you need first to prepare the border strips, this time this quilt has two borders, so let’s work first on the first border, you will need to cut 1 inch wide strips.
The way I work to add the borders to any quilt is measuring the four borders of the quilt and I add four inches to know the length of the strip.
2 – Once you have the strip cut for the first border, you can start stitching the strip on one side of the quilt top, start from one corner and you can add some pins to hold the two fabrics, you can do the stitching by hand or with your sewing machine, when you reach the other end of the quilt top, you can cut out the strip. Remove the pins and open the border.
Do the same steps to add the first border to the opposite side of the top.
3 – To stitch the first border to the top and the bottom of the quilt top, follow the same steps you did to add the two side borders, but this time work on the top and the bottom of the quilt top.
When you finish working the stitching of the four sides of first border on the quilt top, press.
4 – To stitch the second border, you need to measure the four sides of the quilt top and add 8 inches, cut the fabric to make a strip of the measure you got x 2 1/2 wide.
5 – Stitch the four borders on the quilt top the same way you did to stitch the first border. Press
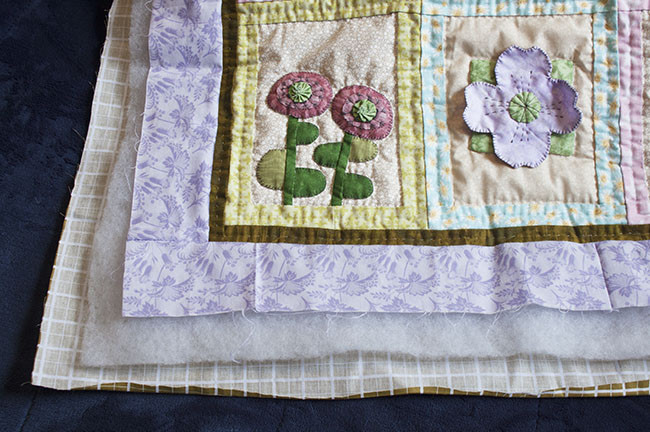
How to Make a Quilting Sandwich
This time I will tell you the same steps I follow to make a quilting sandwich for a small quilt.
1 – Lay the batting fabric on a surface such as the floor, a table, or on a bed, and lay over the battin fabric the quilt top, with the help of a pair of scissors to cut fabric, cut the batting fabric one inch bigger each side of the quilt top.
2 – Lay the fabric for the back of the quilt on a table, the floor or a bed (right side facing down) lay over the fabric for the back of the quilt the batting fabric, with the help of a pair of scissors for fabric, cut the fabric one inch bigger each side then the batting fabric.
3 – Lay the top of the quilt over the batting fabric, be sure batting fabric and the top of the quilt, both are centered, pinch a few safety pins to hold the three layers of fabric.
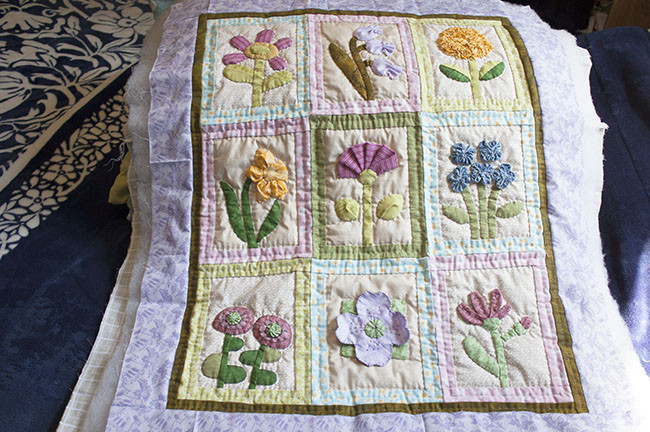
The quilting sandwich is now ready for you to work on the quilting, I will show you on the next blog post how I used to work on the hand quilting, I will also show you how I work to add some embroidery stitches on a quilt so it looks better.
 I thank you for visiting my blog and your interest to make the Floral Quilt.
I think this is a good idea to learn new or different techniques to make a quilt, by making a small quilt, it’s almost done, so come back to read the last blog post of this series.
Don’t forget to follow me on Facebook!
You can watch the video to make the floral quilt here!
