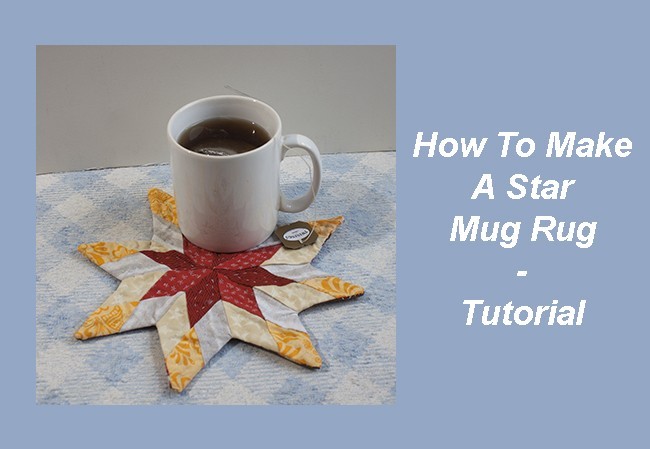
Weather starts to change and there’s nothing better to keep yourself warm and cozy as to have a hot coffee or tea, learn today how to make a star mug rug to make better that moment.
Days are getting shorter and colder here in Canada, I’ll be spending more time indoors and this can make some people sad and wishing for better times and weather.
One way to keep yourself happy is to make possible nice moments in your daily routine, make a stop and enjoy a good cup of hot coffee or tea and make it nicer with a quilted mug rug made by you.
Patchwork Star blocks and star patterns are the favorites of many quilters, and they are always a good option to start for beginners, they are always fun to make and when you follow the steps to make it, you will be learning also the steps to follow to make a quilt.
How To Make A Star Mug Rug
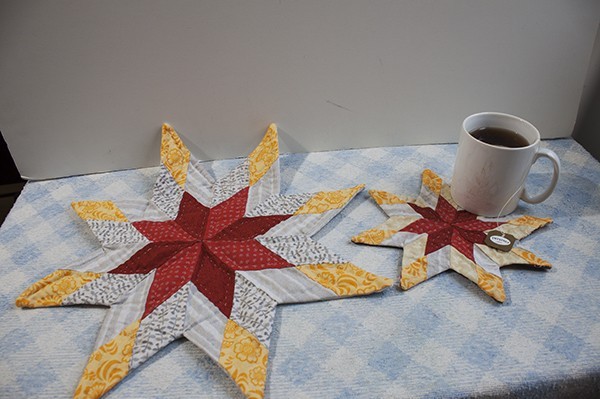
Two stars one tutorial.
This time I made two stars following the same steps, but one is bigger and one is smaller, on the tutorial I show you how to make the small star, to make the big star you need to follow the same steps on the tutorial, just cut the pieces to make the star of 1 3/4″ instead of 1 1/4
Materials:
-
- 8 pieces of yellow fabric 1 1/4″
- 8 pieces of white fabric print A of 1 1/4″
- 8 pieces of white fabric print B of 1 1/4″
- 4 pieces of red fabric print A of 1 1/4″
- 4 pieces of red fabric print B of 1 1/4″
- Thin batting fabric of 10 x 10 “
- 1 piece of fabric (any color and print) for the back of 10 x 10″
Needle, quilting thread, scissors
Sewing machine
You can find on this post, some affiliate links, when you buy something using
Video
Tutorial to make the star mug rug
Step 1
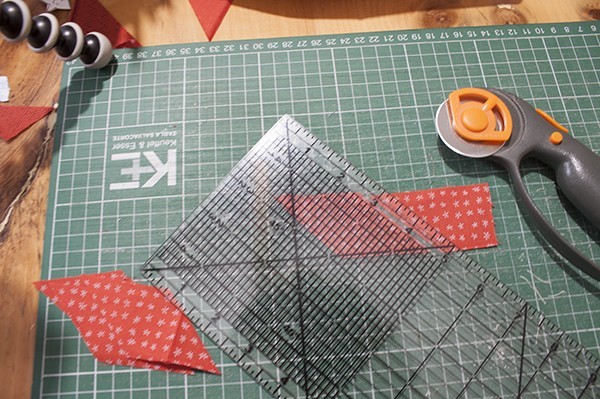
Lay your strips sideways on your cutting mat and use the 45 degree mark on your ruler and line it up with one of the strip edge.
Flip the ruler and cut a 1 1/4″ strip from that clean edge
Cut 7 more (total of 8) of these diagonal strips from this piece, and do the same with the rest of the pieces.
Step 2
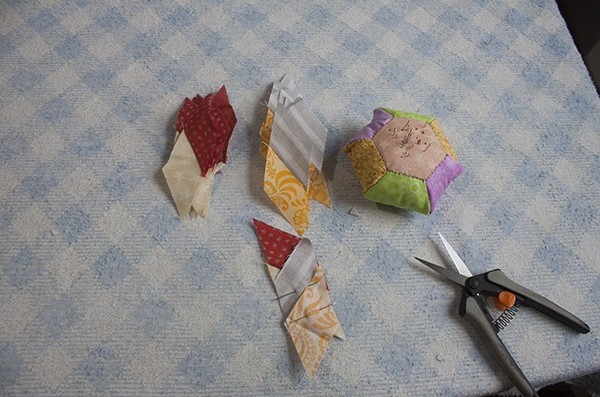
Once you have all the pieces cut, place them on your work table and arrange one sample of the eight star pieces you need to make.
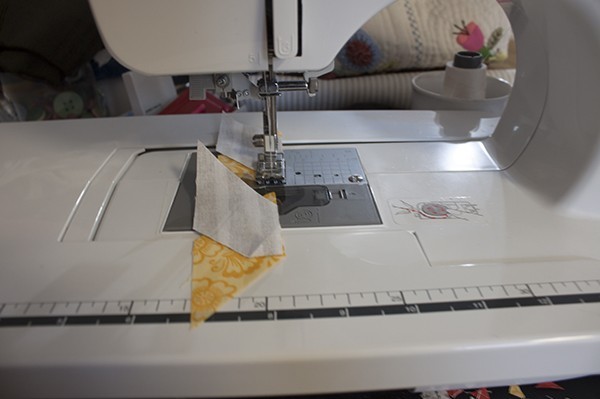
By placing one sample, it will help you to see the lines you need to sew together to start sewing. Once you have the sampler ready on your work table, you can identify the pieces that will make the pairs, place one piece over the other and push a couple of pins to keep the two pieces together while you sew them on your sewing machine.
You can arrange all the pieces the way they should be sewed, and you can sew them all in line the way I show you in this photo below.
Step 3
Open the pieces you already made, and place them on your work table again and check the order, now you can place one line of two pieces over the second line of two pieces and sew them together to make on point for the start. You need to follow this step to make the 8 pieces the same way to make this star.
Step 4
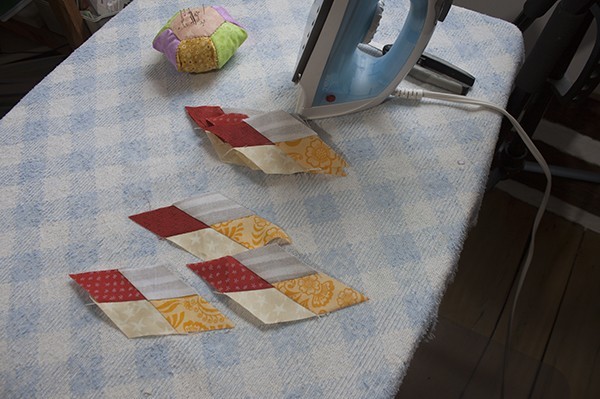
Once you sew the eight pieces together, they will look like this (photo below) press.
Step 5
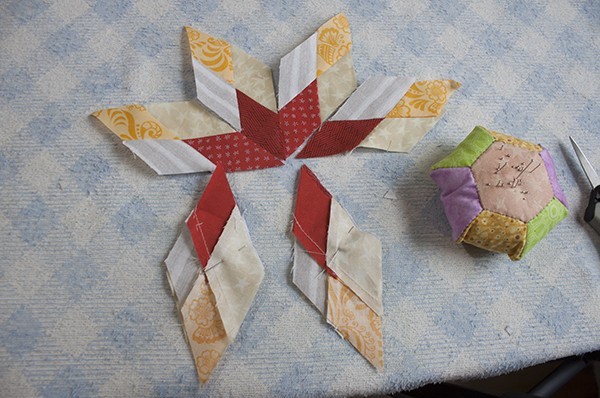
Arrange the eight pieces on your work table, by doing this step it will help you to make the pairs that need to be sewed together. Push a couple of pins on each pair to point the line that needs to be sewed.
Step 6
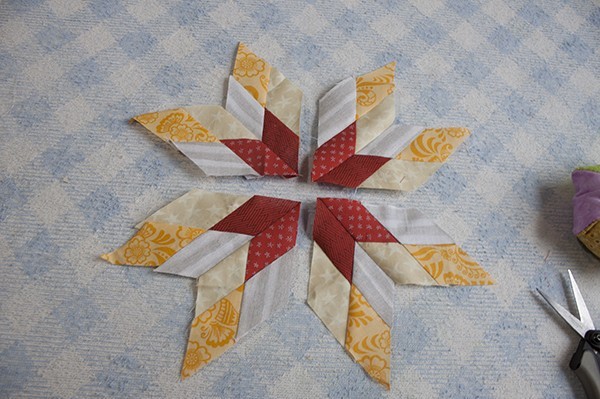
Open the four pieces and press.
Step 7
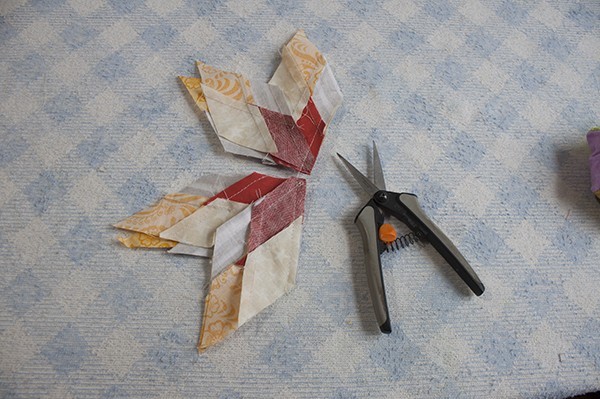
On this step, you need to make two pieces, as you sew the two pieces together, you will make two halves of the star.

Step 8
I show you on this photo below how I keep working to sew the pieces in one line on my sewing machine, to save time and thread. Cut the tread out and open the two pieces, press.
Place one half over the second half, push a couple of pins, and sew the two pieces together, open and press.
Step 9
Once you have the star made, it’s time to make the quilting sandwich.
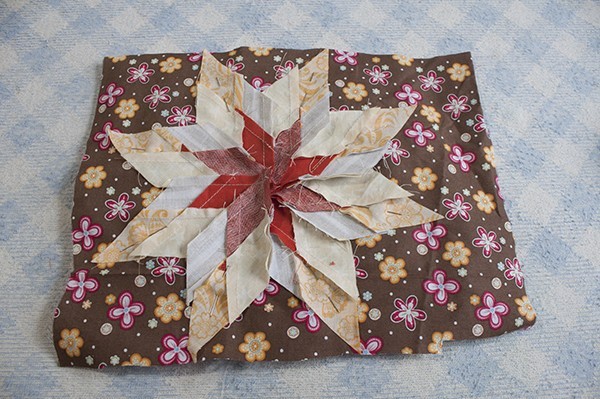
This time, you will make the quilting sandwich in a different way, as it’s a mini quilt, you can sew the mini quilt together with the three layers of fabric first and then you can quilt it.
Place the batting fabric first, lay the fabric for the back over the batting fabric right side up and over this fabric lay the star right side down.
Push a pin on each point of the star.
Step 10
Before you sew this piece on your sewing machine, I would recommend tripping some of the batting fabric where each point of the star is.
I do this step to make this mug rug, as these pieces are small and I don’t want to have too much fabric on each point of the star once it is turned out. By doing this it will be easier to turn this piece out and push each point out.

Step 11
You need to sew this piece together on your sewing machine, follow the shape of the star as a guide, leave 1/4″ of seam. Don’t forget to leave a space open to turn this piece out. Remove the pins once is this piece is sewed.
Step 12
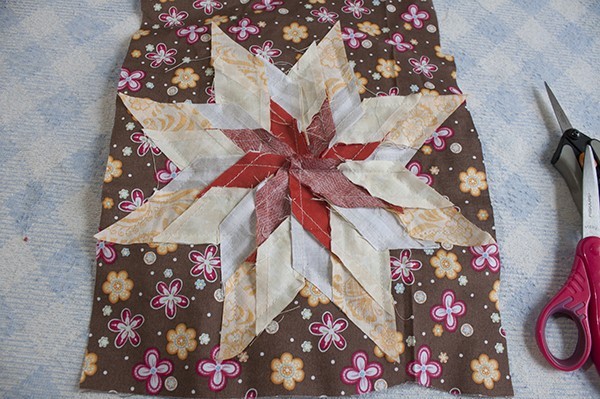
With the help of your scissors, trim these pieces.
Trim out the each point of the star, just be careful to not cut the sewing.
Make a little cut with the scissors on each inside point of the star. By doing this it will help to arrange all the fabrics better once you turn out this piece.
Step 13
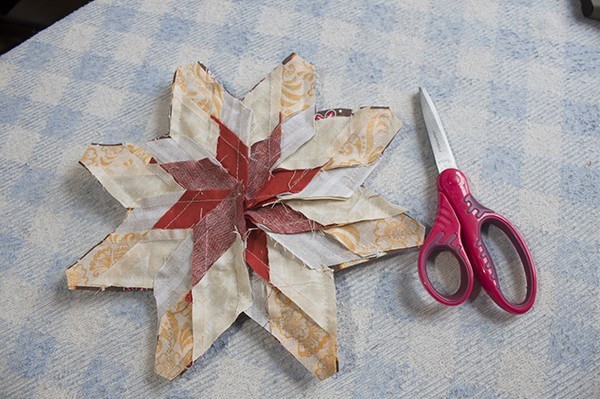
Once you turn out the mini quilt it must look like this, Close the open with small ladder stitches and place a couple of safety pins.
Your star mug rug is ready to make the quilting.
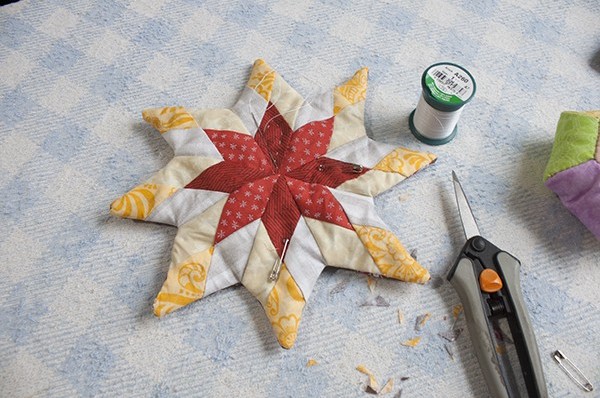
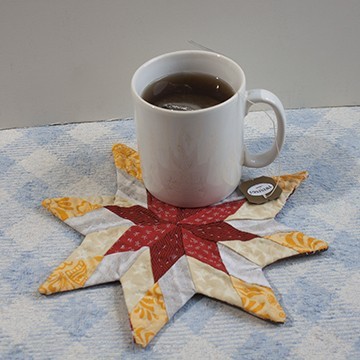
Congratulations your star mug rug is ready and it looks awesome!
You can take a look to more tutorials to make a mug rug here:
I thank you for making the time and read my blog, I also thank you for your interest to follow me on my Social Media and share my blog with your friends.
If you want to make the star mug rug later, you can pin it so you can find it later.
