Nordic Star Mini Quilt is a patchwork tutorial to work with reverse applique that beginner and more advanced quilters will love to make.
If you’re looking for an easy patchwork project to make to decorate your home for the Holidays, the Nordic Star Mini Quilt will add that touch to any corner of your home.
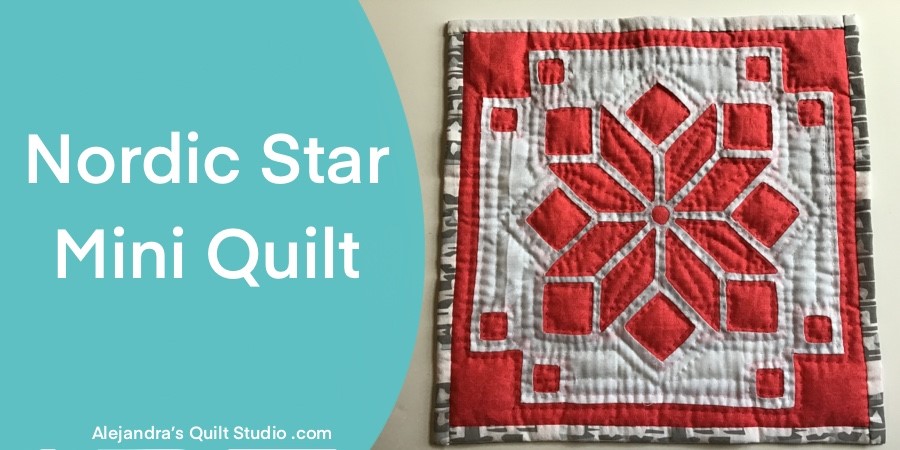
Nordic Star Mini Quilt
1 How To Trace The Pattern On The Fabric
Download and print the Nordic Star Mini Quilt.
Lay the white fabric on your work table and lay the pattern beneath the fabric, you can pinch a few pins to hold the paper and fabric together while you trace the pattern on the fabric with the help of a pencil for fabrics.
If your fabric is thick and is hard to see the pattern, you can place the pattern and the fabric on a window with daylight or on a light box.
When the pattern is traced on the fabric, remove the pins and take off the pattern.
- The list of materials to make this mini quilt is after step 8
2 How To Work On The Reverse Applique
Lay the color fabric on your work table, pretty side up and lay over it the white fabric, center both fabrics and pinch a few pins, you can do some basting stitches and remove the pins, I find basting stitches hold better two or three layers of fabric while you work on the applique.
With a pair of scissors with a sharp point, make a small cut on the white fabric on a piece of the pattern, cut the white fabric leaving a seam allowance of 1/4 inch.
I find it easier to cut out the fabric of one piece of the pattern at a time, as some pieces are thin, by working this way it will help you to work better and the pattern will look nice with your needle work.
3 How To Do The Reverse Applique
When you have the first piece ready, fold the seam to the back of the white fabric and stitch on with small applique stitches. Continue working this way.

4 How To Finish The Reverse Applique On The Borders
When you finish working on the Nordic Star, fold to the back the 1/4 inch seam on the edge of the four sides of the white fabric.
With the square paper template, trace one square on each corner, cut out each corner leaving 1/4 inch for the seam, work on the reverse applique.
With the small square paper template, trace two small squares on each corner, cut out the fabric on each square leaving the seam allowance, work on the reverse applique on each square.
5 How To Trim The Mini Quilt Top
With the help of a quilting ruler and the rotary cutter, trim each side one inch from the white fabric. Press the top.
6 How To Make The Quilt Sandwich For The Nordic Star Mini Quilt
Lay on your work table the fabric for the back of the mini quilt, pretty side down, lay over it the batting fabric and lay over it the top for the mini quilt, pinch a few safety pins.

7 How To Do The Quilting On The Nordic Star Mini Quilt
The quilting can be made by hand or with your sewing machine.

8 How To Finish The Nordic Star Mini Quilt
When all the quilting is done, you can trim the batting fabric with the help of a good pair of scissors.
Cut the fabric for the back, one inch from the mini quilt on each side.
Now you can fold the fabric for the back of the mini quilt up twice and finish the self biding with small stitches.

The Nordic Star Mini Quilt is finished and it looks amazing!
Materials:
- 1 piece of cotton fabric in white of 12 x 12 inches
- 1 piece of cotton fabric in red of 14 x 14 inches (pre-washed)
- 1 piece of batting fabric of 15 x 15 inches
- 1 piece of cotton fabric for the back of the mini quilt of 15 x 15 inches
- 1 hand sewing needle
- Hand sewing thread
- Embroidery floss in red
I hope you have fun making it as much as I did!
You can read more tutorials to make small projects for the Holidays here:
Thanks so much for sharing my blog on your Social Media

Puedes leer el tutorial para hacer la Mini Quilt Estrella Nórdica en español aquí!
You can read more patchwork, quilting and embroidery tutorials to make for the Holidays here:
Watch the video tutorial here: