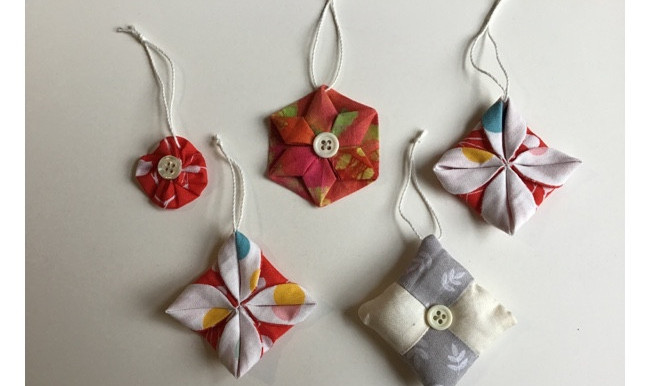
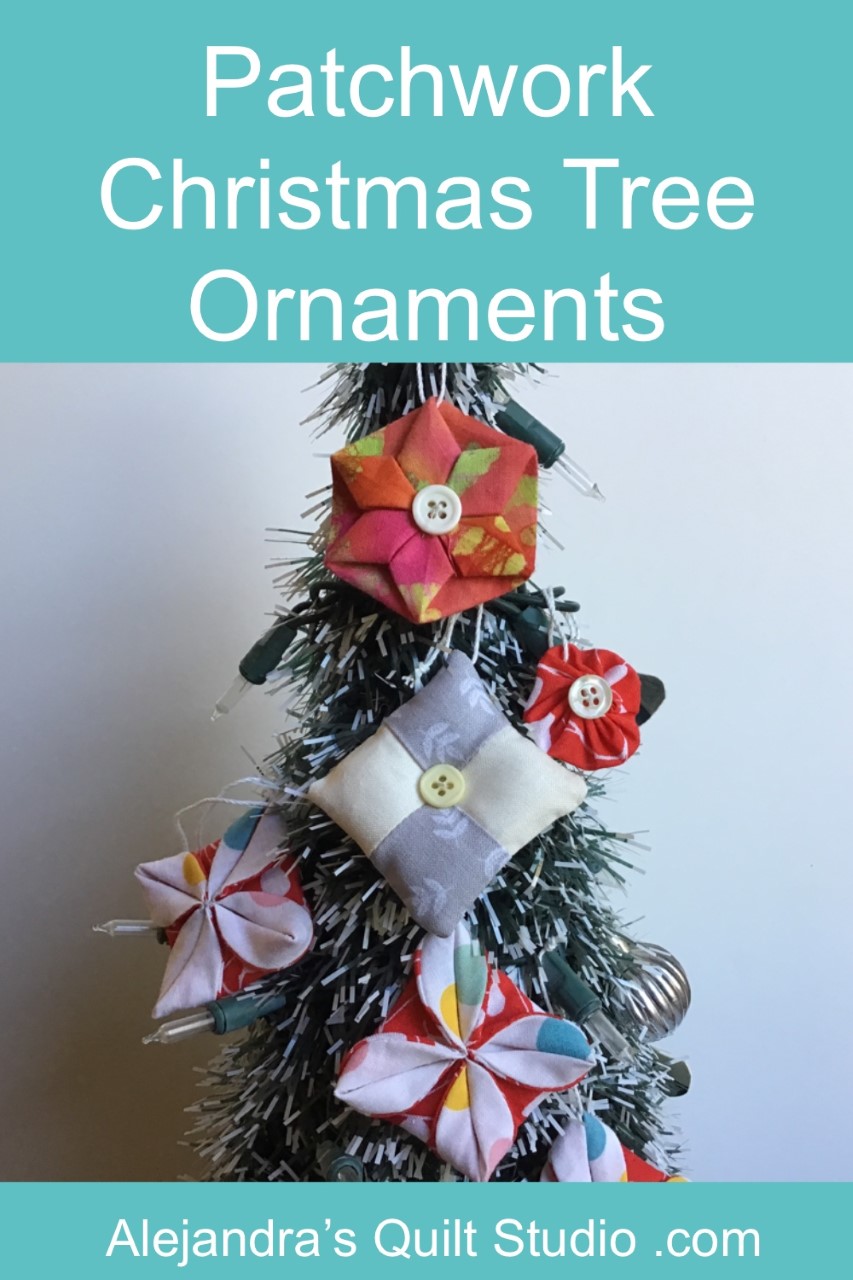
With Christmas around the corner, it’s time to think about how to make some cute Christmas Tree ornaments, but when you love to sew and make patchwork, you might have some scraps of pretty fabrics after you finished your quilts, and you can use them to make these pretty ornaments everyone will love!
Patchwork Christmas Tree Ornaments are easy and fun to make, as a sewer or quitter, you might have some scraps of fabric to use to make them, it won’t take long before you have a good number of them finished, just in time to decorate your home for the Holidays!
There are many ideas to make with scraps of fabrics, today I will share four easy ways to turn any pretty fabric into a Christmas Tree Ornaments.

1. Patchwork Christmas Tree Ornaments
I’m sure you might have some strips of fabric left from your finished quilts, all you need to do is to find two strips the same width of two different fabrics like red and white, green and red, or green and white.
Stitch the two strips of fabric together, 1/4 inch seam allowance and press, then cut two pieces of these four strips the same width.
Lay one strip over the second strip to make two pairs, right sides together and stitch on, open and press.
Lay one piece over the other, match the pieces by the color, right sides together, and stitch on three sides on your sewing machine, turn out the piece and stuff it with stuffing for pillows or with some left overs of batting fabric.
Tuck in the seam and hand stitching to close, Put a piece of cotton cord on a tapestry needle and put the cord on a corner, make a tie on the cord.
You can also sew on a button on the center on each side and the ornament is ready!
2. Yo-yo Christmas Tree
The yo-yos are often used on quilts and they are easy and fun to make, you can make the Christmas ornaments with yo-yos with any size fabric cut in a circle, all you need is to fold the edge of the fabric to the back at the same time you make some running stitches on the folded edge all around the circle, at the end of making the running stitches, pull out the thread to gather the fabric, arrange the gathered center, and stitch on a pretty button or bead on the center on both sides of the yo-yo.
As a final step, put a cotton or golden cord on one point on the edge of the yo-yo.
3. Hexies Christmas Tree Ornaments
The Folded Hexies Christmas Tree Ornaments is easy to make with any size fabric cut in a hexagonal template, you will need to fold the sides to the center to arrange the folds like a six point star.
You can read the tutorial to make the folded hexies here.
4. Folded Fabric Christmas Tree Ornaments
The Folded Fabric Chrismas Tree Ornaments are easy to make, and anyone who loves to make handmade Christmas decoration can make them with two circles of fabric!
The first thing to do is to select two coordinated fabrics with Christmas patterns on them, like red and white, green and white or green and red.
Cut one square from each fabric of 5 inches, take the white fabric on the wrong side and draw a circle with a pencil of 4 inches diametrer, but you can use as circle template anything you have at home like any lid or round container.
I find it easier to cut a square of fabric from each fabric and draw the circle template on the wrong side of the light color fabric first, when you have the two squares of fabric together, place them together with their right sides together and you can pinch a couple of pins to hold the fabrics while you stitch them together.
Sew on the two pieces of fabric together and stitch on the circle you marked on the light color fabric, no need to leave a gap open.
With a pair of scissors to cut fabric, trim the piece, leave a seam allowance of 1/4 inch, make some small cuts on the seam all along the seam.
Fold the piece in the middle in both ways to mark a central point on the piece, take one edge to the center and mark with your fingers the fold, you can mark the fold on the fabric that will be inside the ornament with a pencil, take that fabric with your fingers and make a small cut with your scissors, be sure you’re just cutting on one fabric, make a cut of 1 inch length the cut, turn out the piece, push the seam from the inside and you can press.
Thread your needle with a matching color polyester thread, make a knot on one end of your thread, and make one small stitch on the center of your piece on the fabric that will be in the inside.
Fold the piece in the middle to mark the middle line, open the piece and fold it in the other way to mark the middle line.
Stitch one edge on the marked middle point and pull the thread to get that edge to the center, make a second stitch to reinforce the piece, stitch the opposite edge, and pull the thread to get that edge to the center, make a second stitch to reinforce that edge on the center.
Do the same steps to get the other two sides edges to the center, reinforce each stitch, and at the end, you can reinforce the stitches again and cut your thread.
With your fingers, turn out each corner on the piece.
Thread a tapestry needle with a cotton or gold cord, and make one stitch on one corner of the ornament, tie the cord up and your folded fabric ornament is finished.
You can make as many as you want or need for your Christmas tree as they look amazing!
Thanks so much for visiting my blog and for sharing it on your Social Media

Puedes leer el tutorial para hacer los lidos Adornos Patchwork Para tu Arbol de Navidad en español, aquí!
You can read more tutorials to make for the Holidays here:
video Tutorial
