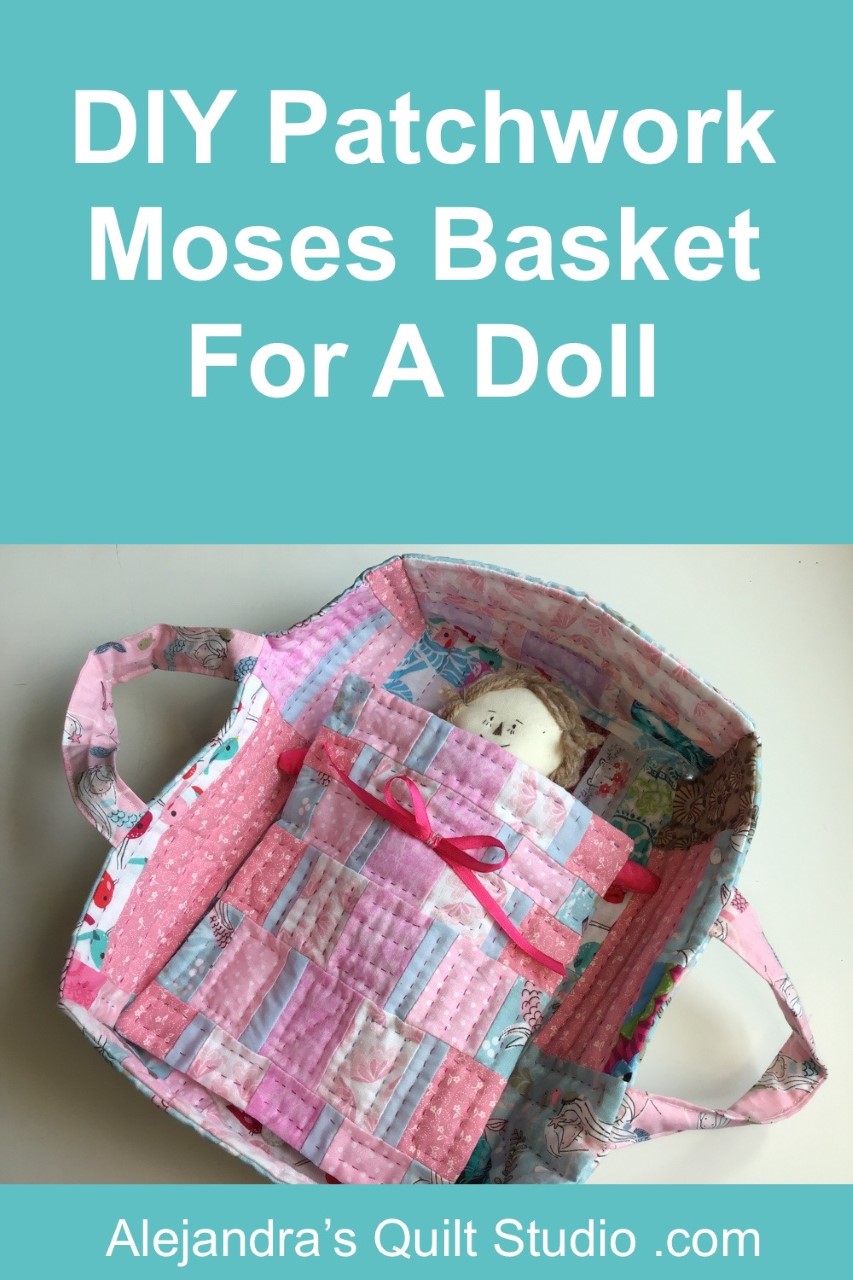
Patchwork Moses Basket For A Doll made with all those scraps of cotton fabric you have saved, after you finished your last quilt.
When you have a little one that loves to play with a doll, or if you know someone who is into doll’s collection, making a quilted moses basket will be on your projects to do list, whether you just want to make it for that person, or if you want to give it as a gift on a special day, like a birthday, Christmas, or any other event.
Patchwork Moses Basket For a Doll
On this tutorial, I’m making a Fabric Baby Doll Carry Cot, for the rag doll I made a couple of months ago, but at home, you can make it, for any doll you have, as the steps to follow to make it, are the same, but you just need to take the measurements from your own doll.
Quilted Moses Basket For A Doll, The Tutorial
1. Take The Measures
Take the measures from the doll you will be making the moses basket for, from the top of its head, to the feet, this will be the length + 1 inch, for the width, measure from one hand to the other, + 1 inch.
The moses basket depth, can be different for every doll, some can be deeper than others, for this doll I will be working with a depth of 4 inches.
As a final result, the measures I will be working will be:
- Moses Basket length – 4″ + doll length + 4″ = 12″
- Moses Basket width – 4″ + doll width + 4″ = 7 1/2″
These two measures will help you to cut the fabric for the back and the batting fabric, don’t forget always cut these two fabrics bigger than your quilt top.
For the top you need to make, you will need to make 3 different pieces with a patchwork method, I will be working with the Crumb Quilt pattern, but you can work with the Crazy Quilt, or any other quilt pattern you like to make for this project.
2. How To Make The 3 Patchwork Pieces

You need to make:
- 1 patchwork piece of 20 x 7 1/2 inches
- 2 patchwork pieces of 12 x 4 inches
When you finish making these three patchwork pieces, you can press them and trim to the required measure of each piece.
Fold each piece in the middle and with the help of a pencil for fabric or making a small cut with a pair of scissors, mark the center point on each piece.
3. How To Sew On The Top For The Quilted Moses Basket

Lay on your work table the big patchwork piece, and lay over this piece the two small pieces, pretty sides together, and each small piece should go on each side of the big piece, match the center of the big piece, with the center point of each small piece and pin both small pieces to the big piece.
Sew on your sewing machine, both small pieces to the big piece.
Verify that you have the same measurements on the big piece on both ends. If not, you will need to do this step again.
4. How To Make The Moses Basket Handlers
Cut two pieces of fabric of 11x 2 inches and two pieces of batting fabric of 11 x 1 inches
Take one piece of fabric at a time, and fold both edges lengthwise, 1/4 inch, put a piece of batting fabric inside and fold the piece in the middle lengthwise, and top stitching both sides on your sewing machine.
Lay the patchwork top on your work table and fold the piece in the middle, mark with the help of a pencil for fabric the center point on both sides. With a ruler mark 2 inches on both sides of each center point.
Pin each end of each handler on the two points you marked on both sides, sew on each handle to the top on your sewing machine and remove the pins.
5. How To Layer The Quilting Sandwich For The Quilted Moses Basket

Lay on your work table the batting fabric, lay over it the fabric for the back, pretty side up, and lay over this fabric, the patchwork top, pretty side down, pin the three layers of fabric.
Sew on the three layers of fabric together on your sewing machine, the stitching guide will be the patchwork top you made, you need to follow all the edges, and do a 1/4″ or 5/8″ for the seam allowance. Don’t forget to leave a gap open to turn out the piece later.
When the stitching is done, trim the fabric for the back and the batting fabric with the help of a pair of scissors, the cutting line guide will be the patchwork top.
Trim all corners diagonally, and make a cut on the in corners. Turn the piece out, and with your fingers push all the corners out, and flat the edge all around.
Sew to close the open gap, with latter stitches done by hand.
Lay the piece on your work table flat, and pinch enough safety pins to hold the three layers together, while you do the quilting.
6. How To Do The Quilting On The Moses Basket For A Doll

The quilting work can be done by hand or on your sewing machine.
7. How To Sew On The Moses Basket For A Doll

When you finish doing the quilting work, you can sew on each pair of sides for the deep on the moses for a doll, take each pair of sides and match the top corner of both pieces, pin both sides together, and with small hand stitches, stitch together both sides.
Use a strong thread, I’m using a polyester thread, and I do two or three stitches at a time and I do reinforce the stitching, I keep working this way all the way till reaching the top of both pieces, I reinforce the stitching and put the needle in the batting fabric before cutting the thread.
Follow the same steps to do the other 3 corners.
The Patchwork Moses Basket For A Doll is done and it looks amazing!
Note:
Fabric Baby Doll Bassinet tutorial is to make it for a doll, it’s not for making a bassinet for a baby, when making a moses basket for a baby, you need to follow some steps to make it secure to carry a baby in it, and you need to use with fabrics that are safe for a baby. On this tutorial I give you the steps to make a doll sized fabric moses for a doll only.
As a second note: When making any Doll Sized Fabric Moses Basket for any young kid, don’t sew on any button or any bead or lace of ribbon that could harm your kid, it’s always better to think on your children s safety.
Related Posts:
Thanks so much for reading my blog!

Puedes leer el mismo articulo para hacer una linda Cunita Para Una Muñeca en Español, en este enlace!
Video Tutorial:
