Hello everyone!
Hope you had some free time to make the first part of this tutorial to make this cute quilted bag with yoyos.
Did you have any problems to make your mini quilt? you can leave a comment here and I will reply to you.
Frist part of this tutorial is easy to make, and second is easy to make too, it only has more steps to make.
- When we finish our mini quilt to make this quilted bag, it should look like this picture. On this step I put a bias 1 1/4″ wide on top and bottom sides of the mini quilt, I sew the bias on the inside then I fold it twice on the right side of the bag and I run the sewing machine to close the bias, you will see how the bias looks like on a picture on step 4.

2. To sew the zipper, I begin to place it on the inside of the bag, zipper should face outside, I make a running stitch to sew the zipper to the bag, little stitches, then I make over cast stitches on the edge of the zipper to sew it properly to the bag. I did the same on the other side of the zipper on the other side of the bag.

3. On this picture, you can see more clearly how I make the over cast stitches.

4. Once I finish to sew the zipper to the bag, the bag looked like this.

5. A view on the inside of the bag with the zipper.

6.

7. To work on the sides of the bag, I made a running stitches, about 1/4 ” long, more or less, with double strand and I pulled out to work the sides as yoyos. Don’t make any stitches on the bias.

8. Then I did the same on the other side.

9. I made four yoyos and I appliqued one yoyo on each side of the bag, on two on the inside and two on the outside.

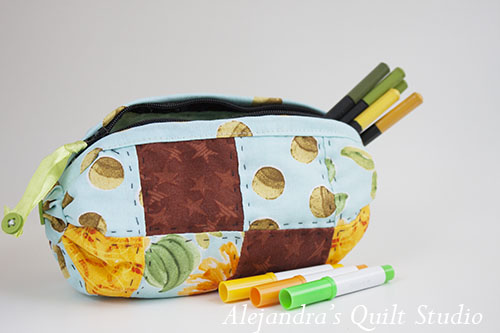
10. The bag its finished, to make some finishing steps, I sew a little button on each yoyo on the outside, and I place a ribbon on the zipper to make easier to open and close it.

This bag is really easy to make and looks fantastic!, I would highly recommend to make at least one!
If you have any question about this tutorial, leave a comment and I would reply to you shortly.
If you find this tutorial to make this little, easy and cute bag great, you can Pin It so you can find it later.
I thank you for your visit on my blog, I also thank you for sharing it.
Alejandra.

