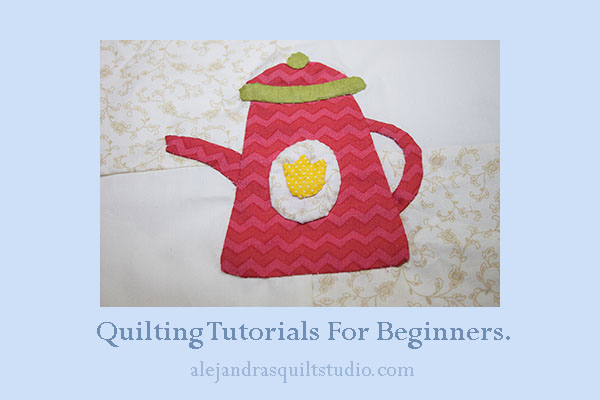
If you love Quilts and you want to learn how to make them, today I will let you know how I work with applique.
Applique is a sewing technique that is often use to make quilts, a quilt can be made by using only patchwork or quilts also can be made working with applique, where a piece of fabric is sewed on another fabric.
When you use applique to make quilts, you can applique any design on a quilt. There are so many beautiful quilts made with applique on the internet, you can visit my Pinterest Quilts Board to look at some of them.
Applique as a sewing techinque
When I learned for the first time to make quilts, I also learned this applique technique, since that time, I make my quilts using both sewing techniques.
As I told you on my past blog post, I’m working on a new quilt, I’m going to be working with patchwork and with applique patterns. You can read the first post about this quilt “Free quilting patterns for beginners”, if you want to quilt along with me, you can be working on your quilt at the same times as me.
Don’t run, don’t push yourself, I might be working on this quilt faster than you, as I want to work a little faster than you so I can take some photos to show you how this quilt is going and I need also some time to write the blog post to share new patterns and some sewing and embroidery stitches I will be working with.
You will have enough time to sew each block for your quilt, you can download every free pattern anytime you want to, I will keep every free pattern here on my blog for you.
On the last blog post I told you how you can make the blocks for this quilt, on that blog post you can find also the first free pattern to make a flower.
Applique technique using paper.
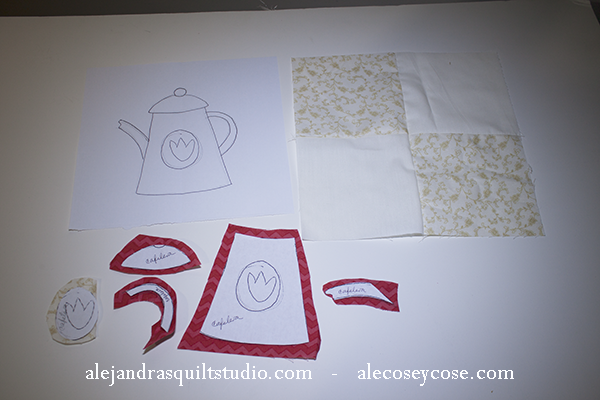
2. Once you download the free pattern, print it out twice, one is for you to keep it and the second is for you to cut out all the templates on it.
To start off, you’ll need a template of each shape. I love freezer paper for this step! Yes, you can definitely use the roll of freezer paper from your grocery store, but I like the precut sheets because it’s slightly heavier so the cut templates last longer when I use them over and over.
When you cut all the templates on paper from your pattern, place every template on a piece of fabric and place a pin on it to keep it on its place, with a scissors, cut the fabric adding the seam to the pattern (1/4 “)
This time I’m working on the applique using the paper on the back of every piece of fabric to give every piece the right shape according to its pattern.
I do this, sewing running stitches on the edge of the piece of cotton fabric, then I pull out gently the thread to give the pattern shape to the fabric.
You can iron with a warm iron or you can press the fabric with your finger nail.
Place this piece on your quilt block, place one or two pins or run one or two big running stitches to keep the piece in its place.
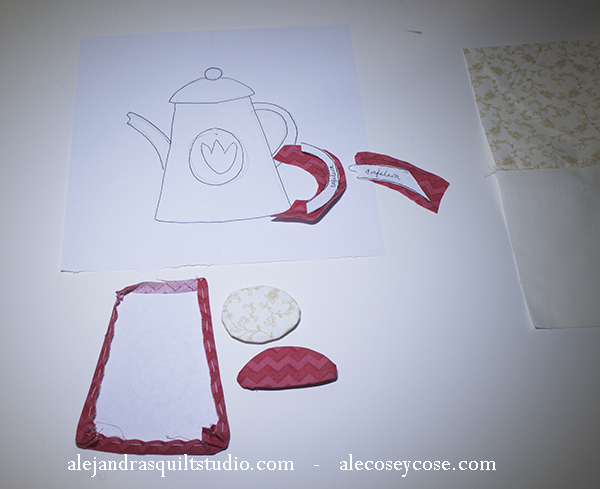
3. When you work on this sewing method, you need to do some applique stitches around the piece to applique the piece on the quilting block.
You can use a color thread according to each piece fabric, or do as I do, use beige thread to do the applique.
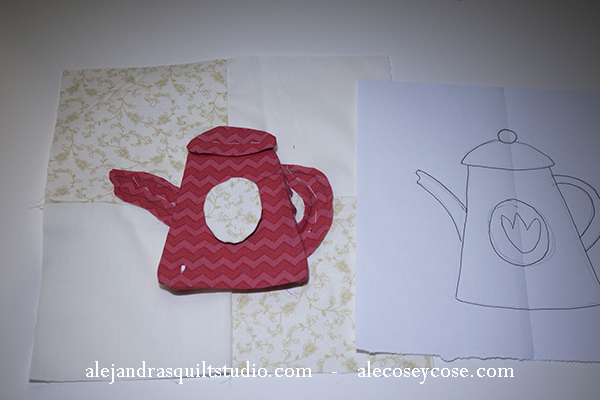
4. Hand Applique.
Hand applique is a method of hand-stitching fabrics together to create dimensional designs on a background fabric. In patchwork and applique quilting.
5. How to make the hand applique
Begin by threading your needle and placing a small knot at the end of your thread. For needle-turn hand applique, use your fingers to fold under a short section of your applique piece. Come up from the bottom of your background fabric with your needle. Bring the needle through the edge of your applique piece, coming up as close to the “folded under” edge as possible.
Next you will take a stitch straight down into your background fabric. When you bring the needle back up, you will again come up through the background fabric and through the edge of the applique piece, making your stitch as close to the edge as possible. Your stitches should be close together—no further than 1/4” apart.
As you continue to stitch you will use your needle to turn under the unfinished edges of your applique piece along the marked line.
A stiletto may also be used especially when turning under edges at corners where there is a more bulky section of the fabric. Turn under a small portion at a time, stitching that portion using the applique stitch, before turning under another section.
Continue working in this manner until you have completed about 3/4 of the appliquéing your piece to the background fabric, remove the pins or the running stitches and remove the paper from this piece of applique, continue working until you finish this piece.
When you work with applique, you need to work on the larger pieces that goes first and then work on the smallest pieces that use to go on the top of other pieces.
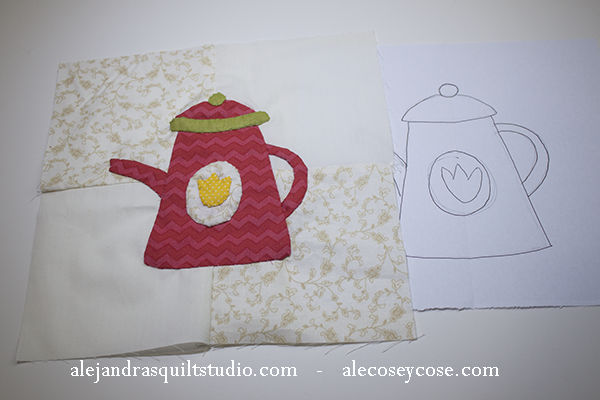
On the next blog post I will work on how to sew the blocks together to make this quilt.
If you have any question about this quilt or about the free patterns, you can leave a comment here above or on Alejandra’s Quilt Studio on Facebook.
If you want to make this quilt, you can PIN it so you can find it later.
