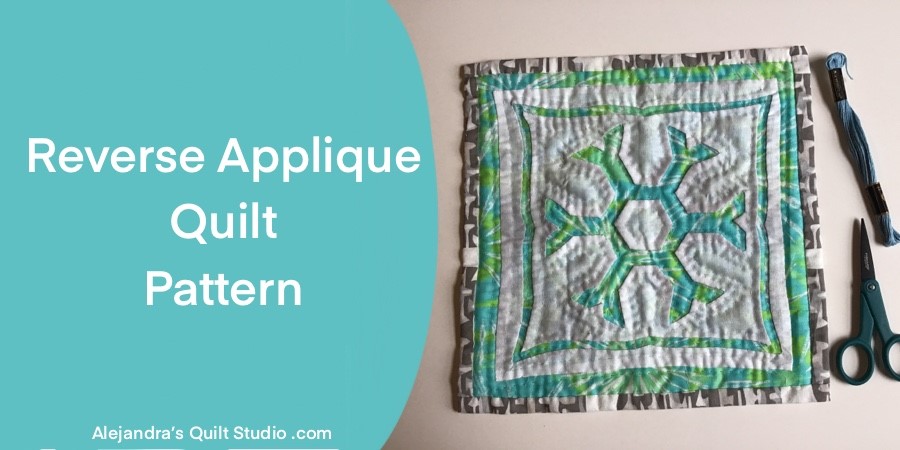
Reverse Applique Quilt Pattern is an easy sewing method to make many different quilting projects for you and for your family.
What Is Reverse Applique?
Reverse Applique is a sewing method that makes cuts on the top layer of fabric and you will need to fold to the back the seam on the edges of the cut templates to stitch on the layer of fabric underneath, as the top layer of fabric is stitched to the lower layer of fabric, the piece gets textured and the cut design appears.
Reverse Applique Quilt Pattern
How To Make A Reverse Applique Snowflake Mini Quilt Pattern
This is an easy to sew tutorial for beginners or more advanced quilters and sewers, you can find the list of materials and supplies needed below the tutorial.
1 – Reverse Applique Template
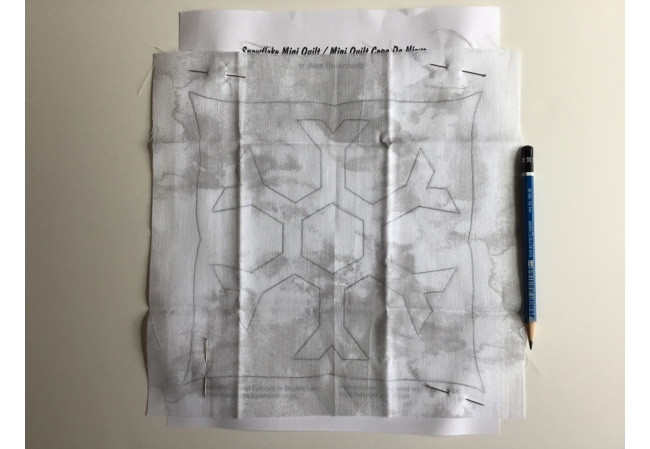
Download and print the Reverse Applique Template and place it under the fabric you will use on the top of the applique, as the design for the snowflake Mini Quilt, you can trace the template design on a white fabric and it will be easy for you to see the template through the white fabric.
You always can use the system of placing the paper template and the fabric on a window with daylight to trace the template on the fabric.
Use a pencil for fabric to trace the template on the fabric.
2 Cut The Fabric.
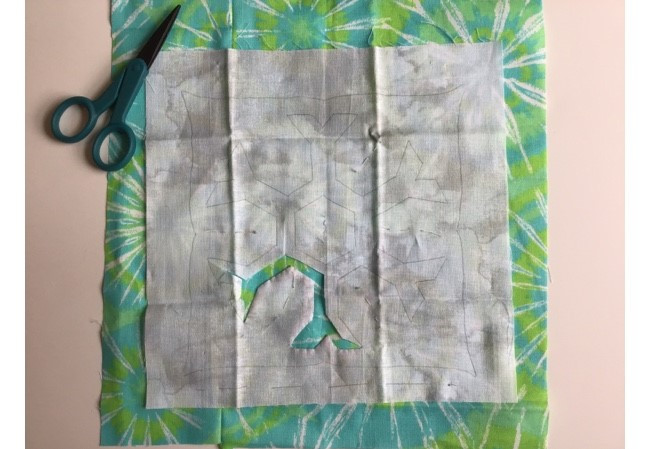
Lay the fabric B on your work table and lay over it the fabric A with the template traced on it, pinch a few pins to hold the two fabrics together as you work on the reverse applique.
I will recommend doing some basting stitches to hold the two pieces of fabric together, by doing the basting stitches seems to work better and is easier to handle the project as you work on cutting the fabric and doing the reverse applique.
With a pair of small scissors with sharp point, cut the top fabric, cut the fabric in the middle of the two lines traced on the fabric.
To cut the fabric on the end of each point of the snowflakes, cut the fabric 1/4 inch from the line and make one diagonal cut to reach the corners, by doing this will help you to have enough seam allowance to fold to the back of the fabric.
3 Stitch On The Reverse Applique
The Reverse Applique is made with one single thread on your needle, you will be working to fold the seam to the back of the fabric, and do small stitches on the folded fabric.
Keep working this way until you finish all the reverse applique.
4 How To Do The Border On The Mini Quilt
On the paper template, there is a line on the border, you need to draw a line 1/4 inch from the line on the fabric, make the cut in the middle of these two lines and work on the reverse applique on both sides.
To finish the applique, fold 1/4 inch on the four edges and do the applique.
5 How To Trim The Mini Quilt Top
When the applique of the four sides is finished, with the help of the quilting ruler and the rotary cutter, trim the four sides to 1 inch from the applique piece.
6 Quilting Sandwich
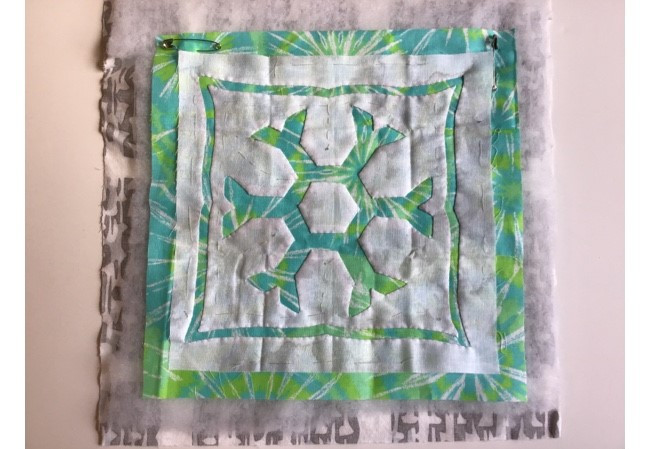
As this project is a mini quilt, lay on your work table the fabric for the back, pretty side down, lay over this fabric the batting fabric, and lay over it the piece with the reverse applique.
Pinch a few safety pins to hold the three layers of fabric together and work on the quilting, it can be done by hand or with your sewing machine.
7 How To Finish The Selfbiding On The Mini Quilt
When the quilting is finished do some basting stitches on the edge of the four sides, trim the batting fabric with the help of a pair of scissors and trim the fabric for the back 1 inch bigger than the top of the quilt.
Fold each side up to meet the edge of the top, and fold it up again to cover 1/4 inch of the edge, pinch a few pins and hand stitch to close the self biding.
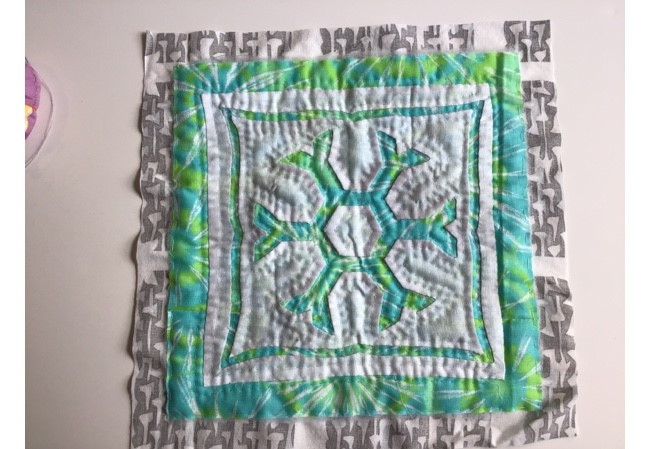
The Reverse Applique Mini Quilt is finished and it looks amazing!
Materials
- 1 piece of cotton fabric in white or light beige of 11 x 11 inches
- 1 piece of cotton fabric in any color of 13 x 13 inches
- 1 piece of thin batting fabric of 14 x 14 inches
- 1 piece of cotton fabric in any color for the back of the mini quilt of 14 x 14
- Quilting tools
- Hand sewing needle
- Hand quilting needle
- Sewing thread
- Quilting thread
I hope you have fun making the Reverse Applique Mini Quilt as much as I did!
The Reverse Applique method is a great way to make different quilting projects, from making a mini quilt, to making pillows and any regular size quilts.
Now that you know how to make it, I’m sure you’ll be making beautiful quilts with this sewing method.
Thanks so much for reading my blog
Related:
- DIY Applique Pillowcase – An easy applique tutorial to make a floral design pillowcase
Puedes leer el mismo tutorial para saber mas sobre Como Hacer Aplique Invertido En Una Quilt aqui!
Thanks so much for sharing my blog on your Social Media!
Watch the video tutorial here
