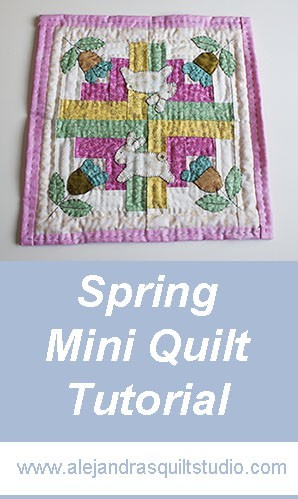
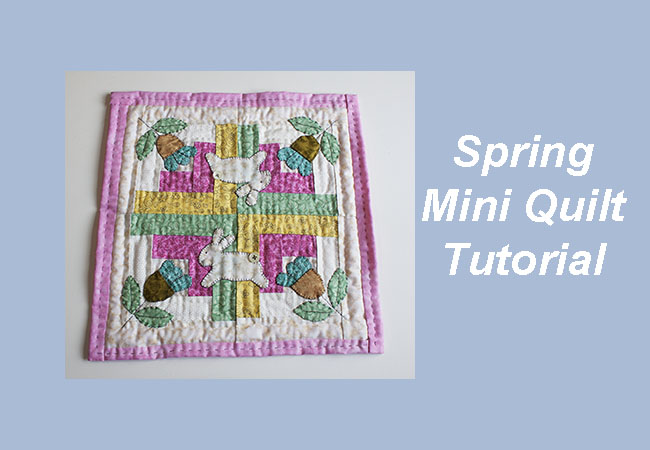
Spring Mini Quilt Tutorial is an easy and cute patchwork to make to welcome the new season, make with pastel and soft colors and two cute rabbits.
Slowly weather is changing, days are longer and light is brighter, soon my back yard will be green again and I’ll be happy to see flowers blooming everywhere.
Making the Spring mini quilt is a way to welcome the good weather again here on the north hemisphere, it will help you to spread the happiness of a new season in your home again.
I choose to work this time with soft pastel color, rabbits and flowers on a top made with four small blocks made with log cabin.
Even this is a mini quilt, it can take some time to finish it, as you will need to work on it in three different steps:
- Making the mini quilt top
- Quilting the mini quilt
- Make the applique and do the embroidery on the mini quilt
Medium and Advance level.
This is a patchwork project for medium and advance quilter level. If you’re here, it won’t present any difficulty for you to make it. And I think you’ll love to make it.
Beginner Quilter.
If you’re a beginner quilter, don’t stop to make the Spring mini quilt.
It might take longer to make it, but if you follow the different tutorial steps to make it, I’m sure you’ll make it with no problem at all.
You can follow each step of the tutorial as you work on your mini quilt. You have also the video to take a look on the different steps I worked to make it.
Even the video is in Spanish, I wrote each one of the steps on the video in the tutorial, so you have no problem to follow me as I work on the video to make the mini quilt.
In case, you have any problem, leave your question on a comment and I’ll reply to you.
Materials To Make the Spring Mini Quilt
4 squares of white cotton 100 % fabric in white or light beige with or without small prints of 2 x 2″
A few strips of cotton fabric 100 % of 1 1/2″ wide by different lengths as each fabric is needed of the following colors:
- Light beige or white with or without small prints.
- Green
- Yellow
- Pink
Cotton 100 % fabric for the applique in the following colors: green, blue, brown, white or light beige.
1 piece of thin batting fabric of.13 x 13″
1 piece of cotton 100 % pink fabric for the back of the mini quilt of 15 x 15″
Polyester 100 % thread in beige and in gray.
2 small white buttons.
Rotary cutter
Cutting mat
Patchwork ruler
Scissors
Pins, safety pins, needle.
You can download the Mini Quilt FREE pattern here, just click on the blue button below to get the PDF
Video
Spring Mini Quilt Tutorial
Step 1
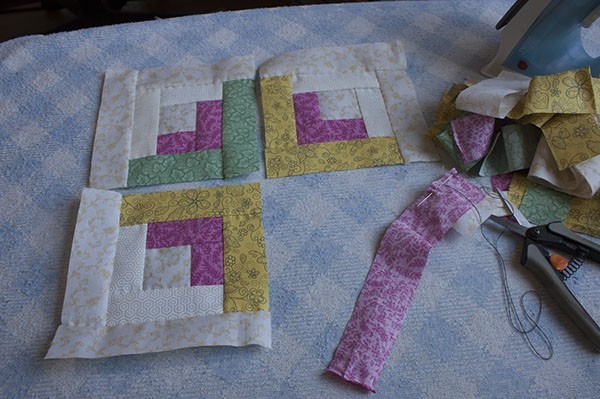
Make the four blocks of long cabin, two should be with yellow fabric and two should be with green fabric. Press.
Step 2
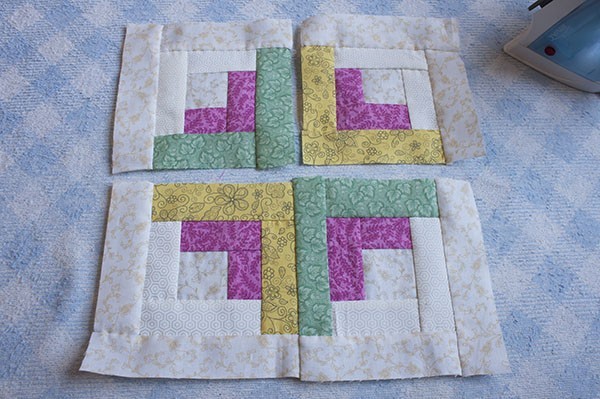
Lay the four Lob Cabin blocks on your work table, follow the order of the blocks on the photo below.
Sew two pairs of blocks to make to lines of blocks, press.
Sew one line to the other to make the mini quilt top, press.
Step 3
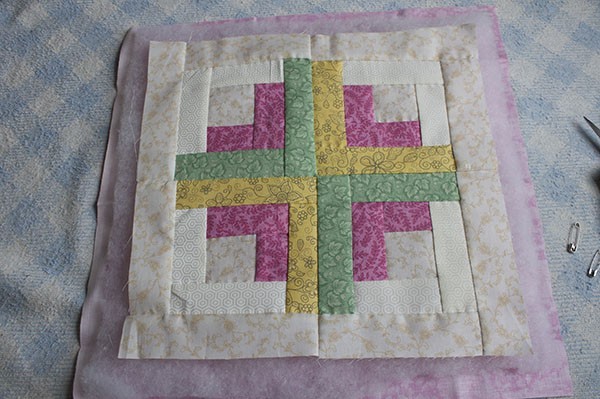
Make the quilting sandwich by placing first the pink fabric for the back of the mini quilt, right side down, lay over this fabric the batting fabric and lay over the batting fabric the top of the quilt.
Pinch a few safety pins to hold the three layers of fabric together.
Step 4
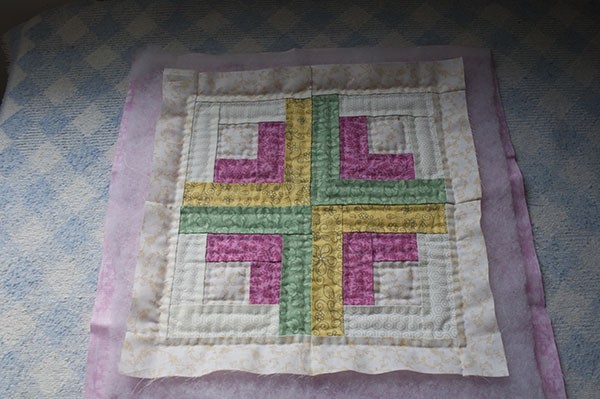
Do the quilting.
I did the quilting by hand, I did a simple quilting on the log cabin design. At home, you can do this step with your sewing machine if you prefer to do the quilting with your sewing machine.
Step 5
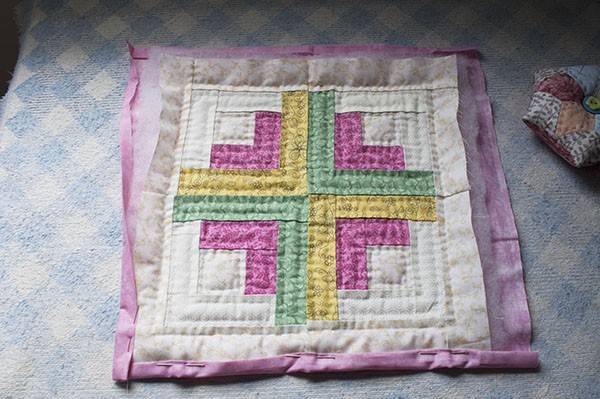
Trim the batting fabric 1/2″ wider than the mini quilt top, fold the pink fabric to finish the mini quilting by making self biding method.
Step 6
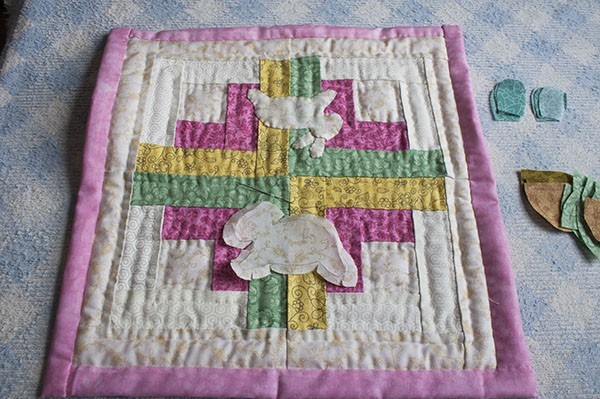
Download the applique free pattern and cut out the templates.
Trace the templates on the fabric using a pencil or a marker for fabric. You need to add 1/4″ for the seam as you cut out each piece from the fabric.
Applique all the pieces on the mini quilt.
Step 7
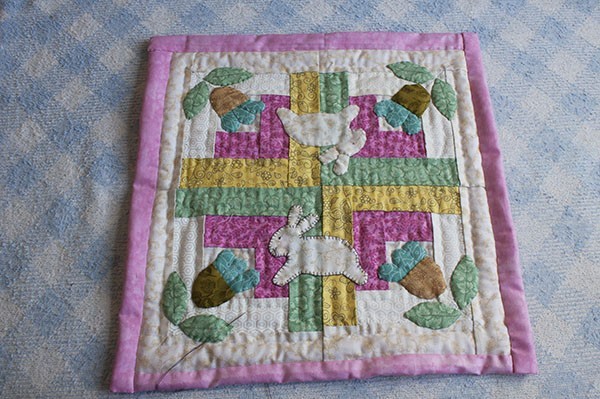
Once you finish the applique of all the pieces, the Spring mini quilt will look like this (photo below)
It’s time to work on the embroidery. I did all the embroidery with a single thread of polyester 100 % in gray.
The different embroidery stitches you will need to work are:
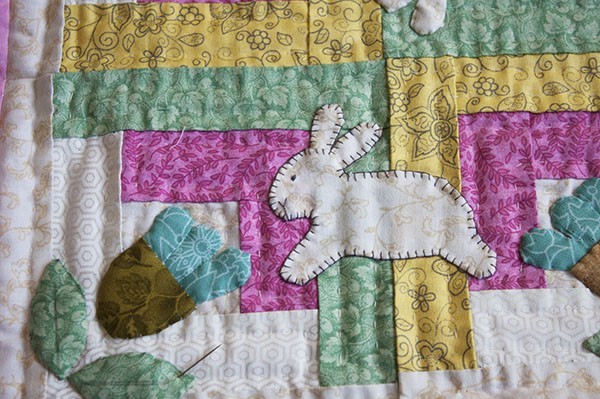
- Button hole – rabbits and flowers.
- X stitches – leaves
- Back stitch – leaves lines and flower stalks.
- Satin stitch – rabbits eyes.
Sew the two white small buttons as the rabbits tails.
Step 8
This photo below shows how the rabbit looks like with the button hole stitches on it.
Step 9
Congratulations you finished the Spring Mini Quilt and it looks amazing!
Spring will be here in just a few days more on the North hemisphere and this mini quilt will help you to welcome it.
Soft pastel colors, a couple of cute little rabbit and some flowers, nothing better to welcome Spring and this mini quilt will look amazing in any corner of your home where you place it.
For you, who live in the South hemisphere, weather is just about to change and it will bring fresher temperatures with the arriving of Fall, but you always can make some mini quilts in advance to welcome Spring when the time is right for you. Save this blog post on your Pinterest or make it today, you’ll have a cute mini quilt ready for Spring.
Well, I’ll let you go now to look for the fabric you’ll be using to make the Spring Mini quilt, if you have any question, you can leave your question on a comment, I’ll reply to you.
I thank you for stopping by to read my blog and for sharing it on your Social Media, this way your friends will also know about this tutorial and they can make also the Spring mini quilt.
Follow me on Social Media, so you can take a sneak peek on my quilting, patchwork and embroidery work as I share the moments of my work on these platforms:
If you like the Spring mini quilt but you want to make it later, you can save this PIN on your Pinterest account, so you can find this blog again.
I thank you for sharing my blog on your Social Media 🙂
