Adding Borders To A Quilt is the final step to work on a quilt top, easy to sew borders can be made in less than one hour!
The Row By Row Quilt top needs a frame to highlight the patchwork rows, adding a border made with the same fabric will do the job and the results can be amazing.
After having worked on this quilt top for a few days, today you can work on the borders to finish the quilt, on this tutorial I will share the easy steps to follow to stitch 8 strips to make the borders.
At the end of the tutorial I will share also how I’m doing the quilting sandwich for this quilt to make it like a Summer Quilt.
Adding Borders To A Quilt
Materials and Supplies
- Strips of cotton 100% fabric of 1 1/2 inches and different lengths
- Rotary cutter, patchwork ruler and cutting mat
- Scissors
- Pins
- Sewing Machine
- Iron
Adding Borders To A Quilt Step By Step
There are many different types of borders to add to a quilt top, from adding a strip of fabric or to sew an elaborate patchwork or applique border made by you.
Today I will share the steps I followed to sew some strips of fabric that were left after I made the rows of this quilt. it’s a simple way to add the four borders to a quilt top and it can be made in less than one hour.
Step 1 – Adding The Sashing to The Quilt Top
On the previous tutorial, you work on the rows 4 and 5 and you also stitched the shashing to the top and the bottom of the quilt top. Today you can stitch on the shashing to both sides. Open and press.

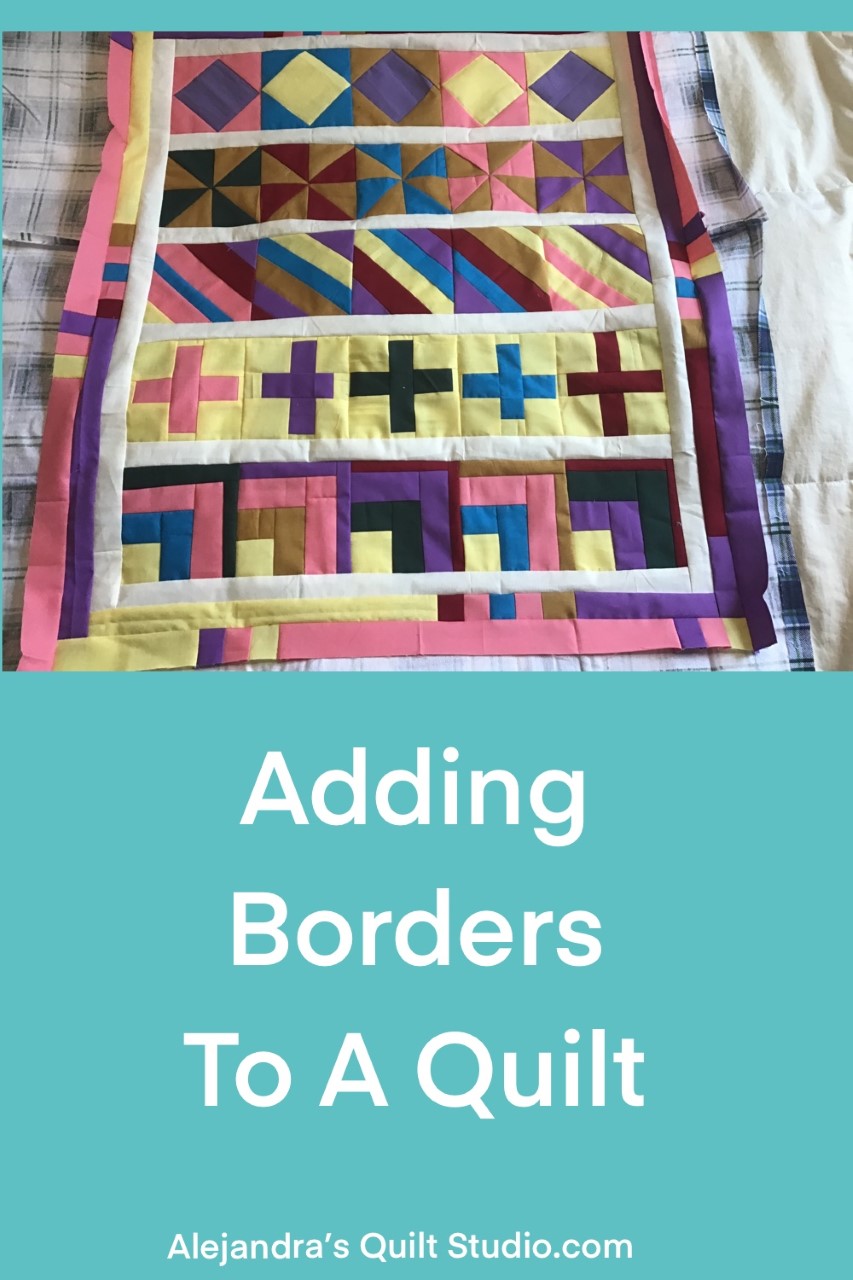
On the image below, you can take a look how the quilt top looks when it’s finished, and it is already a good size to be a Baby Quilt or a wall hanging.

Step 2 – Cut Out The Fabric Strips
After you have worked on the different rows for this quilt, I’m sure you might have some strips of fabric left over, you will need to cut out those strips to 1 1/2 inch wide and different lengths, in case you don’t have any fabric leftover from the patchwork blocks, then you will need to cut some strips of fabric to make the borders.

Step 3 – Stitching Up The Fabric Strips
Starting to work on the strips of fabric to make the borders for this quilt, you will need to stitch on 3, 4 or 5 short strips of fabric of different colors, press.
Cut out these stitched strips of fabric into 1 1/2 inches strips, you will need the minimum of 8 pieces, but if you want to you can add two pieces of strips on each border.
On this quilt top you will stitch on 8 strips to make the borders.

Step 4 – Adding Borders To A Quilt
Once you finish stitching on the 8 strips of fabric, I need to say, there are no rules here, and each quilt will look different, as you will be stitching on one strip at the time on the four sides of the quilt.
Start with one side, lay the first strip on one side of the quilt, right side to right side, and lay it out the way you like, pin it and stitch on your sewing machine, trim both ends to the size of the quilt, open and press. Do the same with the other side.
Now, do the same steps to add the first border to the top and the bottom. Press.
Once you have stitched on the four strips on the quilt top, you can do the same steps to add the second border to the four sides of the quilt, press.
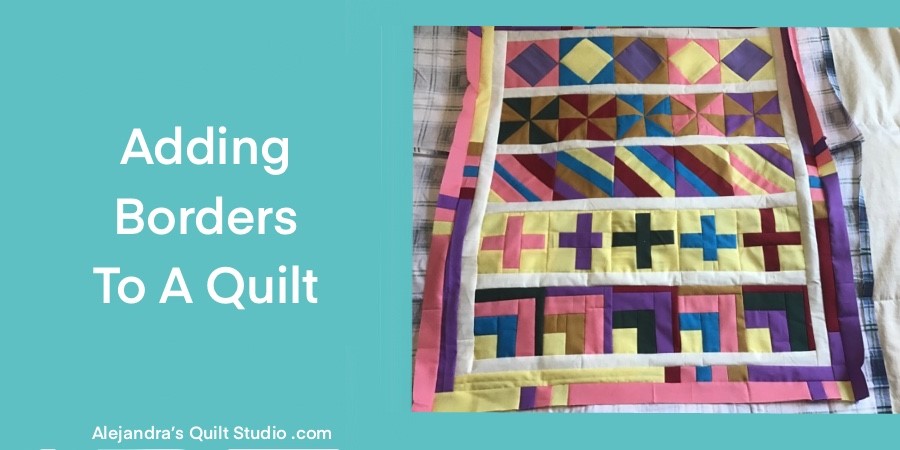
On the image below, you can take a look how the quilt top looks like with the four borders.
Step 5 – How To Make The Quilting Sandwich
If you have been quilting for a while, you know well a quilting sandwich is made with the fabric for the back, the batting fabric and the quilt top.
Today I’m going to work on this quilt to make a Summer Quilt, by this means, I’m going to make it a light quilt, with no batting.
I’m going to use a flannel as the back for the quilt, and I lay it out on my bed, then I laid over it the quilt top, I pinched a few safety pins and I started working on the hand quilting.
If you don’t want to make it as a Summer Quilt, all you need is to add the batting fabric between the quilt top and the fabric for the back and then pinch a few safety pins and you can work on the hand quilting or the machine quilting.
I will stop this tutorial here, as I know working on the quilting needs some time, whether you make it by hand or by machine.
On the next tutorial, I will show you how the Row By Row Quilt looks like all quilted, and we’ll be working on the bias to finish this quilt.
I thank you for your visit and your interest to follow my quilting tutorials, if you make the Row By Row Quilt and you share it on your Social Media, add a hashtag #patchworkwithalex so I can see it.
Don’t forget to follow me on Social Media
You can read the first tutorials to make the Row By Row Quilt here:
- Row By Row Baby Quilt Tutorial – Learn how to make the first Row for the Baby Quilt here.
Puedes leer el mismo tutorial en espanol en el blog de Ale Cose y Cose, Coser Bordes A Una Quilt.
Thanks so much for sharing this Quilting Tutorial on your Social Media!

You can watch the video here:

