When you love to make Patchwork and Quilting, you might have already a basket full of pretty scraps of fabric, making a small project with them is a good idea, and today I want to share an easy tutorial to make a pouch.
Double Pocket Patchwork Pouch is an easy tutorial to make a pouch with a small block made with the Log Cabin Quilt pattern, in a few easy steps, you will make it and I’m sure that when you see how easy it is to make, you’ll be making more than one.
Double Pocket Patchwork Pouch, The Tutorial
1. How To Make The Log Cabin Block
The Log Cabin Quilt Block is one of the basic blocks every quilter will learn as a beginner, in case you’re just starting your journey as a quilter, you can read An Easy Pouch To Make, it will show you how to sew on the strips of fabric beginning at the center.
For this pouch, I started to work on the Log Cabin Quilt Block, with a piece of fabric for the center of 2 x 1 1/2 inches , the strips are 1 3/4 inches wide.
When the Log Cabin Quilt Block measures 6 1/2 x 6 1/2, you will need to sew on three strips of fabric of 6 1/2 inches long on one side.
2. How To Quilt The Log Cabin Block
When the Log Cabin Quilt Block is finished, cut a piece of fabric for the back and a piece of thin batting fabric of 8 x 11 inches.
Make the quilting sandwich by laying the fabric for the back on your work table, pretty side down, and lay over it the batting fabric, lay on the top the Log Cabin Block with its pretty side up, pinch a few safety pins and now you can work on the quilting by hand or with your sewing machine.
When the quilting is finished, remove all the safety pins and trim the piece to 6 1/2 x 91/2 inches.

3. How To Sew On The Bias
Cut a piece of fabric of 1 3/4 x 7 inches, and stitch this piece on one side of the quilted piece, you can do this step by sewing on the strip of fabric by machine, and fold it as a bias to the other side, to stitch on the bias, you can do it by hand or with your sewing machine.
4. How To Make The External Pocket
Cut a piece of fabric of 8 5 inches, from the same fabric for the interior of the pouch, and cut a piece of fabric of 8 x 2 1/2 inches from any fabric you like.
Lay the piece of fabric for the interior with its pretty side down on your work table, lay over this piece the piece of fabric cut from any fabric you like with its pretty side up, match both pieces on the top, mark the seam on the top piece and flip it to the other side of the first piece, sew on the small piece to the big piece and flip the small piece up again,
Lay this piece on your work table and lay over it the quilted piece, the side with the bias should be placed where the external pocket will be. pinch two pins, turn the piece pretty side down, and fold the fabric from the external pocket on the bottom to mark the seam, pinch two pins and stitch on by hand, the stitching should stay on the batting fabric.
Trim the piece.

5. How To Sew On The Pouch.
Lay the piece on your work table, pretty side down, and fold the piece in the middle, pinch a few pins.
Cut two pieces of fabric from the same fabric you used for the interior of 1 3/4 x 6 inches, and sew on both sides of the pouch with one strip of fabric on each side on your sewing machine, reinforce the stitching at the beginning and at the end.
Fold the strip on each side as a bias and sew on to close the bias on each side of the pouch.

6. How To Sew On The Bias
Cut a piece of fabric from any fabric you like of 1 3/4 x 13 inches, and sew on this piece on the top of the pouch, on the pretty side, open the strip and fold it like a bias on the back, stitch on by hand to close the bias.
7. How To Sew The Zipper
Turn the pouch pretty side inside and place the zipper on one side of the opening, pin the zipper on one side, stitch on the zipper to the pouch by hand with small stitches, you can do one stitch forward and one back stitch to reinforce the stitching. When one side is done, you can pin the other side of the zipper to the other side of the pouch opening, follow the same steps to stitch on the other side to the pouch,
When both sides of the zipper are stitched on the pouch, always test the zipper and check if it works good, if it does, you can do a stitching on the edge of each side of the zipper to give it a professional stitching. Stitch on also the two ends to the pouch with small stitches.
Turn the pouch out and its almost finished.
8. Final Stitching
You can sew on a snap button or two on the external pocket, and if you like the idea of doing some embroidery stitching on the pouch, you can do some X stitches or herringbone stitches on the quilted lines.
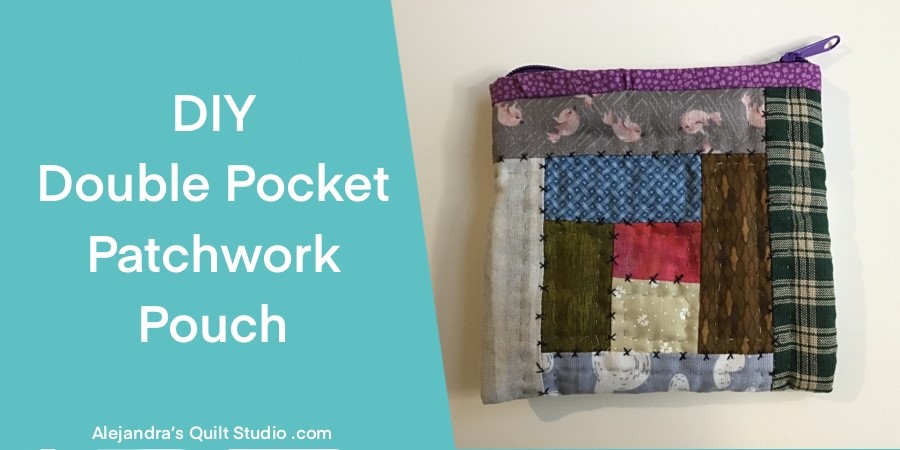
The Double Pocket Patchwork Pouch is finished and it looks amazing!
I’m sure when you see how easy it is to make this double pocket pouch with a quilted block, you’ll be making more than one!
Thanks so much for reading my blog today!

Puedes leer este tutorial para hacer el Doble Bolso Patchwork en espanol, aqui!
You can read more Patchwork Bags Tutorials here:
a
Video Tutorial