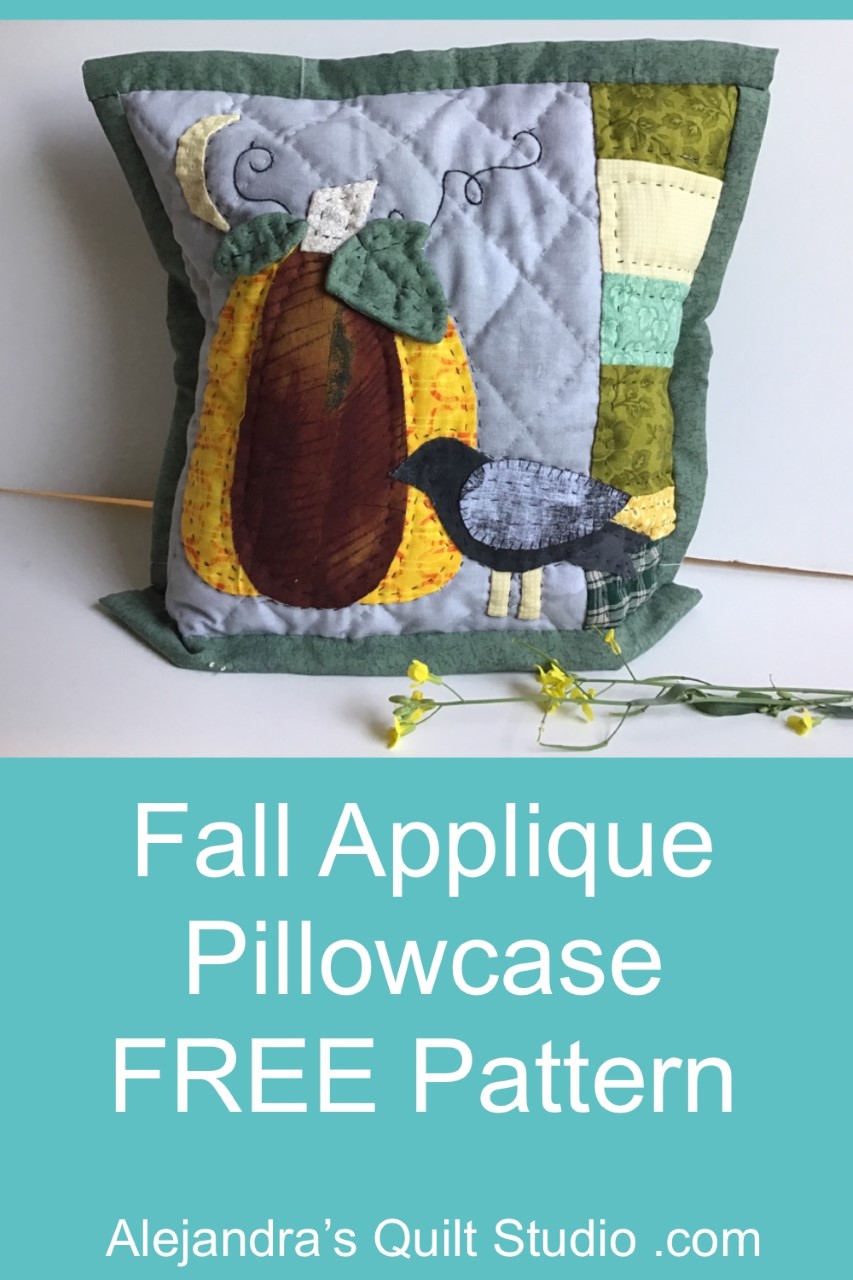
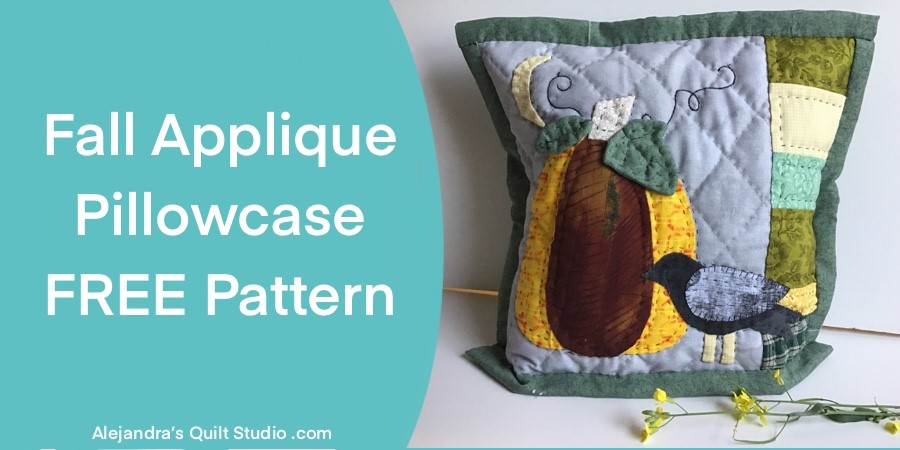
Fall Applique Pillowcase Pattern is an easy patchwork tutorial to make a pillowcase to help you to add the Fall touch to your home.
This is an easy step by step tutorial to make a cute pillowcase with a pumpkin and a black bird to add the Fall touch to a corner at your home.
As the weather will get chill in a few weeks, everyone will spend more time indoors, the weather will keep us all more time in the house, so you might want to make something cute to add that cute touch to your home.
Fall Applique Pillowcase Pattern
Materials
- 1 piece of cotton fabric light gray of 11 1/2 x 9 inches
- Cotton fabric in different colors for the applique
- Cotton fabric in different color 3 1/2 inches long x different widths
- 1 piece of batting fabric of 12 x 14 inches
- 1 piece of fabric for the back of the quilting sandwich of 12 x 14 inches
- 1 piece of cotton fabric of 11 x 14 inches for the pillowcase back
- 1 piece of cotton fabric of 7 x 14 inches for the pillowcase back
- Fall Applique Pillowcase Pattern FREE
Autumn Applique Pillowcase Step by Step Tutorial
1 How To Prepare The Applique Pieces
Download the Free Pattern and make one extra copy, cut out all the paper templates with a pair of scissors to cut paper.
Take one paper template at a time, place the paper template on the back of the fabric, pinch a pin, and cut the fabric piece with a pair of scissors for fabric, add 1/4 inch for the seam allowance.
Make small cuts all around the seam allowance on each piece, fold the seam to the back and do some big stitches to baste the seam to the back.
Note: On the two pieces of the pumpkin on both sides, don’t fold the seam to the back on the side where the central piece will be appliqued.
When the three pieces for the pumpkin are prepared, place the central piece over the two pieces for the sides, pinch a few pins to hold the pieces while you work. Do the applique of the central piece.

2 How To Prepare The Pumpkin Piece For The Applique
On the back of the piece, with a pair of scissors, cut out the seam to 1/4 inch on both sides of the central piece. Don’t remove the paper template.

3 How To Applique The Pumpkin And The Moon
Lay on your work table the piece of fabric for the pillow, lay over it the piece for the pumpkin, pinch a few pins to hold the piece on its place, you can do the applique of the piece.

4 How To Cut Out The Fabric Of The Back
When each piece for the applique is done, you can cut out the fabric from the piece for the background, leave 1/4 inch for the seam and now you can remove the paper template.
Do the sames steps to do the applique of all the pieces on this project.

5 Sew On The Fabric Pieces For The Sidebar
Sew on the fabric pieces for the sidebar, each piece should be 3 1/2 inches long and they can be different widths, stitch on enough pieces until the strip measures 11 1/2 inches long.
Sew on the strip to the background piece.
You can do the applique of the bird now.
6 How To Make The Quilting Sandwich
Lay on your work table, the piece of fabric for the back, with its pretty side down, lay over it the batting fabric and lay over it the piece with the applique. Pinch a few safety pins.

7 How To Do The Quilting
This project can be quilted by hand or with your sewing machine. Feel free to be creative on the quilting.
I did the hand quilting 1/4 inch from the seam, and on the background it has a 1 1/2 inch —–
8 How To Finish The Fall Applique Pillowcase
Take the two pieces for the back, fold twice to the back one side on each piece of fabric and sew on your sewing machine.
Lay one piece first on your work table, and then lay the second piece over the first one, both pieces should have their pretty side facing down.
Trim the quilted piece 1/2 inch bigger than the quilted piece.
Lay the quilted piece over the two pieces for the back, and be sure you have one each bigger on each side.
Fold up twice each side of the pieces for the back to cover at least 1/4 inch on the quilted piece, pinch a few pins all around the four sides, stitch on the four sides to close. This step can be done by hand or with your sewing machine.
The Fall Applique Pillowcase is finished and it looks so pretty! Well done!
I hope you liked to work on the Fall Applique Pillowcase Pattern tutorial to make this pillowcase to add the Fall touch to a corner in your home.
It can be used as a pillowcase, but it can be also used as a mini quilt or a wall hanging, it will look fantastic anywhere you place it.
Thanks so much for visiting my blog and for sharing my blog on your Social Media!

Puedes leer este mismo tutorial para hacer el Cojin Patchwork Para Otono en espanol aqui!
Read more patchwork and sewing tutorials for Fall here:
- Mini Quilt Tutorial – Halloween – this is a tutorial to make a mini quilt with a Pumpkin with the Paper Piecing Pattern.
Watch the video tutorial here!

