Fall brings with it the right motivation to make a new Mini Quilt Tutorial – Pumpkin for the new season, how to make a Paper Piecing Pumpkin is today tutorial.
Weather is starting to change and crispy temperatures invite you to stay more inside, soon the Canadian country will look amazing with the fall colors everywhere.
Thinking about setting up the house to welcome the new season, it’s the best reason for a quilter to make a new mini quilt with the Fall colors on it, yellow, orange, green and black.
Mini Quilt Tutorial – Pumpkin ( FREE Pattern)
For new quilters, the Paper Piecing technique can be a challenge when making it for the first time, it can take some time to get it right, but as you keep working on it you can find the good in it.
Paper Piecing technique might be the favorite technique to work with for many quilters, but for other quilters it is a challenge to work with, but at least you need to try it once and you might be in the first group.
Advantages of working with Paper Piecing Patterns
- Every block you make with this sewing technique will be perfectly made
- You have numbers to follow
- The paper gives you fabric stability
- You can sew straight line
Disadvantages of working with Paper Piecing Patterns
- This sewing technique can test your sanity
- Fabric wastage
If you have followed me for some time, you know that I love to work with applique, but from time to time I love also to work with Paper Piecing and today I’m sharing a small block you can make to welcome Fall.
Materials to make the cute Mini Quilt
Pumpkin Paper Piecing FREE Pattern
Fabric
2 pieces of fabric of 5 x 1 1/2″
2 pieces of fabric of 7 x 1 1/2″
1 piece of thin batting fabric of 8 x 8″
1 piece of fabric of 9 x 9
Thread, pins, safety pins, scissors, patchwork ruler, rotary cutter, cutting mat, sewing machine
*This post may have some affiliates link, I thank you for making your purchases using them, this way you support me to keep working making more tutorials to share with you.
Video
Mini Quilt Pumpkin Tutorial
1 Download the Pumpkin FREE Paper Piecing pattern, the FREE Pattern is on the list of materials!
Download the PP pattern and print it twice (save one for later and work with one)
Cut out the two pieces of the pattern with scissors you use to cut paper. With a help of a small ruler make the folds of the lines on each piece of the pattern.
Work on each section of the pattern at its time.
Place the fabric for the section 1 on the back of the paper so the wrong side of the fabric touches the wrong side of the paper, pin in place.
Hold the paper and fold the paper in the line and press the fabric with your fingers, by doing this it will help you to check if you have enough fabric to cover the section 1.
Trim the seam with your scissors and place the fabric for section 2, fold the fabric and check if you have enough fabric to cover the section 2, pin and run your sewing machine on the line. Open the fabric for section 2 and do the same steps to work with the section 3.
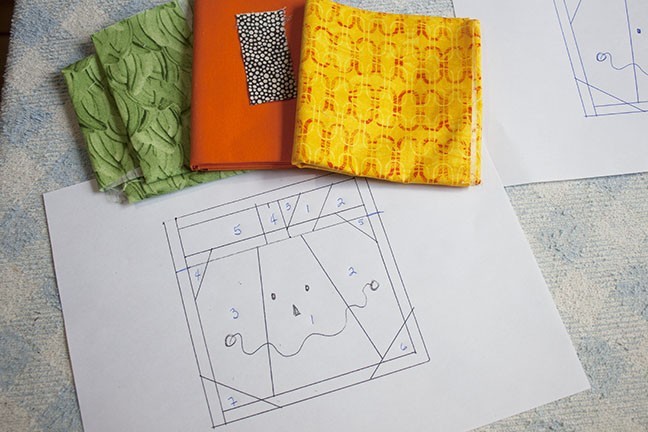
2 Keep working this way until you cover all the sections on the two parts of the pattern.
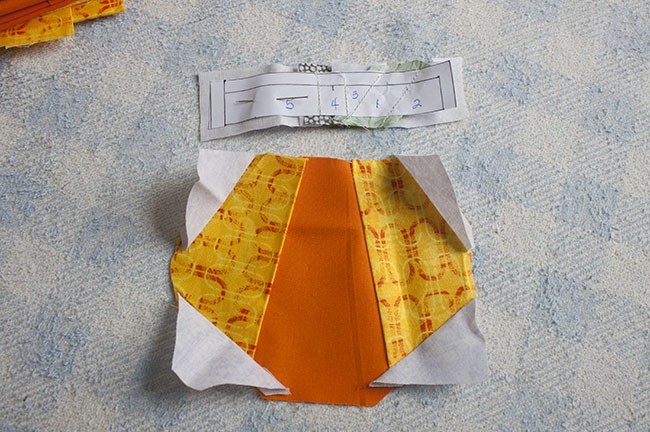
3 Press both parts and cut the strips for the borders.
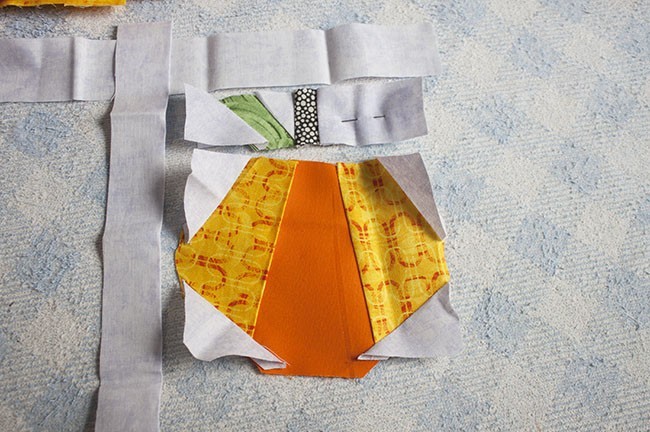
4 Lay one section of the pattern over the other section, right side to right side, you can use two pins to mark the corners of one section and connect with the corners to the other section.
Pin and run your sewing machine.
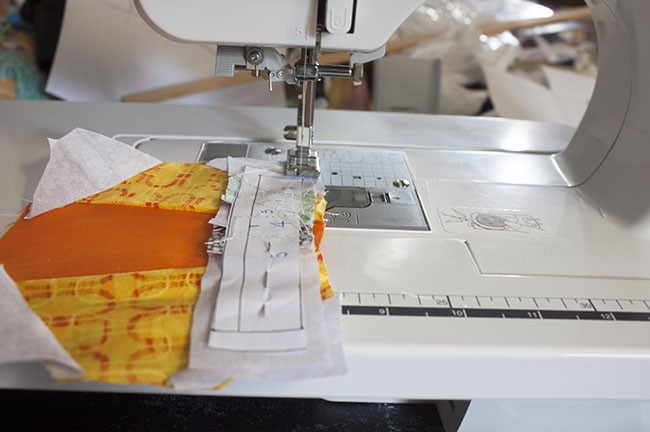
5 Open and press, trim the block.
With the help of a patchwork ruler and the rotary cutter, trip the block to 5 x 5″
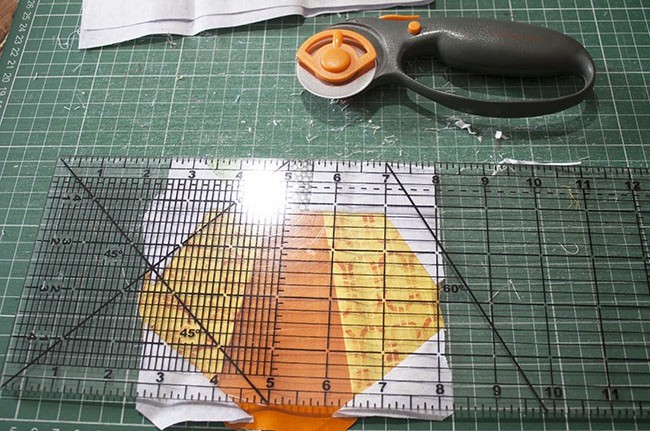
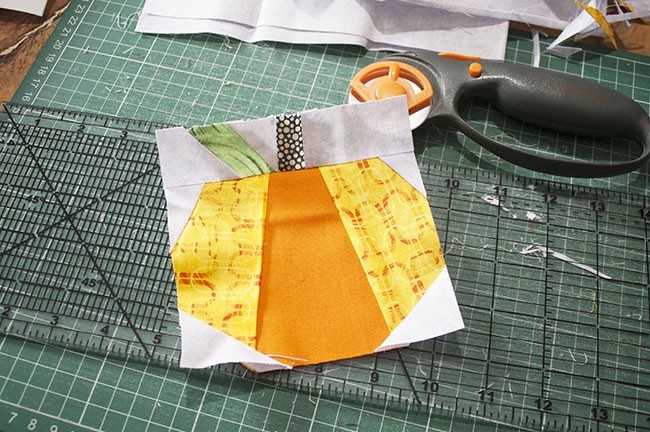
6 Tear off the paper from the back and add the borders, Press
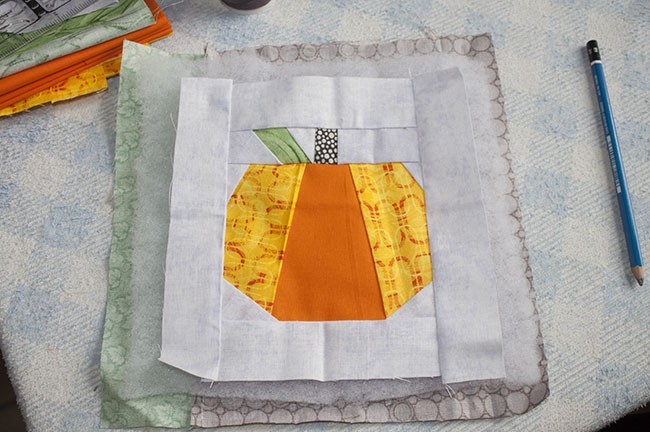
7 Make the quilting sandwich
Lay the three layers for the quilting sandwich on your working table and pin four safety pins.
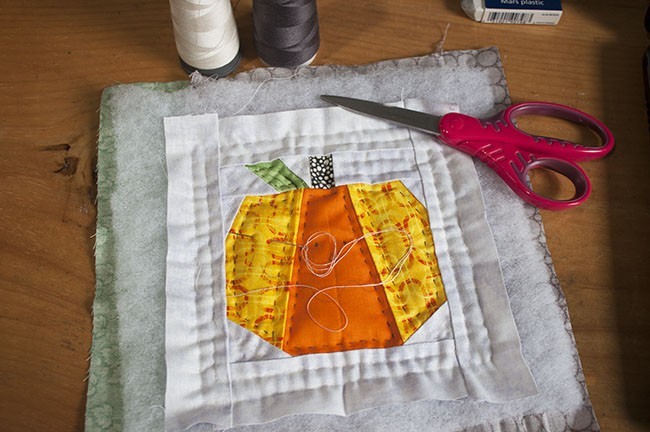
8 Make the Quilting
I love to make the quilting by hand, but if you want to make it by machine, it will look amazing too!

9 Trim the Mini Quilt
Once you finish making the quilting, with the help of a pair of scissors, trim the four sides of the batting fabric.
10 Finish the Mini Quilt
This mini quilt is self biding, all you need to do, is folding the excess of the back fabric twice to the front of the mini quilt to enclose the raw edges.
You can sew the biding by machine or by hand.
As a final touch you can sew on the back a ring or make a buttonhole by hand as I did on the video to make the mini quilt easy to hang on any wall.
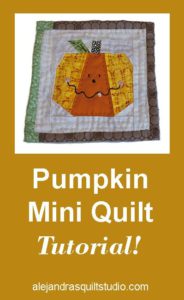 Congratulations, the mini quilt is finished and it looks beautiful!
Making a mini quilt with a Paper Piecing pattern is easy and fun, as you keep working with this quilting technique you’ll get better at it!
If you have any questions about this tutorial, write it on a comment, I’ll reply to you.
Don’t forget to follow me on Social Media to be the first one to get the newest tutorial, you can find the Social Media buttons on the right corner on the top of the blog.
If you make the Pumpkin Mini Quilt and you share it on your Social Media, you can use the hashtag #patchworkwithalex so I can see it.
If you love this tutorial, share it!
Save it for later!
