Blanket Stitch is an excellent way to applique fabric flowers on a Quilt, on this step by step tutorial I will tell you How to Do Blanket Stitch Applique
Today I will show you how to make the blocks # 8 and 9 for the Floral Quilt, an easy to make quilt that will help you to learn how to make some easy applique techniques to make a quilt.
Nothing better that making a small quilt to learn different sewing and applique techniques!
How To Blanket Stitch Applique
Materials You Will Need To Make Two Blocks For The Floral Quilt
- Two blocks with their borders, you can see this tutorial here.
- Some pieces of cotton fabric in different color
- Download the free template here, this time you have the templates to make the blocks # 7, 8 and 9.
- Scissors
- Needle
- Thread
- Pins
How To Blanket Sitch Applique By Hand
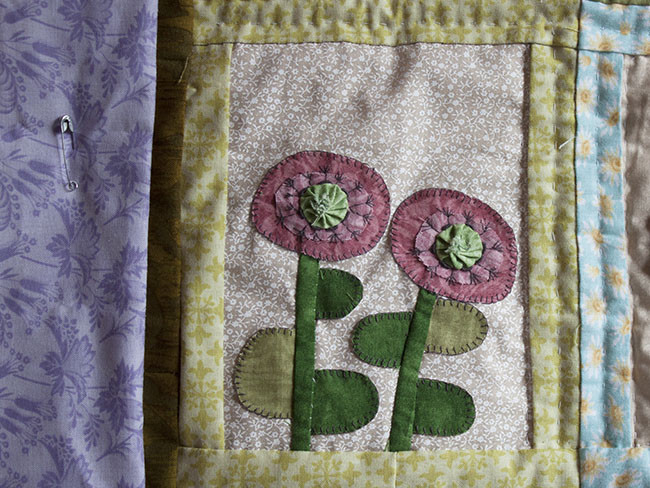
I’m sure blanket stitch is the favorite stitch to work on the applique on quilts, whether you’re working on the applique of flowers or any other type of applique, this stitch is easy to make and always work great!
The blanket stitch is easy to make and will help you to work on any applique for your quilts and it will help you to highlight any design on your quilt blocks.
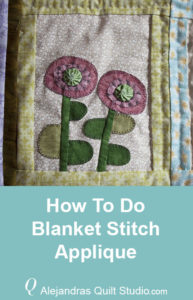
 This time I’m working on an easy to make block with two flower shapes that you will often find on the patchwork quilts, with simple shapes, easy to cut and easy to applique, this time you’ll be working on the applique with a raw edge.
Raw Edge Applique is easy to do as you don’t need to fold down the seam to give each piece the shape or you don’t need to work on the paper technique to give each piece the shape, all you need to do is to trace the shape on the fabric with the template, cut each piece with the help of a good pair of scissors and lay each piece on the block.
Pinch a pin on each piece or make one or two running stitches on each piece to hold it in its place while you work on the blanket stitch. You will need to follow these steps to work on the leaves and the big piece of the flower.
The Small piece of the flowers is worked with back stitch and some straight stitches to give the shape of the Dent De Lion Flower with single thread on your needle.
The center of the flower is made with a small yo-yo and applique it on the center of each flower.
As a final touch to make on each flower, I did some buillon stitches around the yo-yo with single thread in gray thread. (15 thread turns on your needle to make each buillon stitch)
Japanese Look Flower
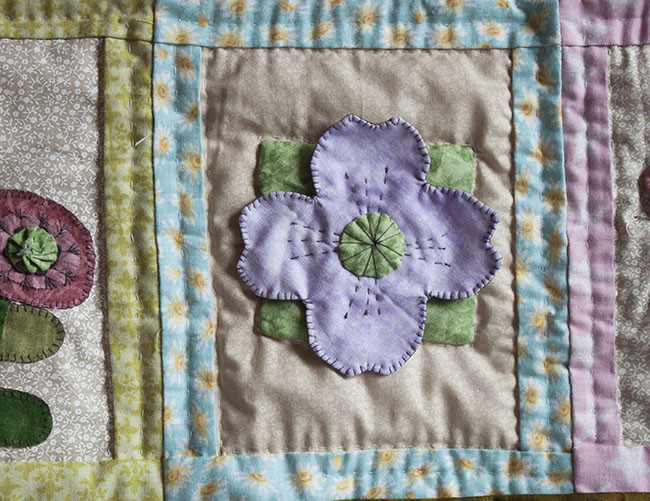
For block # 8 I decided to make a Japanese flower, this is a different sewing technique that looks great and it will help you to know how to make a different patchwork flower if you allow me to call it this way.
To make this flower on your quilt, you need to download the pattern and cut out the flower template as well the template to make the four leaves, to make the four leaves, you need to copy the template four times.
To make the leaves on this block, you need to use the paper technique to give the shape to each leaf.
To make the flower, lay the template on the back of the fabric that you will be using to make this flower, and with the help of a pencil or a marker for fabrics, trace the flower.
You will need two pieces of fabric to make this flower, take them right side to right side and pinch a few pins, sew on with small stitching on your sewing machine, all along the pencil or marker line.
Trim the piece adding 1/4 inch for the seam all around the piece, with your scissors make small cuts all along the piece without cutting out the stitching, in case you do, just sew on again with your sewing machine.
To turn the piece out, pull out the two fabrics with your fingers and with the help of a pair of scissor, make a cut in just one piece, turn the piece out by pulling the piece through this cut.
To give the piece a better shape, just put a pencil or a round point pair of scissors through the cut and push gently on the seam to give the piece a better shape.
Fold the piece in four, to mark with your fingers the center, do the same with the block where you will be sewing the flower, and lay the flower on the center of the block, pinch a few pins or make some running stitches.
With the help of the pencil or marker for fabrics, trace four lines on the center of the flower and do some quilting stitches to applique the flower on the block.
Lay the four leaves on their place and pinch a pin on each leaf, and do the applique with the regular applique stitch.
To remove the paper template from the leaves, make a cut on the back of each leaf with the help of a pair of scissors and remove the paper with your fingers.
To make the center of the flower, make a yo-yo and applique the yo-yo on the center of the flower right side down, to decorate the yo-yo, just make some long stitches from the edge to the center with single thread.
The two new blocks for the floral quilt are made and you did a great job!
Don’t forget to follow me on Facebook and come back to get the free pattern to make Block # 9 and to make the top of the floral quilt!
You can watch the video and if you like it, give it a LIKE and follow me on YouTube!
You can find the first tutorials to make the Floral Quilt here:
- How to make yo-yo fabric flowers – An easy way to make flowers for your patchwork quilts
