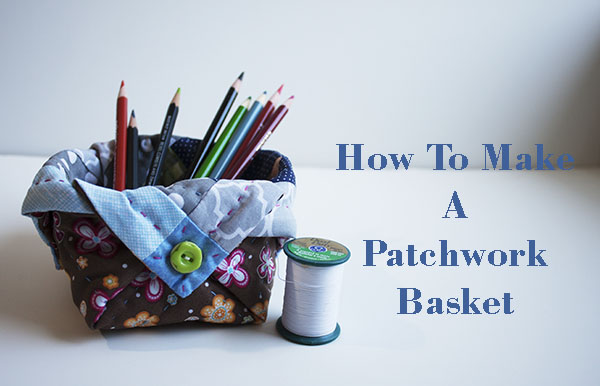
How to make a patchwork basket is a full and easy tutorial to follow to make a cute little basket that will help you to keep everything tidy and organized.
It’s amazing how quilters can find the way to use even those pieces of fabric you didn’t think that would be good for a new project.
I think I fall in love with every fabric I have in my stash, after working on a quilting project I try to save every piece of fabric that is left and sometimes I keep them for a long time.
Finding patchwork projects to make using those pieces of fabric that are not big to make a full project with, it’s a good way to use them, and this patchwork basket it might be the idea you were looking for a morning or afternoon at your sewing room.
To make this patchwork basket you’ll need some fabric strips you saved from a patchwork project, choose some of them that their color goes perfect with each other all together. Press them.
You will need:
Different color and prints fabric strips of 1 1/2″ wide x different length.
1 square of 2 1/2 x 1 1/2″ made of two triangles or just a square of fabric of these dimensions.
1 piece of cotton fabric of 1/2″ bigger each side of your final patchwork block.
1 piece of batting fabric same size of the cotton fabric.
Needle, thread, DMC embroidery floss, pins and safety pins.
4 or 6 buttons.
Affiliate Disclaimer.
I added a few affiliate links on this post, if you buy anything at amazon with my affiliate links, I’ll receive a small % of your purchase, price will not change for you, when you make a purchase using affiliate links you pay the regular price, I thank you for supporting me to keep working to share more tutorials to make patchwork and quilts.
Tutorial
Step 1
The first thing to do is to choose the fabric strips you want to work with to make a Log Cabin block, press them and check the width of each strip.
If you’re a quilter, you already know how to make a Log Cabin block, so you can make a block of at list 12 x 12″, it could be bigger, I made mine of 13 x 13″
If you’re a beginner and you don’t know how to make a Log Cabin Block, you can watch this video where I explain how to make a Log Cabin Block, on the video I made the block with the batting fabric, you can follow the video to make you block or you can make a block following the instructions with no batting fabric in this step.
Once your Log Cabin has 4 rows of fabric, press it.
Step 2
The last row on this block, it’s made out of four strips of fabric and four squares.
Once you finish the log cabin block, measure it and that will be the length of the four strips of fabric for the patchwork block for this project,
The 4 strips of fabric should be the width of your block x 1 3/4″ and the 4 squares should be 1 3/4 x 1 3/4″
On this step, you need to sew two strips of fabric to the log cabin block, one on the top and one on the bottom.
Sew two squares of fabric to each one of the remaining strips of fabric, one square of fabric on each end of the strip of fabric.
Sew one strip of fabric with the two squares on each side of your patchwork block. Press.

Step 3
On this step, I just wanted to show you my sewing machine while I was working to make the patchwork block for the basket.

Step 4
Place the patchwork block on the batting and cut the piece you’ll need to make this patchwork project, do the same to cut the piece of fabric you’ll use for the back of the quilt sandwich.

Step 5
To make the sandwich for this patchwork project, you need to place first on the bottom the batting fabric, in the middle right side up goes the fabric you’ll use for the back of the quilt.
On the top goes the patchwork block facing down.
Place a few pins to hold the three layers of fabric while you sew it together on your sewing machine. You can see on this photo below the places I placed the pins.
Don’t forget to leave an open to turn the quilt out.

Step 6
Your quilt looks similar to mine once you finish sewing it together.

Step 7
Trim the cotton fabric and the batting fabric, the patchwork block will be your trimming guiding line. Cut in diagonal the corners.
Turn it out, and with the help of your scissors, push every corner out from the inside.
Sew to close the open you left to turn it out.
Place some safety pins and do the quilting, you can make it by hand or by machine.
Once you finish the quilting, fold in the middle your quilt and place a pin on each middle point on both side of the quilt, do the same with the other two sides of the quilt.

Step 8
Once you have the four middle points on the four sides of the quilt, fold the quilt to make a triangle, on each two sides the middle points where you have the pins should meet.
Make a stitch with a needle and thread on both sides.

Step 9
Once you have both points sewn, open the corners of the quilt and fold them out.

Step 10
Pass the other two corners of the quilt inside the basket and fold each one out.

Step 11
Sew one button on each corners of the quilt to keep it in its place.

Congratulations your patchwork basket is finished and it looks amazing!
I’m sure you’ll be making more than one now that you know how easy is to make it. You can make it bigger or smaller, you only need to make a bigger or smaller patchwork block.
Use different fabrics to make them, you can make some for Christmas and put on them some homemade cookies and candies and they will be perfect to make them as a gift. You can do the same for Halloween or other festivities or events.
