How To Sew A Thread Loop on a quilted bag is a step by step tutorial, beginners and more advanced quilters can do.
When you love to make your own quilted and patchwork bags, you might love to add an external or an inside extra pocket, a good way to keep these pockets closed is by sewing on a button and a thread loop.
Sewing on a thread loop only takes a few minutes, and it will look so professional and it can be done with a thread in a color that matches the quilted bag or you can do it in a different color to stand out and be part of your design.
How To Sew A Thread Loop

Lets jump to the step by step tutorial
1. Thread Your Needle
A thread loop can be done with any type of thread, silk, cotton, wool yarn or polyester thread, on this tutorial I will be using 3 strands of embroidery floss on my needle.
When you want to make a thread loop on a garment, you need to make a knot at one end of your thread, but on this tutorial, you will be working on a quilted bag, for this reason you don’t need to make a knot at the end of your thread, as your thread can be placed between the two or three layers of fabric.
To secure the thread, just make a small back stitch at the starting point.
2. Sew On The Button
The first thing to do is to sew on the button on the place it should go. By doing this, it will help you to know where to sew on the thread loop and the size needed.
3. Sew On A Thread Loop
When you start sewing a thread loop, you can start at one end or the other. When you’re a beginner, you can mark both marks to make it easier for you.
When working on a quilted item, start one inch or half inch before the starting point and get your thread inside the two or three layers of fabrics, make a small back stitch to secure your thread.
Now, go to the other point marked on your fabric, and put the needle through the layers of fabric, to the point where you started making the thread loop, pull out your needle and leave the thread to make the loop as big as needed to the size of the button your using on your quilted bag.
Hold the loop with your non dominate hand or a pin, and make two more loops, same way you did the first one and same size.
You can do as many loops as you want the thread loop to be thin or thicker. On this tutorial I made 3 loops, but I had 3 strands of embroidery floss on my needle.
4. How To Make the Buttonhole Stitch
Start from one end of the thread loop, and make the first buttonhole stitch, continue making buttonhole stitches all around the thread loop, you will need to cover all the thread on the loop with the buttonhole stitch.
When you make the last buttonhole stitch, you will reach the other end of the thread loop, now make a back stitch on the fabric and get your needle through the fabric to reach the other end of the thread loop, make another small back stitch and get your needle between the layers of fabric, half inch or one inch from that point, cut your thread.
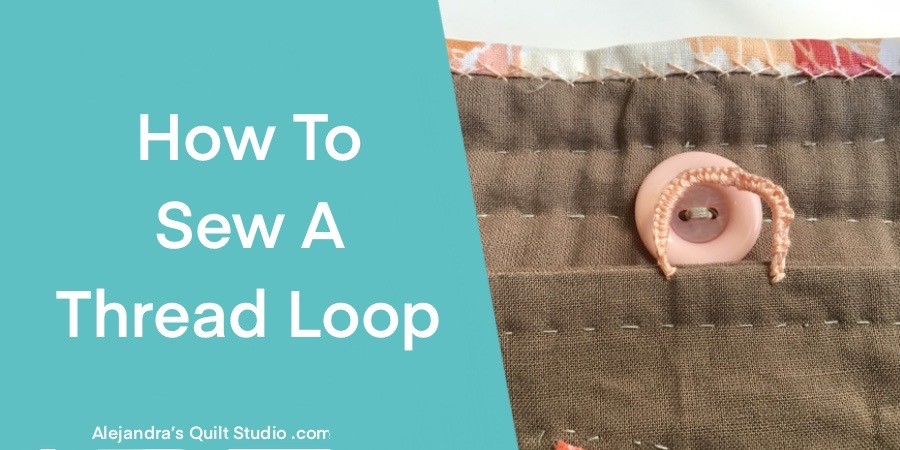
The Thread Loop is finished and all you need is to test it.
Sewing a thread loop on a quilted bag is another way to keep those pockets closed and keep everything you carry on your bag well organized.
Related Posts:
Thanks so much for reading my blog today

Video tutorial.