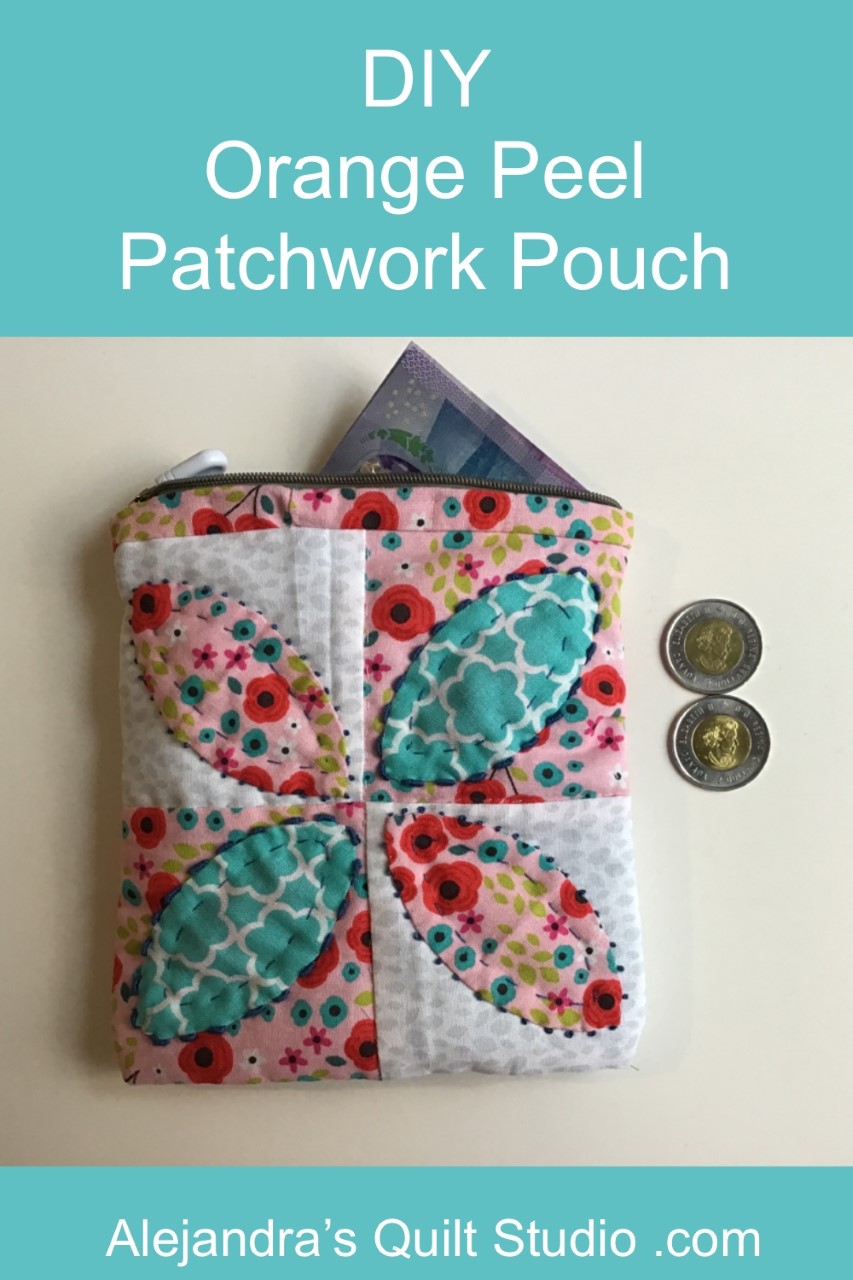
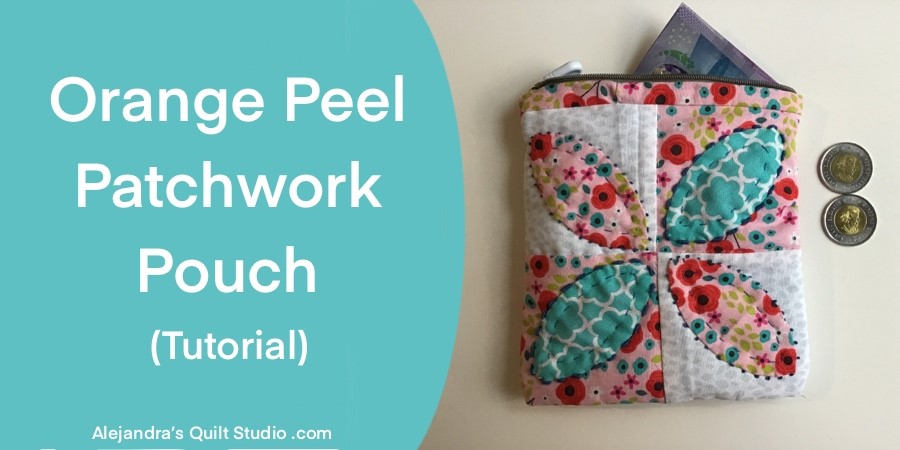
If you love to keep all your belongings that you carry with you every day well organized, a patchwork pouch made by you, with three interior pockets is the tutorial you have been looking for.
Orange Peel Patchwork Pouch is made with two blocks made with this Quilt Pattern, and it’s made with the hand applique method with easy hand quilting, this is an easy and fun patchwork project to make.
Whether you’re a beginner that is looking for an easy patchwork project to make, or if you’re an advanced quilter, the Orange Peel Patchwork pouch is fun and an easy project to make for yourself or to give it as a gift to a friend or to a member of your family.
Orange Peel Patchwork Pouch – Step by Step Tutorial
How To Make The Quilt Block Pattern: Orange Peel
For this project, you will need to draw on a piece of paper your own template, is easy and all you need is to follow the measures on the image below.
Once you have your pattern drawn on a paper, cut it out with the help of a pair of scissors to cut paper.
To make the Orange Peel Pouch, you will need to cut:
- 4 pieces of fabric A of 3 1/2 x 3 1/2 inches
- 4 pieces of fabric B of 3 1/2 x 3 1/2 inches
- 2 pieces of fabric A or B of 6 1/2 x 6 inches
The first thing to do is to stitch on the 4 pieces of fabric A to the 4 pieces of fabric B, open and press.
Now you can stitch on the on strip to another to make two pairs. Open and press.
Stitch one big piece of fabric onto each piece of four patches, open and press.

How To Make The Quilting Sandwich
Cut:
- 2 pieces of fabric (any fabric for the interior of the pouch) of 13 x 7 1/2 inches
- 2 pieces of thin batting fabric of 13 x 7 1/2 inches.
Lay on your work table the two pieces of fabric for the interior of the pouch, pretty side down. Lay over it the batting fabric and lay over the batting fabric the piece made with patchwork, pretty side up. Both pieces need to be placed the same way.
Pinch a few safety pins to hold together the three pieces of fabric and make an easy hand quilting (stitch on the ditch), on the big piece of fabric you can also make some easy quilting.
When the quilting is done, you can make basting stitches on both sides of each piece.
Note: if you note that your batting fabric is thick, you can trim it on both sides of each piece before basting the edges, this will help you to sew on the pouch later with ease.

How To Applique The Orange Peel
With the Orange Peel paper template you made, cut 8 pieces of fabric adding 3/8 inch for the seam allowance. These pieces of fabric can be cut from the same fabric or you can decide to cut 4 from fabric A and cut 4 from fabric B, or it can be cut from a different fabric.
Take one piece of fabric to make the Orange peel pattern at a time in your hands, and place the paper template on the back of the fabric, pinch a pin, baste the seam allowance and pull the thread to —- the seam allowance, the paper template will help you to give the shape to each piece of the fabric.
Lay the piece on one square on one of the quilted pieces, pinch one pin and do the hand applique of 3/4 of the piece, remove the pin and remove the paper template, arrange the seam allowance and finish the applique of this piece.
Work on the 7 other orange pieces, the same way.
How To Quilt The Orange Peel Quilt Block
When you finished doing the applique of the 8 pieces, you can do some quilting and some embroidery stitches to highlight the quilt pattern.
The embroidery stitches used on this quilt block are:
- X stitches
- Long stitches quilting
- Colonial knot – made like the French knot, but with one loop on your needle. Two strands of embroidery floss.
- Buillion stitch – made like the french knot, but it has 10 loops on your needle. Two strands of embroidery floss

How To Sew On The Bias
Cut a piece of fabric of 13 x 1 3/4 inches for the bias.
Trim the batting fabric and the fabric for the interior on the edge where the fabric piece is on both pieces, sew on the bias on that edge, this step can be done on your sewing machine, or you can sew on the bias on the sewing machine and sew to close by hand.
How To Sew The Interior Pocket
Lay on your work table both pieces, pretty side to pretty side.
Mark with the help of a ruler and a pencil the interior pocket on the back on one of the pieces. Sew on the interior pocket on your sewing machine, reinforce the beginning and the end of the stitching.
You should leave open the side where the bias on both pieces are.

How To Sew On The Orange Peel Patchwork Pouch
Lay the piece on your work table, and trim the batting fabric and the fabric for the interior on both top ends.
Take both ends up or down to fold the pouch in the middle, pinch a few pins and sew on both sides of the pouch on your sewing machine, reinforce the beginning and the end of the stitching, on both sides.

How To Sew On The Bias
Cut a strip of fabric of 1 3/4 inches x 13 inches, and sew all around the pouch opening. This step can be done on your sewing machine, and fold the bias and stitch it on to close by hand or with your sewing machine.
How To Sew On The Zipper
I prefer to do this step by hand, but you can do it on your sewing machine.
Pin one side of the zipper on one side on the pouch opening on the interior, stitch it on to the pouch with small stitches, you can do one back stitch and one stitch forward, it will give strength to the zipper.
When one side is done, sew on the other side of the zipper on the other side of the pouch opening.
When both sides are done, test the zipper, if it works good, you can do the stitching on both sides of the zipper edges. Stitch on both ends of the zipper to the pouch with small stitches.
Turn the pouch out and your Orange Peel Patchwork Pouch is finished and it looks amazing!
Thanks so much for reading my blog today!

Puedes leer el tutorial para hacer el Bolso Patchwork Orange Peel en español aquí!
Related:
Watch here the video tutorial!

