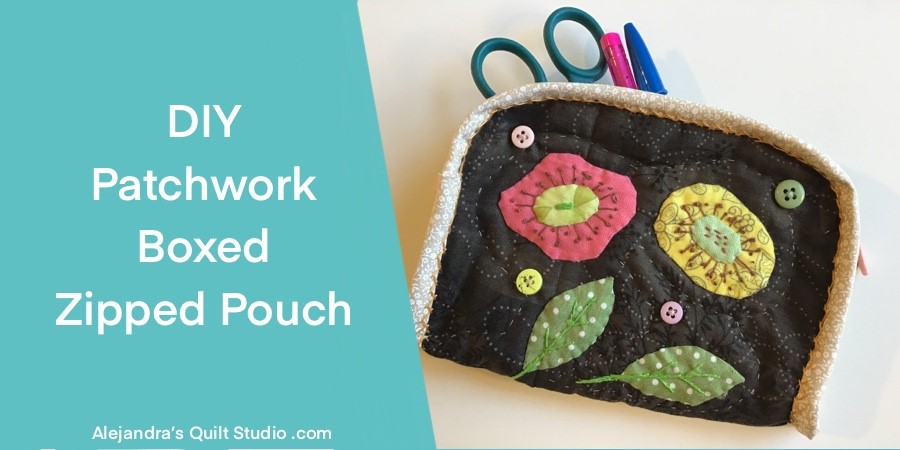
If your looking for a small handmade project to make to give it as a gift to a friend or a family member, a pouch is something they will appreciate and use very often.
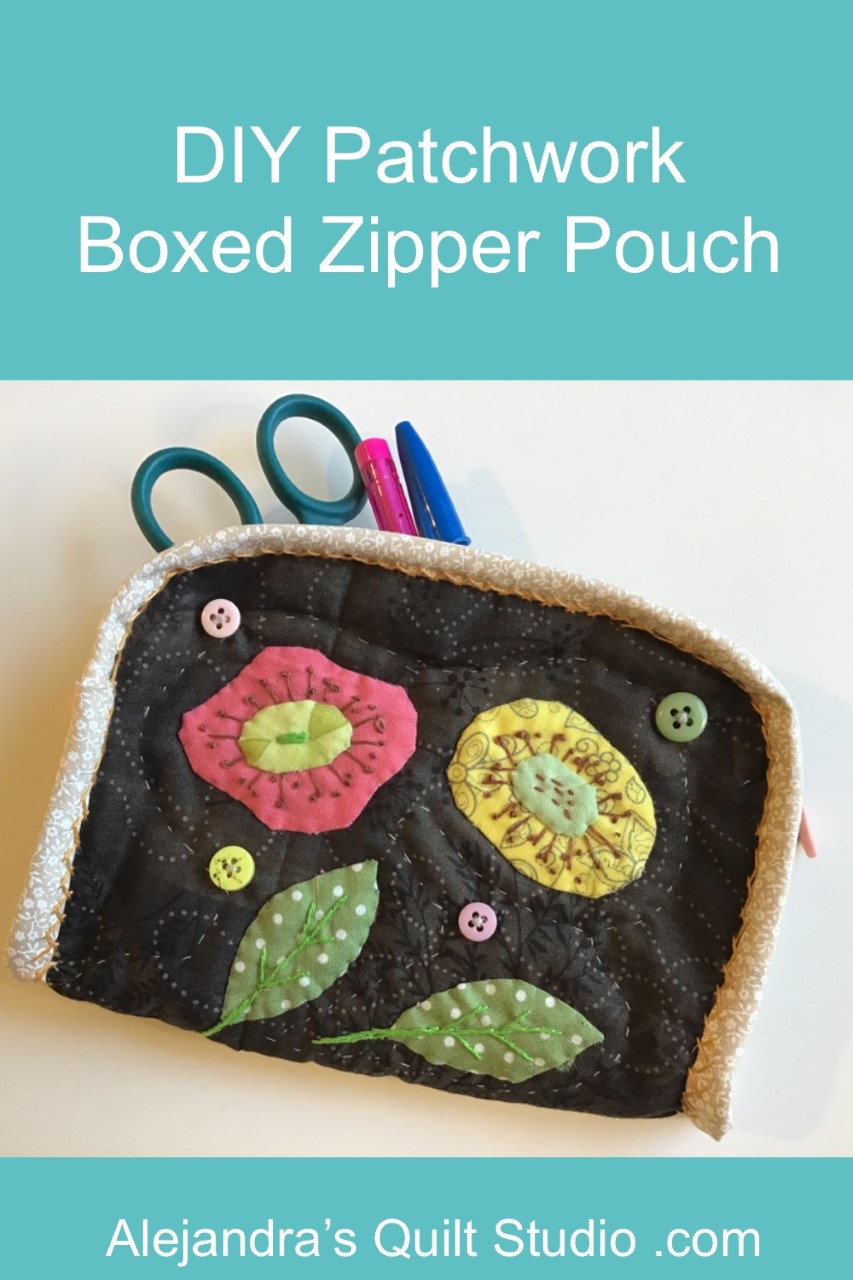
Patchwork Boxed Zipper Pouch is an easy and fun tutorial to make with the applique, quilting and some easy embroidery stitches, with two pockets to carry safely your money, cards and other things with you all the time, this is a project beginners and more advanced quilters will love to make!
When you love to sew and make quilts, your friends or any member from your family birthdays or special events will love to receive from you something handmade, making a small pouch with pretty appliqued flowers, will take not much time to finish and it will be loved by the recipient.
Patchwork Boxed Zipper Pouch Tutorial
1 Draw Your Patterns
This time I will be sharing the measures to make for your own patterns, it will be easy to make them on a A4 paper and it will be an easy exercise that will help you to start making your own pattern and templates to make many projects.
Once you have all the templates drawn on paper, you can cut them out with a pair of scissors to cut paper.
2. Cut Your Fabrics
You will need to cut:
- 1 piece of cotton fabric of 8 x 13 inches
- 1 piece of thin battin fabric of 9 x 14 inches
- 1 piece of cotton fabric for the pouch inside of 9 x 14 inches
- 1 piece of cotton fabric for the inside pocket of 9 x 3 inches
- 1 piece of cotton fabric for the outside zipper pocket of 7 1/2 x 4 1/4 inches
- 1 piece of cotton fabric for the outside pocket of 7 1/2 x 1 3/4 inches
- 1 piece of cotton fabric cut like bias of 1 1/2 x inches 28 inches
- 4 pieces of fabric of 3 x 2 inches for the two ends of the zipper
3. How To Make The Quilting Sandwich
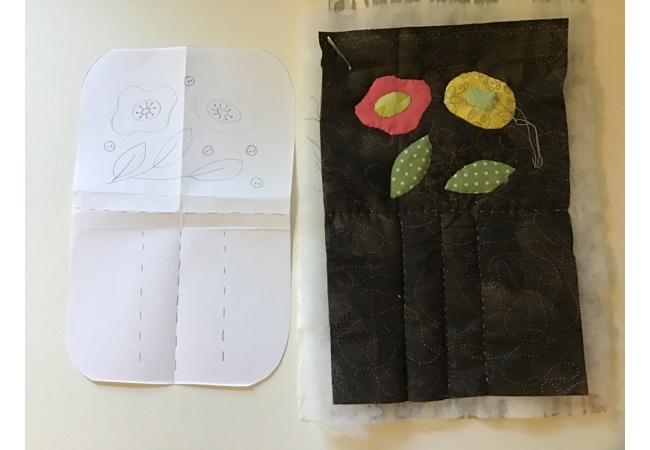
This time the pouch will be worked on the quilting sandwich from the beginning, for this reason, you will need to make the quilting sandwich with the piece of cotton fabric pretty side up, in the middle layer the batting fabric should go, and on the bottom layer, the piece of fabric for the inside of the pouch should go with its pretty side down, pinch a few safety pins to hold the three layers of fabric together while you work on the applique and the quilting.
4. How To make The Applique flowers
The first thing you need to do is to mark the middle of the cotton fabric and trace a line, do some quilting stitches by hand, this step will help you to lay the applique flowers in one side of the pouch.
On the side where the outside pocket will go, do some hand quilting lines.
Mark each applique piece on a piece of fabric, and cut out each piece with a pair of scissors to cut fabric, don’t forget to add 1/4 inch for the seam allowance.
On the other side of the quilting sandwich, lay the two applique flowers and the two applique leaves, when you’re happy on how they look on your project, hold each piece to the project pinching each piece with a safety pin.
5. How To Do The Embroidery On The Applique
The embroidery stitches on this project are easy and fun to do.
- Back Stitch – Leaves lines
- Straight long stitches – Flowers
- French Knots – On the flowers
- Satin Stitches – Flowers centers
All the embroidery stitches are done with two strands of embroidery floss, and all stitches are worked on the first and second layer of the quilting sandwich.
When all the embroidery is done, you can do some hand quilting on that side of your project.
6. How To Sew On The External Zipper Pocket On Your Project
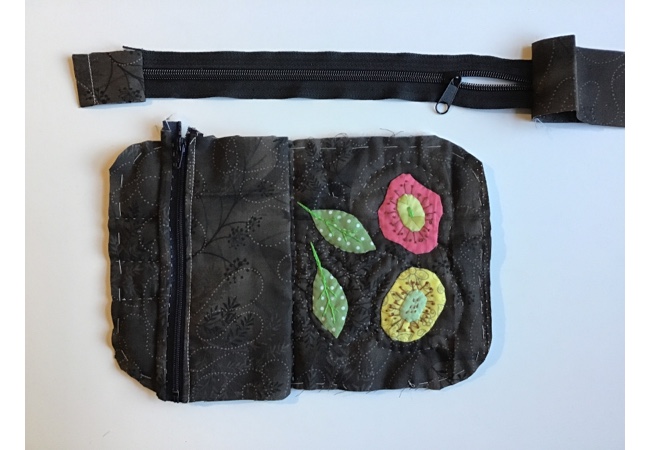
Take the zipper for the pocket ( 8 inches) and sew on the piece of fabric on one side, open the fabric and do the top stitching.
Sew on the piece of fabric for the bias on the other side of the zipper, open the fabric and fold it like a bias.
Lay your quilted project on your work table, and lay over it the external pocket on the side where the simple hand quilting is, pin the pocket to your project and sew on the pocket to the project, this step can be done by hand or with your sewing machine.
Remove the pins and open the pocket, pinch two pins to hold the pocket in its place and fold like a bias the strip of fabric on the top of the pocket, stitch on by hand this side of the pocket, this step can be done with your sewing machine, but it will look better if you do it by hand.
To sew on the internal pocket on the pouch, take the piece for this pocket and fold it in half, pretty side inside, sew on three sides and leave a gap open (1 1/2 inch) to turn the pocket out, cut the corners with a pair of scissors diagonally and turn the piece out, tuck in the seam in the open gap and place this piece on the inside of the pouch, pin it and stitch on this piece to your project by hand, stitches should go only on the batting fabric.
7. How To Make The Pouch
When all the embroidery is done, you can do some hand quilting on that side of your project.
Lay your project on your work table and lay over it the paper template, hold template with some pins, and do basting stitches all around the paper template.
Trim your project adding 1/4 inch for the seam allowance all around.
Prepare the Zipper by sewing on two pieces of fabric of —- on each end of the zipper.
Fold the zipper in the middle lengthwise to mark the middle point, fold your project in the middle lengthwise to mark the two middle points on the two ends.
Match the middle point of the zipper with one middle point marked on your project, pin the zipper to your project and keep pinning the zipper to both sides of the zipper. Do the same with the other side of the zipper on the other side of the project, at the end you will need to do each bottom side on both sides of the pouch, in case you need to cut a little on the fabric on both sides of the zipper, go ahead.
Once the zipper is all pinned to the pouch, it should look straight and work good, I always test to open and close the zipper, in case everything looks good, do some basting stitching to hold the zipper on its place and remove all the pins, test the zipper again.
8. How To Sew On The Bias
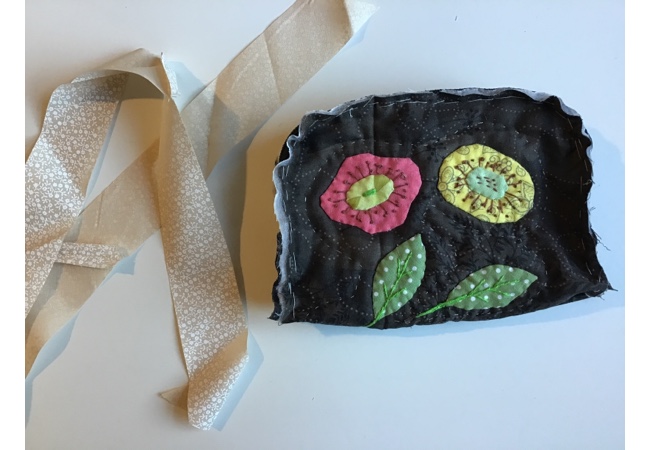
When the zipper looks good, then it’s time to sew on the bias, you can pin it all around the edge or you can do some basting stitches.
Sew on the bias to the edge all around with your sewing machine, open the bias and fold it to the back of the edge, as it needs to cover the edge all around the pouch, stitch on the bias by hand.
To add more cuteness to the pouch, you can do a herringbone stitches on the bias edge where you stitched it on by hand with two strands of embroidery floss in any color you like.
To finish the Applique Pouch, you can sew on a few small buttons on the front, and sew two colored buttons on both zippers.
The Patchwork Boxed Zipper Pouch is finished and it looks amazing.
Making a Patchwork Boxed Zipper Pouch for yourself or to give it as a gift on a birthday or any other special event, will be always cherished!
Thanks so much for reading my blog today!
Puedes leer este tutorial para hacer el Bolso Patchwork Base de Caja en español aquí!
Video Tutorial”
https://youtu.be/EIJ7C7b20WI
