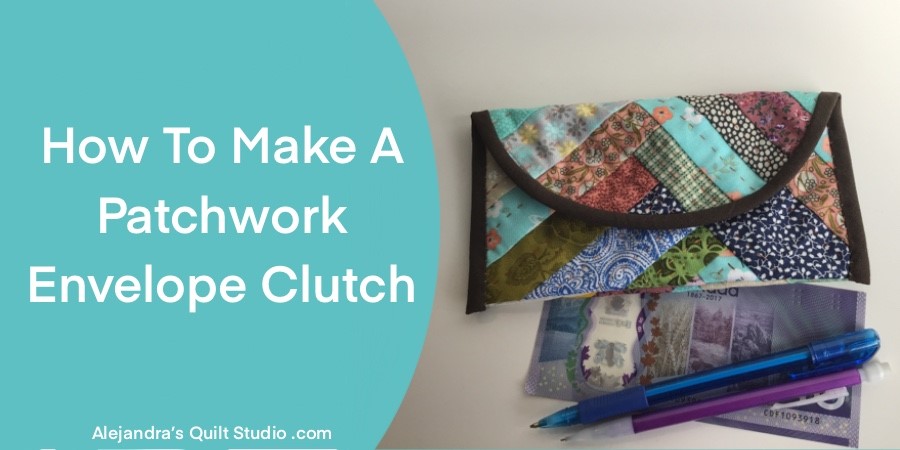
Patchwork Envelope Clutch is a sewing tutorial to use all those strips of fabric you’ve saved to make something useful and cute!
Sewing an envelope clutch is a great idea to keep all well organized in your bag, this is a sewing tutorial great for beginners and more advanced sewers and quilters.
Patchwork Envelope Clutch
On this tutorial I will share the steps to follow to make a cute patchwork envelope clutch made with the Braid Quilt Pattern, which is perfect to use all those strips of fabric that are left after finishing a quilt.
I’m sure after you make the first envelope clutch and you see how easy is to make it, you’ll be making more than one, as they are perfect to make to give it as a present for your best friends birthday, but I’m sure they will be the best-seller on a bazaar or on your online sewing business!
Patchwork Envelope Clutch Step by Step Tutorial
1 Cut All Your Fabrics
You will need:
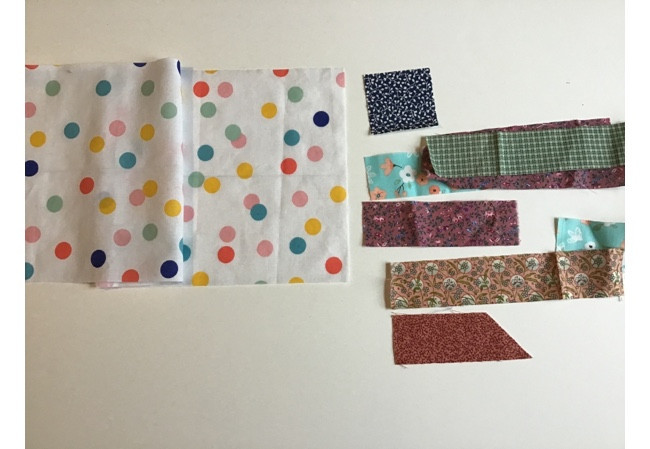
- 1 piece of fabric of 7 1/2 x 17 inches, this fabric will be the Patchwork Envelope Clutch interior.
- 1 piece of fabric 2 1/2 x 2 1/2 inches
- Strips of fabric, any color and pattern
- 1 piece of fabric of 2 x 8 inches.
- 1 piece of fabric of 2 x 16 inches, cut in bias
2 How To Make Scrappy Quilt Pattern
Lay the piece of fabric for the lining and fold it in the middle lengthwise, finger press or press with warm iron and trace the center with a pencil for fabrics.
On one end of the fabric, lace the square of fabric centered, pinch a pin.
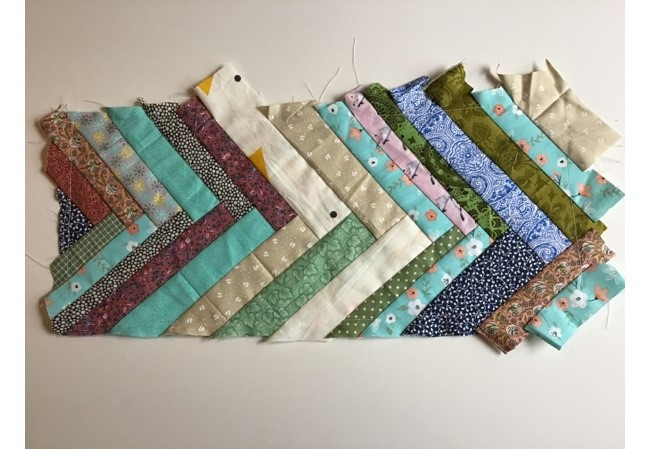
Start sewing the strips of fabric by placing each strip of fabric at a time, pretty side to pretty side, align the strip of fabric to the square, pinch one pin and open the strip to check if it covers all the area, close again the strip and stitch on 1/4 inch seam allowance, open and finger press.
Stitch on the rest of the strips of fabric alternating between the left and the right side, keep stitching all the strips of fabric until you finish covering all the fabric for the lining.
Stitch on all around the edge of the fabric for the lining, 1/8 inch.
3 Trim The Patchwork Piece
On the image below, you can take a look how the piece will look on the back.
Lay the patchwork piece with the right side down on your cutting mat, and with the help of a quilting ruler and the rotary cutter, trip the piece, the fabric for the lining will be your guide to trim this piece.
4 How To Do The Hand Quilting
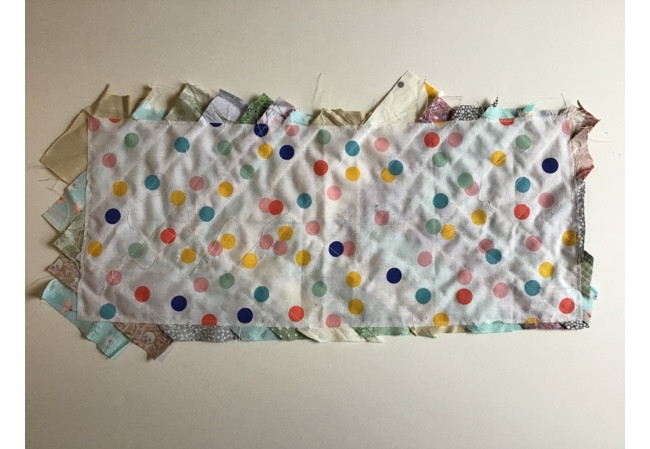
It’s time to work on the hand quilting, this piece will be slightly different as it has no batting fabric, it will be easier for you to work on the hand quilting.
The hand quilting can be worked with big stitches and with embroidery thread in different colors.
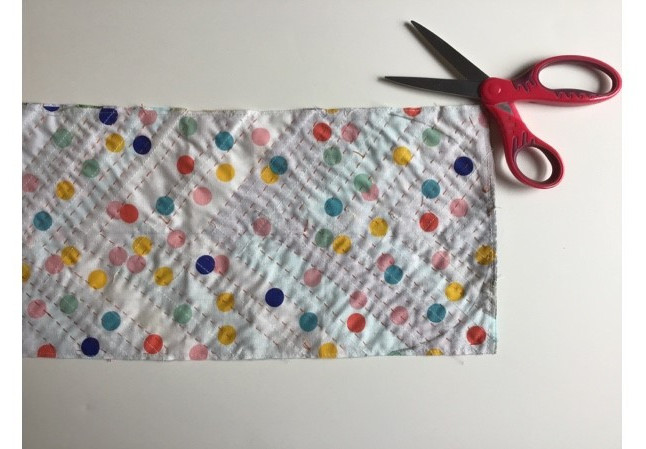
On the image below, you can take a look how the piece looks once it’s all quilted, the image show the piece on the back.
5 How To Sew The Bias On One End Of The Patchwork Envelope Clutch
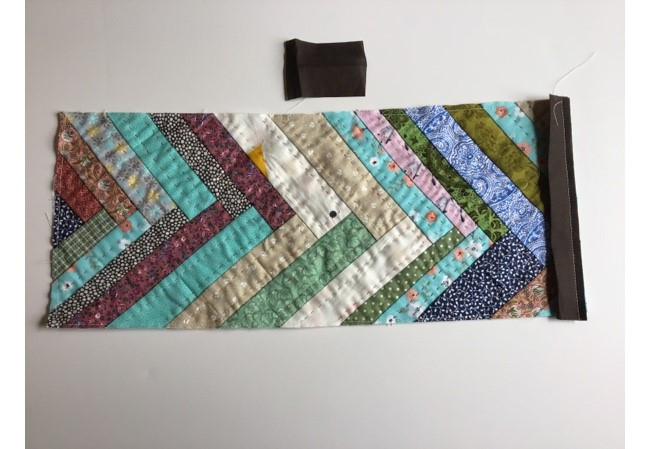
Fold the piece of fabric for the straight bias in the middle lengthwise, and press with warm iron, sew on this piece on one end of the patchwork piece on the pretty side, sew to close on the back.
6 How To Cut The Round End On The Patchwork Envelope Clutch
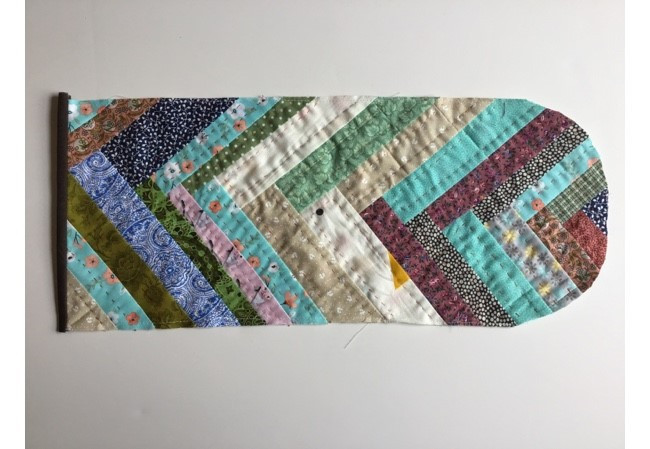
On the other end of the quilted piece, you will need to trace a curve on both sides, it can be done with the help of a bowl or a round lid, trace the curve with a pencil and cut it with the help of a pair of scissors.
7 How To Fold The Patchwork Cluch
Lay the patchwork piece on your work table with the pretty side down, take the end with the bias and fold it up 3 1/2 inches, keep this fold on top, then fold to the back 3 1/2 inch, fold the piece again to the back 3 1/2, and pinch one pin on both sides of the folded area, leave the top open.
8 How To Sew The Bias
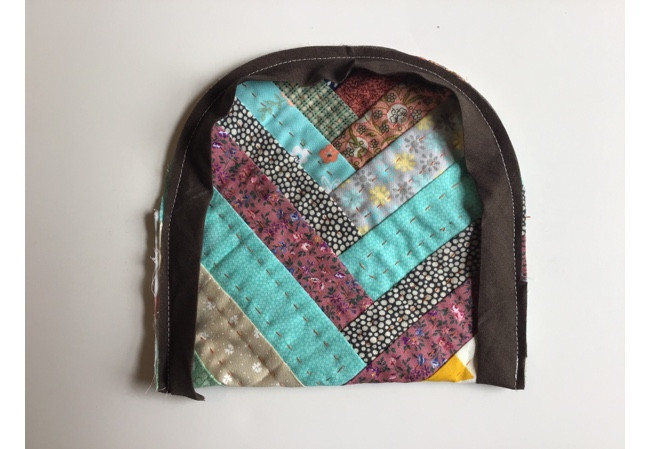
With the Patchwork Envelope Clutch all folded, sew on the bias on the edge, starting on one side on the bottom, and finish on the other bottom side.
Fold the bias to the other side on each end before you start stitching, reinforce the stitching at the beginning and at the end.
Note: When start stitching and at the end, there are many layers of fabric, start stitching on your sewing machine slow to not to break the needle or the machine.
Trim any seam that looks too wide, and turn the bias to the other side and stitch on to close, I prefer to do this step by hand, but if you want, you can do it with your sewing machine.
8 How To Finish the Patchwork Envelope Clutch
To finish the patchwork envelope clutch all you need to do is to sew on a snap button.
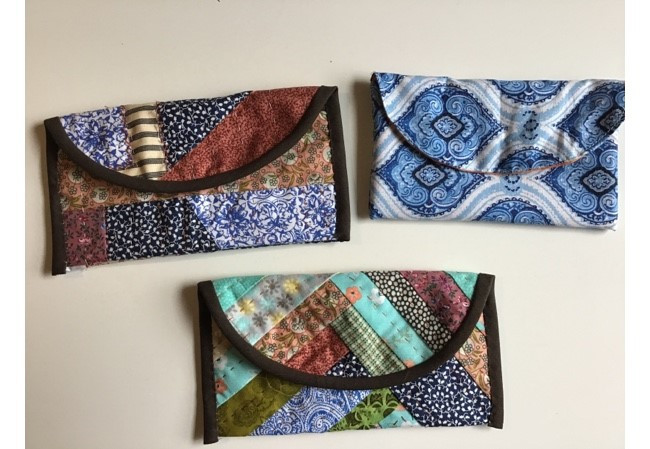
The Patchwork Envelope Clutch is finished and it looks amazing!
On the image above, you can see the envelope clutch I did for this tutorial on the bottom, but there’re two more clutches on the image, on the top right, there’s one made with Boro-inspired technique, a great idea to use all those small scraps of fabric you’ve saving because they are so pretty!
On the top right you can see one envelope clutch made with a fabric, no patchwork or quilting pattern needed to make it, you can read this sewing tutorial here.
Read more sewing, patchwork and quilting tutorials here!
- Boro-Inspired Drawstring Bag – An easy sewing tutorial to make a cute Boro-inspired drawstring bag!
Puedes leer este mismo tutorial para Coser Cartera Patchwork aqui!
Thanks so much for your visit to my blog, and thanks so much for sharing this patchwork tutorial on your Social Media!
Watch the video tutorial here:
