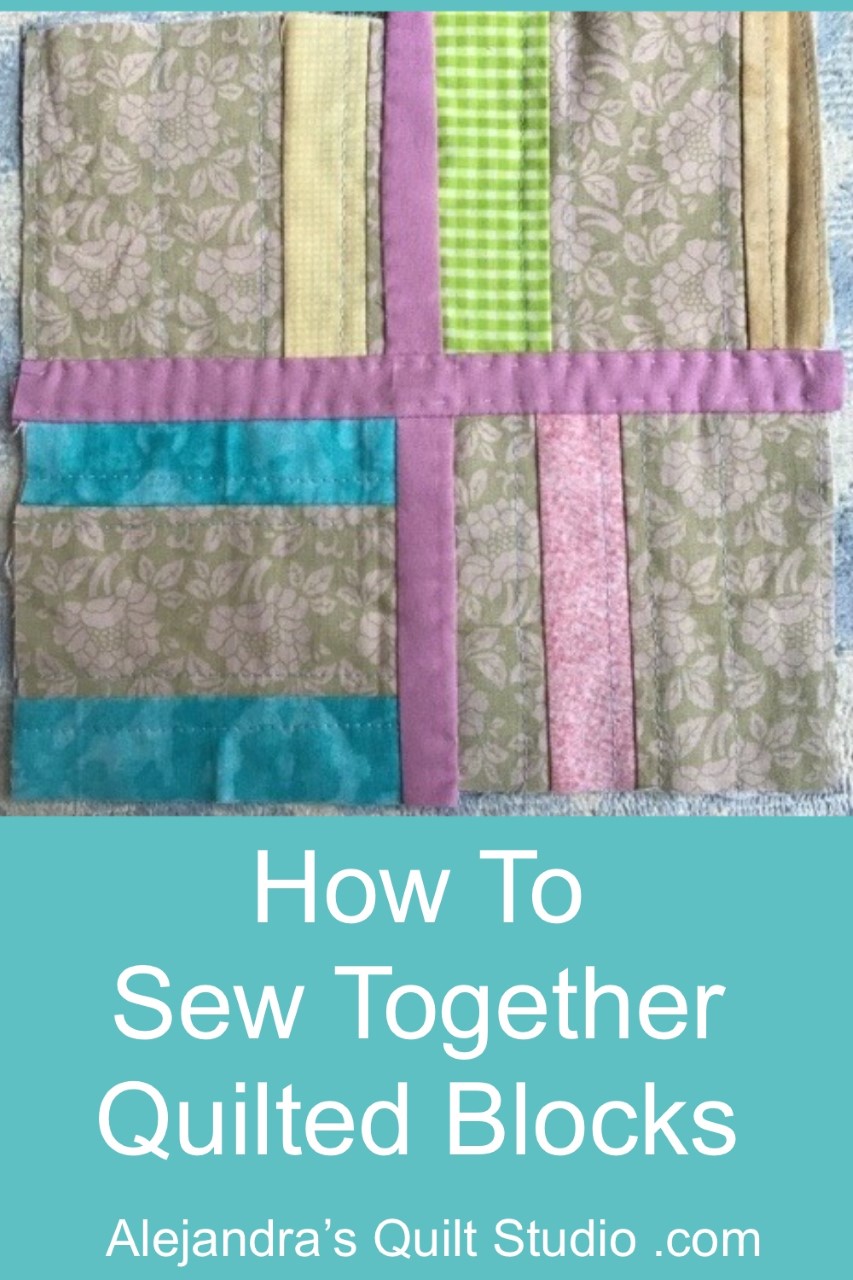
Sew Together Quilted Blocks to make the Sampler Quilt 2021, an easy step by step tutorial to connect all your quilted blocks.
As you have been working to make all the blocks for the Sampler Quilt 2021, today is time to share the steps to follow to connect your quilted blocks together, first stitching all your blocks on rows, and then stitching one row to the next row to make your quilt.
Sew Together Quilted Blocks
1 – Mark What Size Your Quilted Block Would Be
On this tutorial, I will be working with small quilted blocks (4), but you can follow these steps to work on any block size you have already quilted (Quilt As You Go), to work with the Sampler Quilt 2021, all blocks should be 10 x 10 inches.
For This tutorial, I will need 4 strips of fabric of 1 x 4 inches.
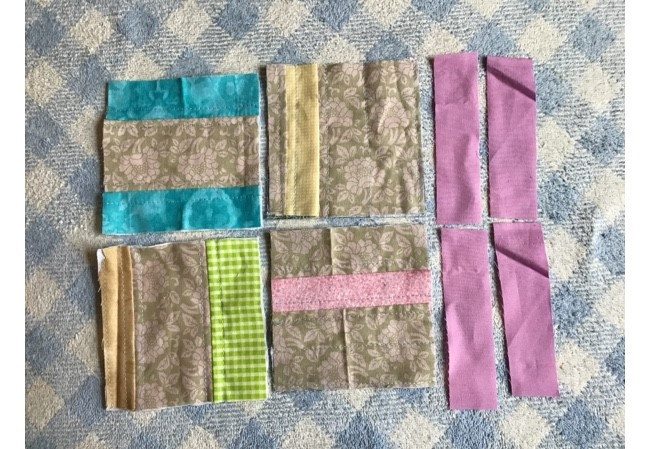
2 – How To Start Stitching On Your Quilted Blocks
Arrange on your work table all your blocks as they should go on the quilts, row by row.
To start working on the connecting process, place one piece of back binding under the first block on each row, place another binding piece over the block and pinch two or three pins, and take it to the machine, and stitch all the layers together with a 1/4 inch seam allowance.
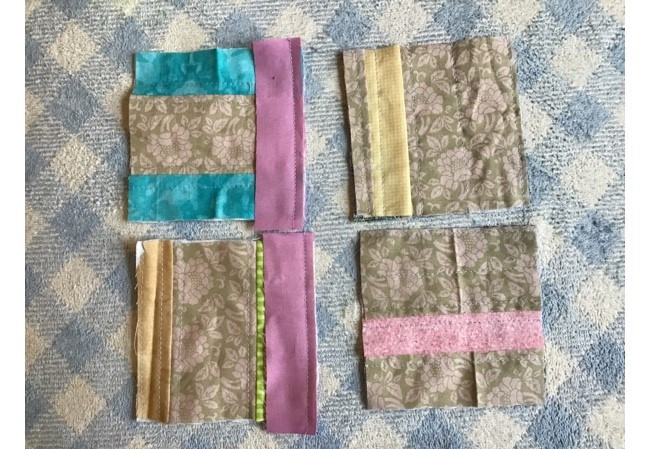
3 – How To Stitch On Next Quilted Block
On your work table place the two blocks with the binding pieces, and open the piece on the back, and finger pressing the binding piece to be flat open.
Take next block for each row, and flip it over (pretty side down), place this block under the open back binding strip, and align the block to the binding piece edge, pinch two or three pins on each piece and stitch on your sewing machine both pieces with an accurate 1/4 inch seam allowance
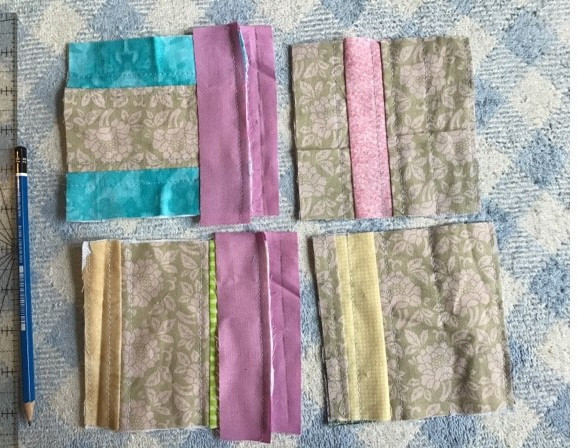
4 – Arrange The Seams
Lay the two rows of block on your work table and open the second block on each row, if the seams are accurate each row will open nicely and seams will meet in the center.
In case your seams don’t meet accurate, you can trim one seam to help it to set nicely in the center. If you notice a seam is not nesting nicely in the center because there is a big part of the seam, is always better to stitch on that seam again to be more accurate.
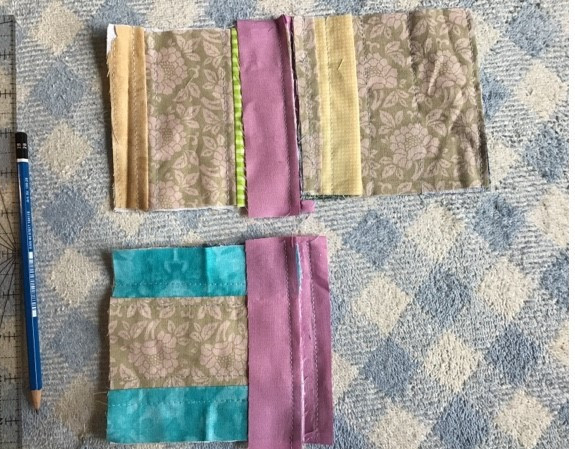
5 – How To Stitch On Seams Allowance When Sewing Together Quilted Blocks.
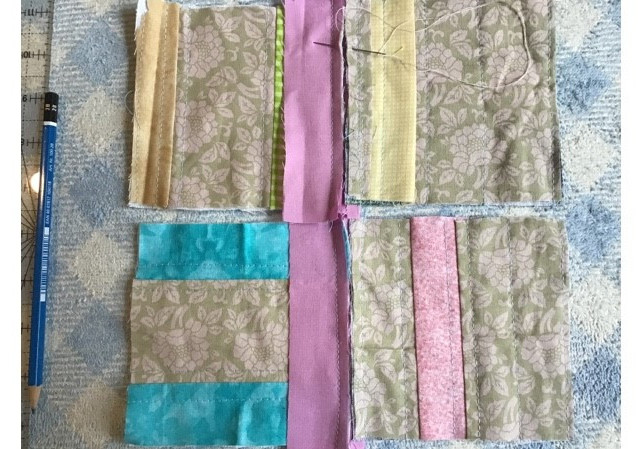
To be sure your quilted blocks are more secure, you can stitch on by hand both seams allowances with big stitches with single thread, this stitching will be covered by the top binding piece.
6 – How To Sew To Close The Top Binding Piece.
Once you finished stitching on both seam allowance, you can open the top binding piece and finger press to flat the binding piece, fold the edge 1/4 inch to the back and stitch on by hand to close this binding piece on each row.
When working on a big size quilt, each row might have 4, 5 or even more blocks per row, each block should be stitched on the same way. On this tutorial, I’m working only with two blocks per row, and only two rows.
7 – How To Connect Quilted Rows On A Quilt As You Go Quilt
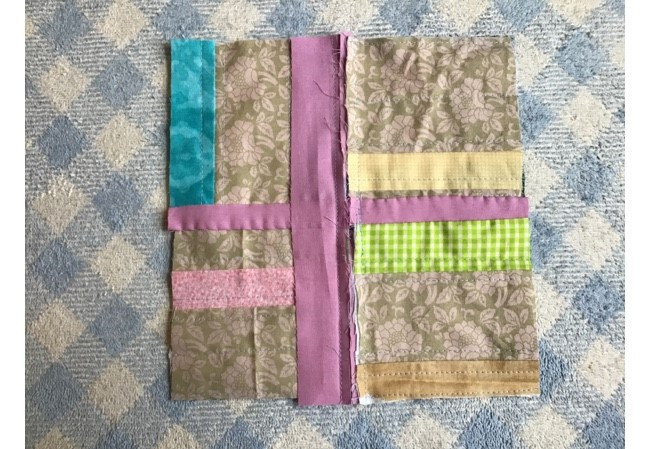
Once you get all the blocks connected on each row, it’s time to work to connect all the rows, one row to the next row.
On this tutorial, I’m working only with two rows, but in case you’re working on the Sampler Quilt, you will have more rows to connect, these rows will be connect one to the other the same way.
To connect the rows, you need to cut two piece of fabric same length as the rows on your quilt, one binding piece will be on the top and one binding piece will go on the back, and you will work on the sames steps you did to connect the blocks on the rows.
Work to connect the first two rows first, when you finish the top stitching, then work to connect row 3 to row 2, and keep working this way until you finish connecting all the rows.
On the image below, you can take a look how the front of the quilt will look like when you finish connecting the two rows.
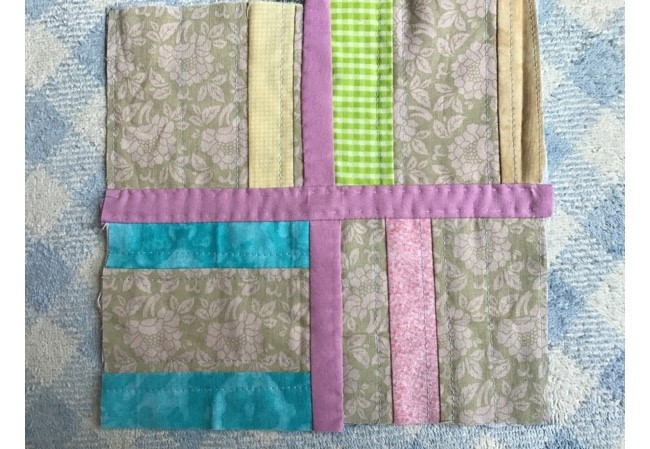
On the image below, you can take a look on how the quilt will look like on the back.
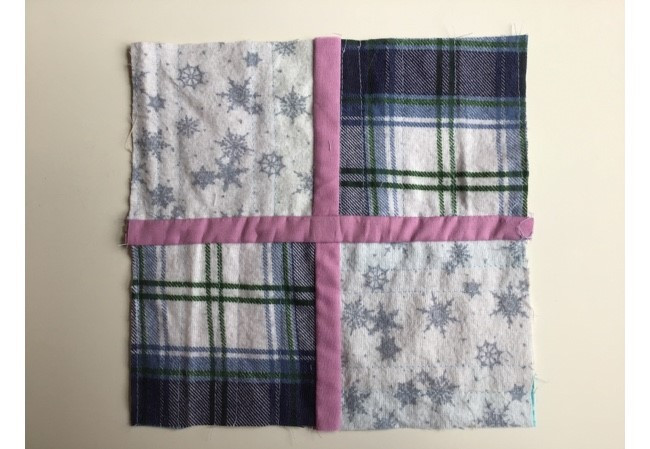
On the Sampler Quilt, I’m working to close the binding pieces by hand, but at home if you prefer to do this step on your sewing machine is OK, your quilt will look pretty too.
As a tip, I will recommend making a small sampler as I did with this mini quilt, to practice the steps to follow, before you start working on a big quilt.
By making a sampler first, you can see how your quilt will look like and it will give you the practice you need to work on a bigger quilt.
Soon, on a next blog post, I will be sharing the steps to follow to add the bidding to this quilt, so you can work on the Sampler Quilt at home.
I thank you for keep visiting my blog and for your interest of making the Sampler Quilt 2021 with me.
Feel free to contact me on my Social Media
- Facebook – Alejandra’s Quilt Studio
- Instagram – alebalanzario.patchwork
Puedes leer estemismo tutorial en espanol en el blog de Ale Cose y Cose – Como Unir Bloques Acolchados
Thanks so much for sharing my blog on your Social Media!
Sampler Quilt 2021 tutorials
- House Quilt Block Pattern – How to make an applique house block and a Paper Piecing Pattern house block
Watch the video tutorial here:
https://youtu.be/P4bOXh0l2cg
