Easy Mitered Corners For Quilt Binding is the final step to work on a quilt, on this tutorial I will share the steps to follow.
As you have been working on the Sampler Quilt 2021, on the previous post I shared the steps to connect the quilted blocks, once you have your quilt with all the blocks connected, your quilt is ready for the final step of the bias binding.
On this post I will share the easy steps to follow to stitch on the bias to a quilt and get the four mitered corners, on this tutorial I’m going to work on a small quilt as a sampler, these steps are the sames steps to follow when you’re working on any size quilt.
Mitered Corners For Quilt Binding
1 – How To Cut The Bias For A Quilt
When working on a quilt with straight sides, the bias should be cut straight, 2 inches width and as long as the four sides of your quilt measure + 10 to 12 inches more.
The 10 to 12 inches more will allow you to work with ease on the mitered corners and on the stitching the two ends of the bias together.
If your quilt has borders with waves, the bias should be cut with an angle, as this way it will help you to work with ease on curved edges.
As the Sampler Quilt is bigger than this small quilt I’m working on this tutorial, you might need to cut a few strips of fabric to make the bias, these fabric strips should be stitched one to the other to make a long strip.
Fold the strip of fabric in the middle lengthwise and press.

2 – Stitch On The Binding On The Front Of The Quilt
Every quilter can decide whether to stitch on the binding on the front and fold the binding to the back, or you can also stitch on the binding on the back and fold the binding to the front. On this tutorial you’ll be working on the front of the quilt.
Start stitching the folded bias on one side of the quilt, half-way, and keep stitching the bias until you get to the first corner, always stop stitching 1/4 inch from the edge.
When reaching 1/4 inch from the edge, you can reinforce the stitching and take the quilt out and cut the thread.

3 – How To Form Mitered Corners On A Quilt
Hold the bias in your hand and pull it up, hold the folded bias on the corner with one finger, it should show in an angle, and fold the bias down, bias it will look like a waving flag (image below).
Pinch a few pins to lay the bias nicely on your quilt, the corner should be flat, and then you can start sewing from out of that corner, 1/4 inch seam allowance, all the way on that side until you reach 1/4 inch from the edge.

4 – How To Sew Mitered Corners On A Quilt
Keep working to sew the four sides of your quilt with mitered corners following the same steps you did to form a mitered corner on the first corner.
Once you get to the last side of your quilt, stop sewing the bias 6 to 8 inches before you reach the point where you started.

5 – How To Sew The Bias Ends On A Quilt
The first thing you need to do is open one bias end on your quilt, fold the bias to make an angle, and finger press, trace the fold with a pencil, and fold the bias with the angle on your quilt.
Take in your hands the other bias end, and take it to meet the folded bias, open this end and fold the angel to meet the folded bias, finger press the fold, and mark the fold with a pencil.
Check that the two folded bias in angle meet nicely on your quilt edge. If they meet nicely, open both bias and cut each end 1/4 inch from the marked line on each end.
Face right side to right side both bias ends and sew on. Open the seam flat and fold the bias, now you can sew the bias on your quilt.

6 – How To Stitch To Close The Bias On A Quilt
Now, that you have finished sewing the bias on your quilt, it’s time to fold the bias to the back and stitch it closed on the back of your quilt.
You can trim the corners to help the corners to form better when you fold each corner on the back, it will help to form the mitered corners nicer.

7 – How To Stitch To Close The Easy Mitered Corners For A Quilt
On this tutorial, I’m working on hand stitching to close the bias on the back of the quilt, you can decide whether to do this step by hand stitching or with your sewing machine.

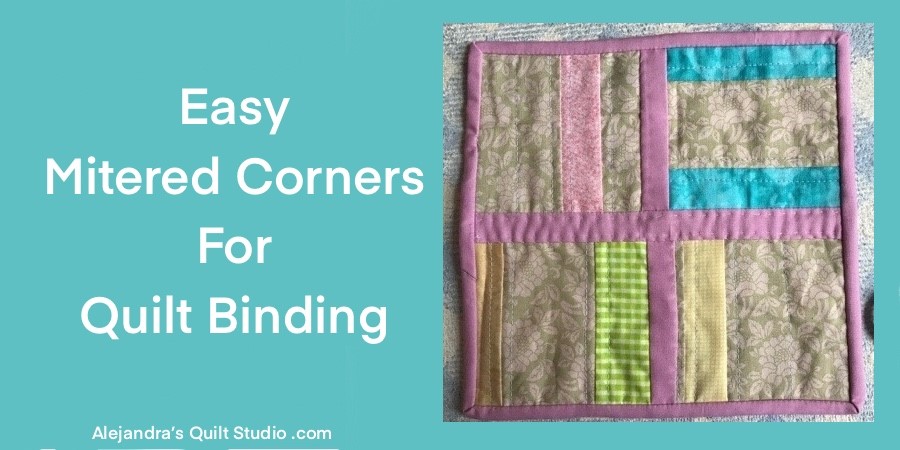
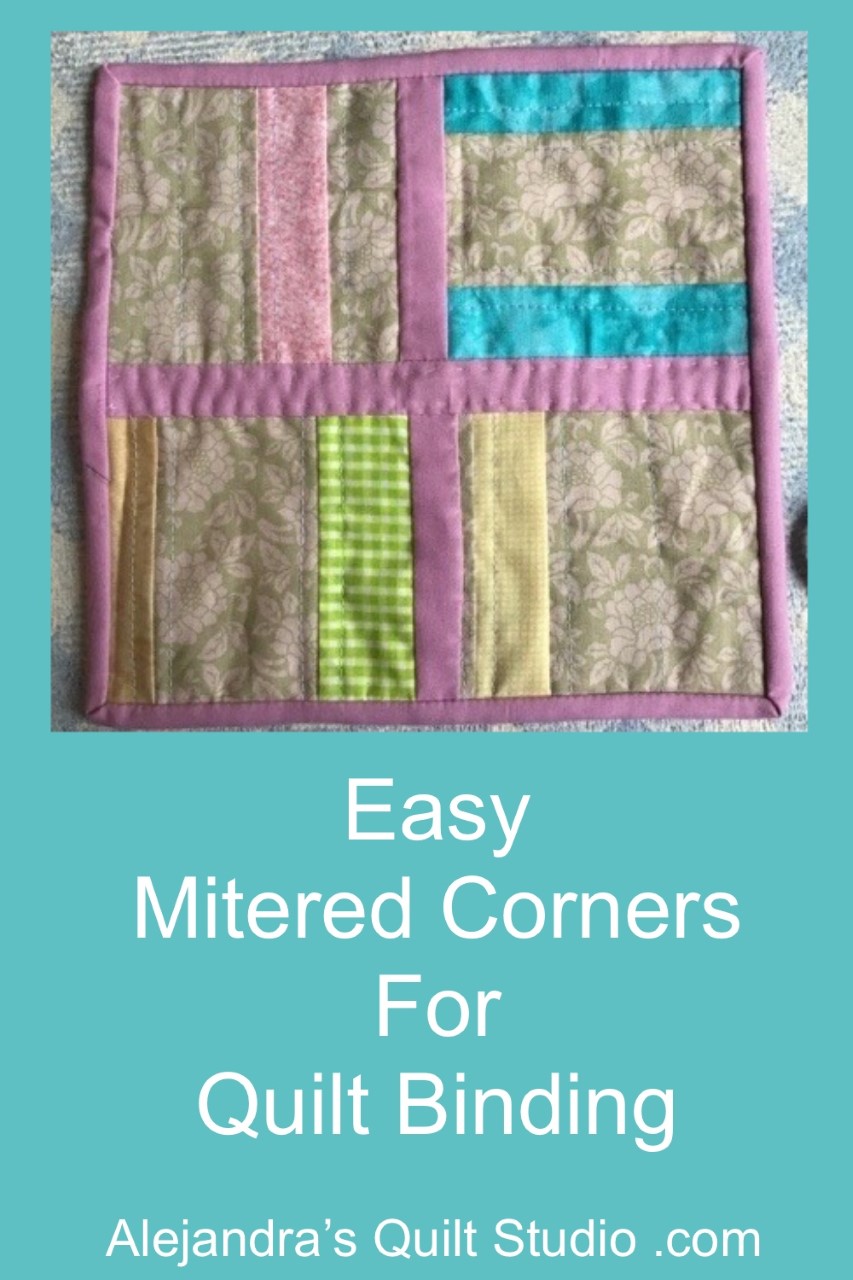
The bias on the quilt is all stitched and it looks amazing!

I hope you like the Easy Mitered Corners For Quilt Binding tutorial, and it helps you to finsh your quilt nicely!
Thanks so much for keep visiting my blog!
You can find more patchwork and quilting tutorials here!
Puedes leer este mismo tutorial patchwork, para coser el bies en tu quilt en español aqui!
Thanks so much for sharing my blog on your Social Media!
Watch the video tutorial here: