Tote bags can be made in many different ways and they will always look pretty, but when you have a piece of embroidery, it will be unique!
Tote Bag With Embroidery is an easy step by step tutorial to use an embroidery piece for the external pocket, it will be easier for you to keep everything well organized.
As tote bags are back, whether you use it to carry all your stuff for the day or if you use it as a shopping Eco bag, but when you love to do embroidery, using an embroidery piece for the front pockets, it will be pretty and unique.
Tote Bag With Embroidery Tutorial

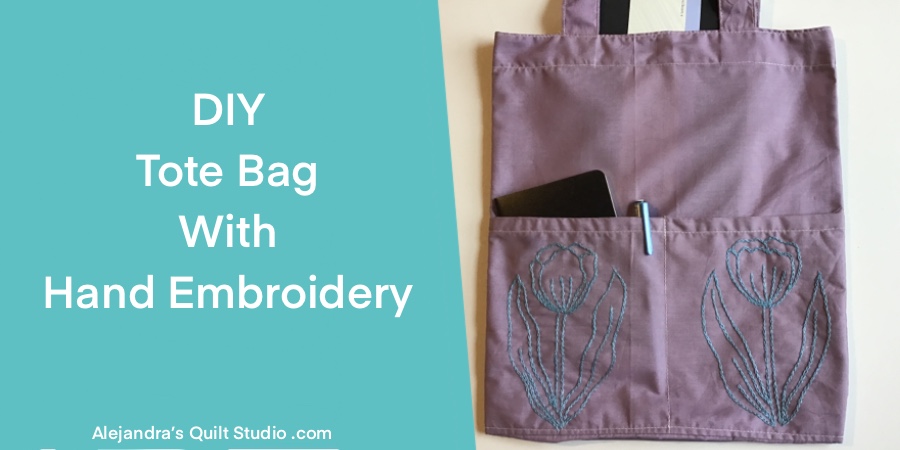
You will need a piece of fabric already embroidered of 12 x 7 inches.
If you want to do the same embroidery I’m using for this tutorial, you can download the Tulip Embroidery Pattern here and you will need to trace the pattern first on a fabric and do the embroidery with Chain stitch with double strand of embroidery floss.
You can use a different fabric or a piece made with patchwork to do the double pocket on the tote bag as well.
1. Sew On The Bias On The Pocket
Cut a strip of fabric of 12 x 1 inches, and sew on this strip on top of the embroidered piece, first on the pretty side and turn it to the back and sew on like a bias.
2. How To Sew The Double Pocket On The Tote Bag

Cut a piece of fabric of 11 3/4 x 12 1/4 inches, fold in the middle lengthwise to mark the center, fold the embroidered piece in the middle to mark the center.
Lay on your work table the front piece of the tote bag and lay over it the embroidered piece, both pieces should have their pretty side up, center both pieces and pinch a few pins to hold both pieces together.
Sew on the center line of the pocket to the front piece on your sewing machine, reinforce the beginning and the end of the stitching.
Stitch together both pieces on the edges, trim the edge on both pieces.
3. How To Sew On The Tote Bag With Embroidery

Lay on your work table the piece of fabric for the back of the tote bag (14 x 13 1/2 inches), and lay over it the front piece pretty side up, and lay over it the front piece, pretty side down, you will be stitching the bottom of both pieces together, but leave a seam 1/4 inch bigger on the piece for the back.
Stitch on the seam allowance of 1/4 inch on your sewing machine.
Lay the piece open on your work table, pretty side down, and press the seam, fold the bigger seam to cover the seam and pin it, top stitching on the seam, it will look like the seam made on jeans, this double stitching will make the seam stronger to carry in your tote bag heavy things safer.
4. How To Sew On The Sides Of The Tote Bag

Lay the tote bag on your work table, pretty side up, take one top side to meet the other top side, you will have the tote bag folded in the middle, pretty sides inside, pin the top on both sides.
You will notice the front piece is shorter than the piece for the back, you will need to fold the extra on the bottom up, you can see on the video how I did that, pin both sides of the bag and sew on both sides on your sewing machine, 1/4 inch seam allowance.
Lay the tote bag on your work table, and fold the extra fabric on both sides up like a bias to cover the seam allowance, pin it and sew on both sides on your sewing machine.

5. How To Sew On The Tote Bag Straps
Turn out the tote bag and lay it on your work table, fold the top in the middle and press the center, you can also mark the center on both sides of the tote bag with a pencil, with a ruler mark 2 1/2 inches on both sides from the center with a pencil.
Place one strap on the front and one strap on the back, leave 3/4 inch of both ends of each strap out of the top.
Cut a piece of fabric 1 1/4 inch wide and 25 inches long, sew on this piece on top of the tote bag on the front, 1/4 inch seam allowance.
Open the piece and fold it on the back, top stitching on top of the top of your tote bag all around.
Press the strip of fabric with the edge folded 1/4 inch to the back, pin it and stitch on your sewing machine, when stitching this piece you will need to stitch also the ends of the both straps too, it will add more strength to your tote bag.

6. How To Finish The Tote Bag With Embroidery
This last step is optional, but if you will use this tote bag as an Eco bag you might keep it in your car or in your bag all the time, if you keep it folded it will work better.
An easy way to keep your tote bag folded is by stitching on a piece of ribbon on the top on the back side, long enough to be tied up after you fold your tote bag.
You can make also this piece with a piece of the same fabric you used to make the tote bag, cut a piece of fabric of 16 x 1 1/4 inch and fold both sides lengthwise to the back and fold again the piece in the middle lengthwise and sew on your sewing machine, fold the piece in the middle and place the piece on the top on the back side of the tote bag, stitch on the piece to the bag on your sewing machine.
The Tote Bag with Embroidery is finished and it looks amazing!
I’m sure you will be making more than one when you see how easy it is to make, and how sturdy it looks!
More sewing tutorials to make a Tote Bag:
Thanks so much for reading my blog today!

Video: