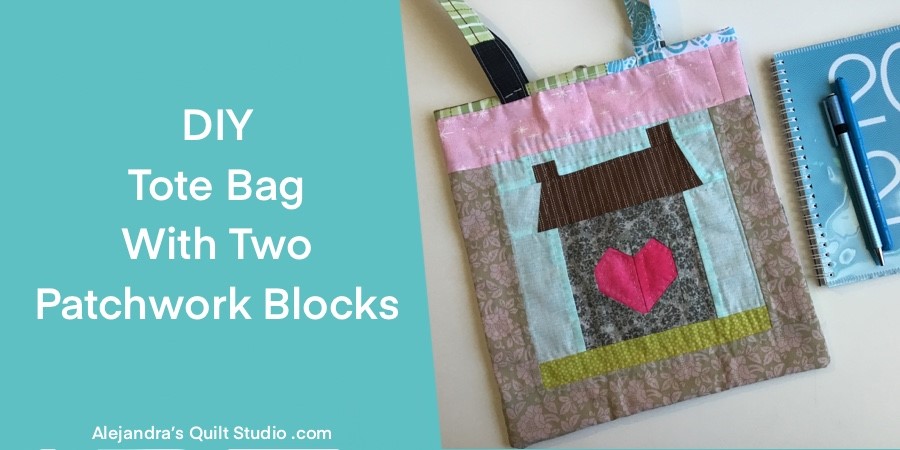
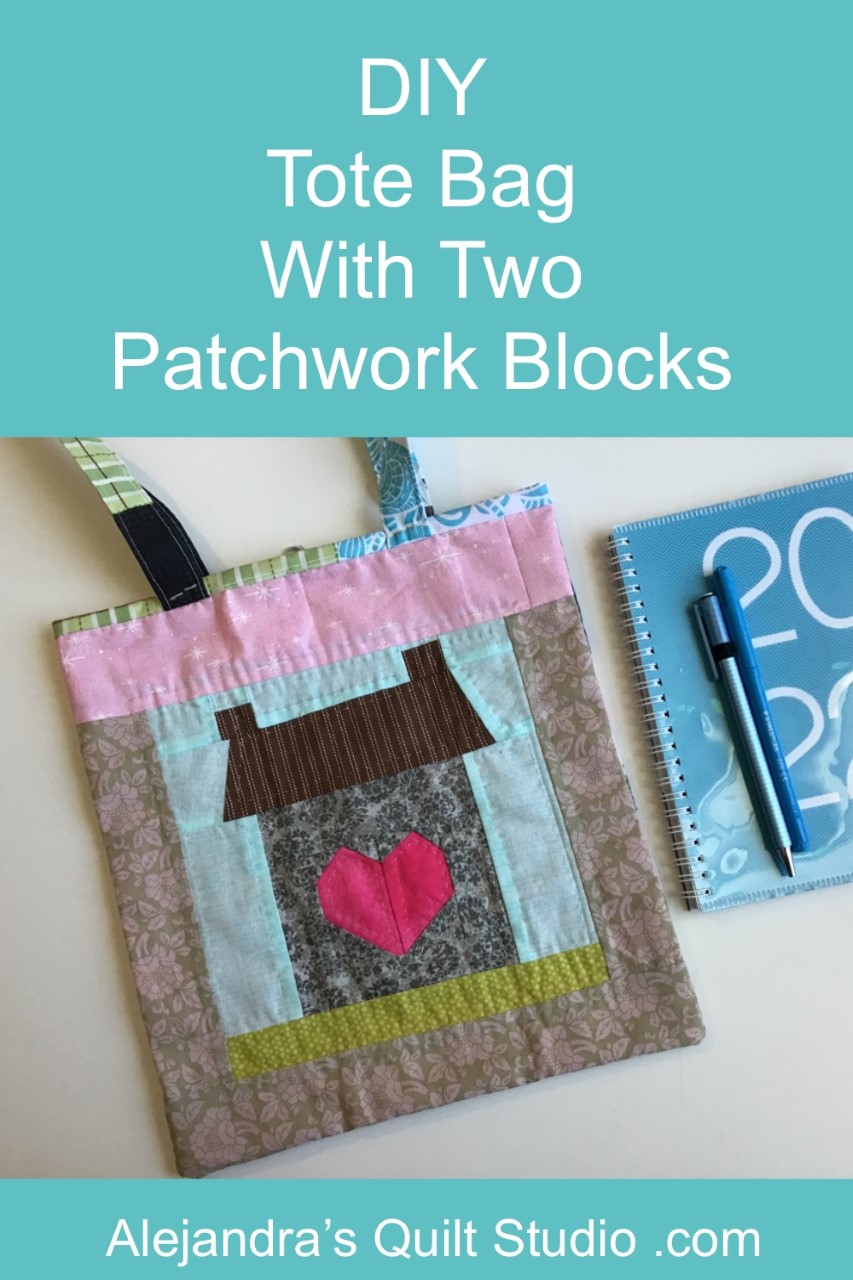
One easy way to make a tote bag is to make it with two patchwork blocks you already made!
Tote Bag With Two Patchwork Blocks is an easy tutorial for beginners and more advanced sewers and quilters, with two blocks already made.
If you’re looking for an easy sewing or quilting tutorial to make a useful and pretty tote bag, today I will share the steps to follow to make this Tote Bag.
How To Make A Tote Bag With Two Patchwork Blocks
When you love to make your own quilts, many times you will end making one or two more blocks, at the end you will have one or more orphans blocks.
If you have already a couple of orphans quilt blocks of the same size, you can use them for this tutorial, whether they are bigger or smaller size of the two blocks I’m using on this tutorial, just skip the steps to make the blocks I’m using on this tutorial, and jump on how to quilt the blocks and how to sew the tote bag steps.
How To Make The House With A Heart Block
If you want to make the same tote bag with a front block made with a House With A Heart PPP block, you can download the free pattern here. On this tutorial I’m not sharing the steps to follow to make this block, as when working with a Paper Piecing Pattern, you will need to follow the number sequence and color code to make the block.
When you finish making the House With A Heart PPP quilt block, press and trim the block to 8.5 x 8.5 inches.
Sew on a border on each side of the block of 2.5 x 8.5 inches, press, then you can sew on one border on the top and one border on the bottom, 2.5 x 15 inches each piece, I cut a little bigger these two pieces, and they can be trimmed after you press your block.
Cut a piece of fabric for the inside of the tote bag of 13 x 13 inches, and use it as the back of this block, no batting fabric needed here, at home if you want to use a batting as a middle layer, it will work fine too. I will keep this tote bag light.
The quilting can be done by hand or with your sewing machine.
How To Make The Patchwork Block For The Back Of The Tote Bag
To make the patchwork block made with small squares of fabric, you will need to cut 7 pieces of fabric of 2.5 x 15 inches each piece.
Sew on the 7 pieces together and press, cut 7 strips of 2.5 inches each strip.
Sew on the 7 pieces together and sew on the pieces starting with a different end each time, so block looks good at the end.
Press the finished block and cut a piece of fabric of 13 x 13 inches and do the quilting by hand or with your sewing machine.
When you get the two blocks already quilted, you can make a basting stitching all along the edge on the four sides on each block. By doing this step, it will be easier for you to trim each block and to sew on the tote bag.
How To Sew The Tote Bag With Two Patchwork Blocks

Lay both sides on your work table, pretty sides up, lay one block on top of the other, both pretty sides out, pinch a few pins to hold both quilted blocks together and sew on three sides, leave the top side open, 1/4 inch seam allowance.
Lay your project on the cutting mat, and trim the seam to 1/8 inch.
Turn out your tote bag, pretty side should be now inside, press the seams, and sew on the three sides of the tote bag on your sewing machine 1/4 inch seam allowance.
As you just made a French Seam, your tote bag will be strong enough to carry your items with no problem at all.

Turn the tote bag out, press the seams.
How To Make The Straps For The Tote Bag

Cut 2 pieces of 3 x 24 inches, or you can do as I did, stitching together different pieces of fabric, and then trim each piece to the needed size.
Lay one piece at a time on your work table, and fold both sides lengthwise to the back of the fabric (1/2 inch) press, and fold the piece in the middle lengthwise and pinch a few pins to hold the piece, top stitching both side of each strap.
Lay the tote bag on your work table and fold the top in the middle, mark the middle point on both sides of the bag, with the help of a ruler, mark one point 2.5 inches to the right and one point 2.5 inches to the left, pinch one end of the strap on each marked point, do the same on the back side of your tote bag.
How To Finish The Tote Bag
Sew on a bias all along the top of the tote bag on the pretty side first, and stitch on to close the bias on the inside of the bag.
Open the straps up, and sew on a small button on each strap end or just make two big stitches on each end.
As a final step, you can fold the tote bag, and mark where to sew a button on the back side of the bag, stitch on a look with blanket stitch and your tote bag is finished and it looks amazing!
I’m sure after you see how easy is to make the tote bag with two patchwork blocks, you will be making more than one.
It can be used to carry with you all your items you need on your regular day, or it can be as a light small green bag for some small shopping.
This tote bag will be the perfect gift of a good friend!
Related Posts:
Thanks so much for reading my blog today!
Video: