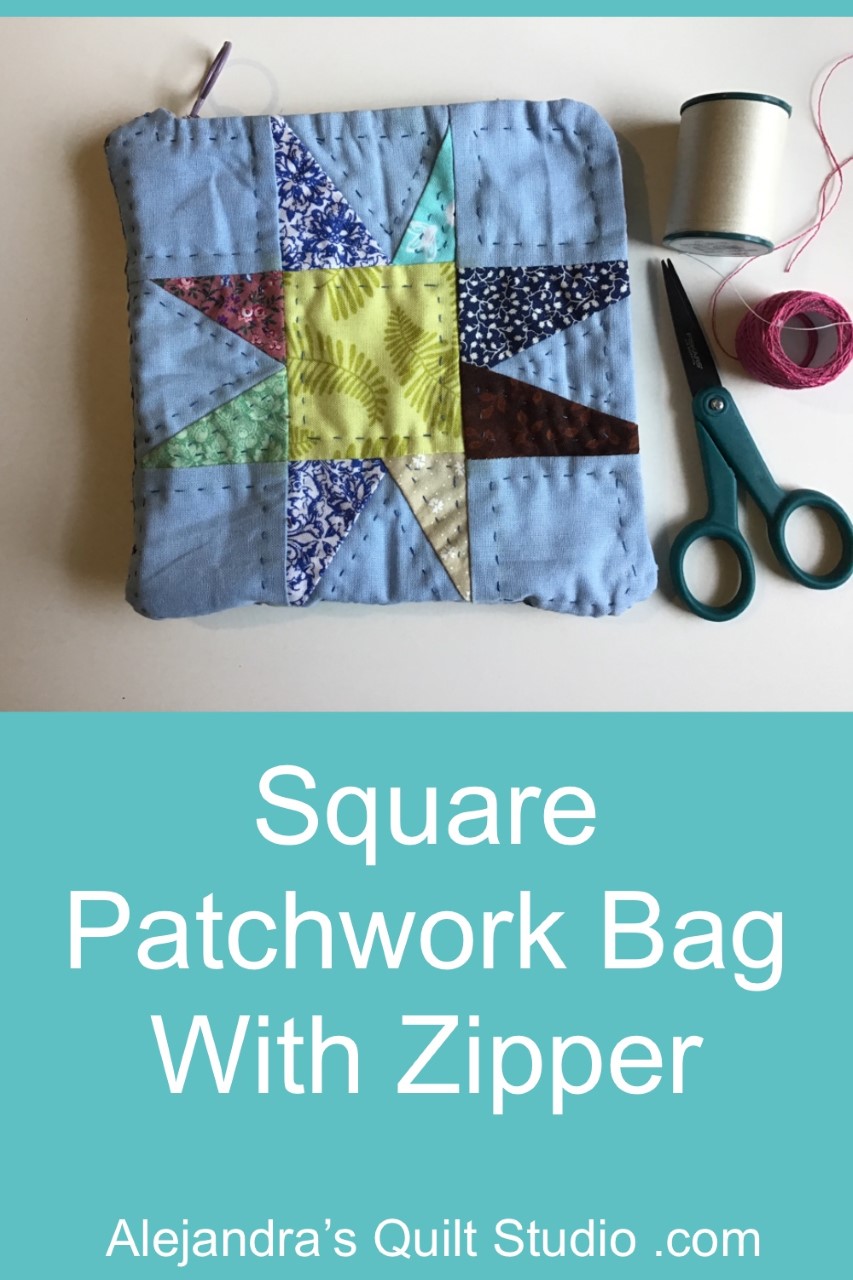
Square Patchwork Bag is an easy sewing and quilting tutorial to make a cute bag everyone will love with two patchwork blocks.
When you love to make quilts, you might get some extra patchwork blocks after you finish a quilt, making a square bag with them is a great idea to use those orphan blocks.
Whether you make this cute patchwork bag for yourself or to give it to your best friend, after you make the first one, I’m sure you’ll be making more than one!
Square Patchwork Bag
Materials
- 1 Patchwork block of 7 1/4 x 7 1/4 inches, it can be a Maveric Star or any other Quilt Pattern
- 1 Patchwork block of 8 x 8 inches, made with strips
- 2 Pieces of flannel of 9 x 9 inches for the interior of the bag
- 1 Piece of flannel of 4 x 10 inches for the inside pocket
- 1 Zipper of 12 inches
- Quilting tools
- Sewing machine
- Hand sewing needle and embroidery needle
- DMC embroidery floss
1 How To Make A Patchwork Block With The Maverick Star
To make the patchwork block with the Maverick Star to make the Square Bag, you will need to cut 8 pieces of 3 x 3 inches in color A (blue) and one piece in color B (green)
You can read the tutorial to make the patchwork block with the Maverick Star here.
2 How To Make The Patchwork Block With Strips Of Fabric
To make this block, all you need to do is to sew on one strip to the next one to make a block of 9 x 9.
3 How To Make The Paper Template For The Square Patchwork Bag
On a piece of paper size A4, draw a square with the help of a quilting rule of 7 1/4 7 1/4 inches, on two sides, mark one inch from the corner. From this point, trace a line 1/4 inch inside the square.
Trace the curved corners and cut out the paper template with the help of a pair of scissors for paper.
The shape of the paper template, you can see it on the image below.
4 – How To Trace The Square Bag Shape On The Fabric
Lay the two pieces of flannel on your work table, with their pretty side down, on the back lay the paper template, and trace the shape with the help of a pencil for fabrics.

5 How To Stitch On The Two Pieces For The Square Patchwork Bag
Lay the Maverick Star Block on your work table, pretty side up, and lay over it one of the flannel pieces with its pretty side down, pinch a few pins and sew on both pieces, the mark of the paper template will be your sewing guide, leave a gap open on one side.
Do the same steps to sew the second piece with the block made of strips of fabrics.
When both pieces are all stitched, you can trim each piece with the help of a pair of scissors for fabric, follow the stitching line and leave 1/4 inch for the seam.
With the help of a pair of scissors make some cuts on the seam, and turn each piece out.
Push the seam out from the inside by pushing with your finger tips or with the help of a pair of scissors with a rounded point.
Tuck in the seams in the gap and sew to close with ladder stitch.
6 How To Do The Quilting
On the image below, you can take a look to the quilting on each piece, it can be made by hand or it can be made on your sewing machine.

7 How To Sew On The Interior Pocket
Take the piece of flannel for the interior pocket and fold it in the middle, sew on the three sides, leave a gap open to turn the piece out.
Trim the corners with the help of a pair of scissors diagonally. Turn the piece out and press.
Tuck in the seam in the gap and top stitching all four sides.
Place the pocket on the flannel on the piece made with the strips of fabric, pinch a few pins and do some basting to keep the piece on its place while you do some stitching by hand.
The stitching of the interior pocket, should be made by hand on the flannel, this way, it won’t show on the pretty side of this piece.

8 How To Stitch On The Zipper
Take one of the quilted pieces and pin the zipper on the back on one side where the gap for the zipper is, pinch a few pins to hold the zipper on its place as you keep placing the zipper all along the two sides of the bag, once you have one side of the zipper pinned, you can pin the other side of the zipper to the second quilted piece.
The zipper should be placed on the interior of the square bag.
Once you have the zipper all pinned on both sides, try the zipper, it should work good, if not, you should pin the zipper again, it’s always better to try the zipper when it is pinned.
If the zipper works good, then you can do some basting stitches and remove all the pins, now you can stitch on by hand the zipper to the two quilted pieces.
Once the zipper is all stitched on the two quilted pieces, it should look like the image below, you can remove the basting stitches now.

9 How to Stitch On The Square Bag
Close half of the zipper, pretty side of the bag inside, and stitch on the two sides of the bag with ladder stitching, reinforce the stitching every two or three stitching.

10 How To Do The Embroidery Stitching On The Pretty Side Of The Bag
When you turn the square bag out, you will notice the stitching on the two sides will show like open, you can decide to do another ladder stitching to close the opening, or you can do a herringbone stitch with two strands of embroidery floss to cover this opening.
By doing the embroidery, it will reinforce the inside stitching, giving the square bag the strength it needs.

The Square Patchwork Bag With Zipper is all finished and it looks amazing!
I hope you had fun making the Square Patchwork Bag with Zipper as much as I did, I’m sure when you see how easy is to make it, you’ll be making more than one.
I would love to know, if you’re making this bag for yourself, or you will be giving it as a gift to a friend, or you will make a few of them to sell, leave a comment.
Thanks so much for reading my blog and for your interest to make the patchwork along with me!
Puedes leer el tutorial para hacer El Bolso Patchwork Cuadrado Con Zipper en espanol aqui!
Thanks so much for sharing my blog on your Social Media!

You can read more tutorials to make patchwork, quilting and embroidery here:
Watch the video tutorial here:
