How To Add A Hanging Sleeve To Your Quilt is an easy to follow tutorial so you can get your quilt ready to be hung on a wall in your home.
Hanging a quilt on a wall is a good way to display a quilt to decorate any room at your home, when it has a sleeve on the back, it will make it easier for you!
How To Add A Hanging Sleeve To Your Quilt
What Is A Quilt Hanging Sleeve?
A hanging sleeve is a temporary or permanent piece of fabric sewn on the back of the quilt, it can be sewn at the same times as the binding is made or it can be when the quilt is finished. It will allow you to hang the quilt evenly on any wall with ease.
What Type Of Fabric Is Best For A Quilt Hanging Sleeve?
When making a hanging sleeve on a quilt, you can use any fabric you used to make the quilt, it will add some value to your quilt. It can be also muslin or any wide backing fabric, as you won’t have the need to stitching together two or more pieces of fabric. If you want the hanging sleeve blend with the backing of the quilt, you can make it with the same fabric.
Sewing A Hanging Sleeve When The Quilt Is Finished

Cut The Fabric
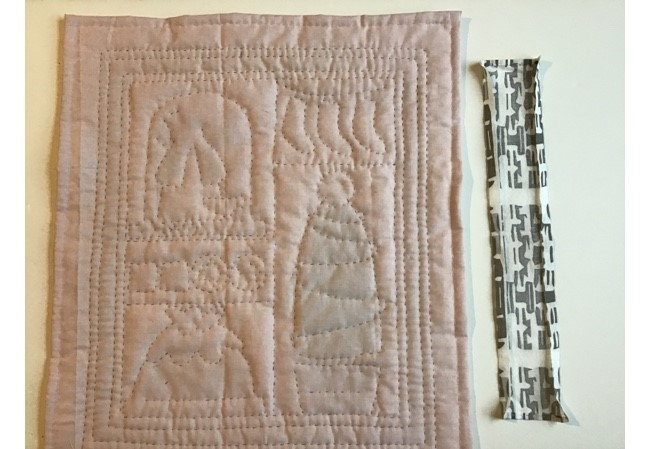
Cut a piece of fabric 3 inches wide by the wide of your quilt.
Sew On The Hanging Sleeve
Fold 1/4 inch twice to the back of the fabric on both ends and sew on, it can be done with your sewing machine or by hand.
Fold 1/4 inch on the top and on the bottom on the piece of fabric for the sleeve.
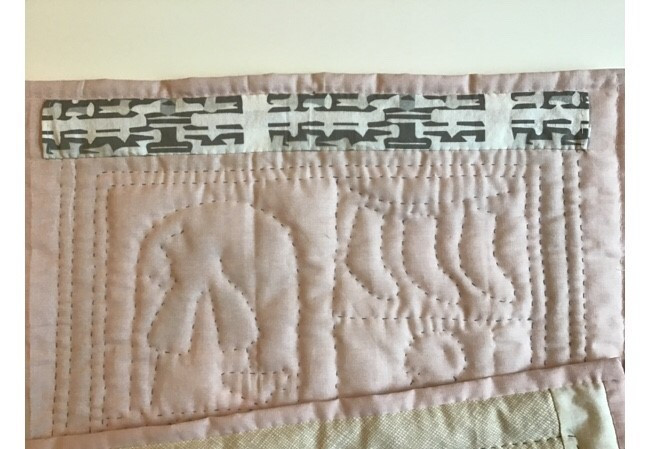
Fold the piece in the middle lengthwise to mark the center of the piece. Do the same with the top of your quilt, pinch a pin in the middle or mark the middle with a pencil for fabrics.
Place the sleeve on the back of the quilt, match the middle centers on the sleeve and on the quilt, pinch a pin and pinch a few more pins to hold the sleeve on its place.
Stitch on the top and the bottom of the sleeve to the back of the quilt by hand. Leave the two ends unsewn. Remove all the pins
How To Make A Loop On Your Quilt

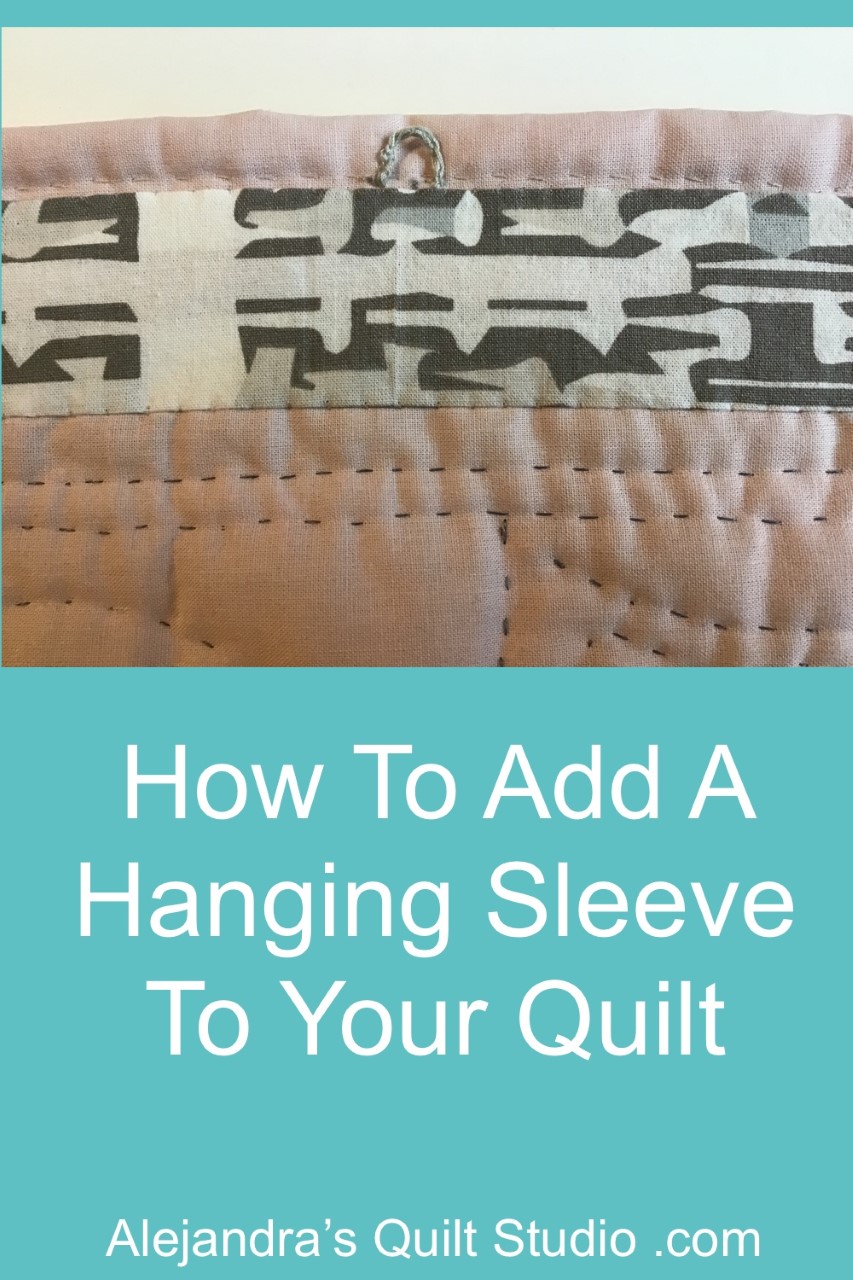
When hanging a small quilt on a wall, you can insert a rod in the sleeve and attach a cord to hang the quilt on the wall, but if you don’t want to attach a cord to hand the quilt, you can also make a loop in the center top of the quilt to hang the quilt on a nail on the wall.
When making a loop, you can use thick thread like perle embroidery thread, but you can also use regular thread as I’m using this time on the video.
Insert the needle 1/2 inch from where you want the loop, make a small back stitch on the point for the loop, sew around where the loop finish, leave the loop as big as you want it to be.
You can do one more stitches to make the loop thicker, then you can make some buttonhole stitches all along the loop.
To finish the loop, insert the needle in the batting fabric, pass the needle with the thread two times in both directions and cut the thread.
Your Quilt is ready to be hung on a wall on any corner at your home, and it will look amazing!
Thanks so much for reading my blog today and for your interest of making the Christmas Mini Quilt along with me.
You can find more tutorials to make the Christmas Mini Quilt here!
Puedes leer el mismo tutorial para poner una Manga Para Colgar Una Quilt En La Pared en espanol, aqui!
Thanks so much for sharing my blog on your Social Media!

Watch the video tutorial here!
