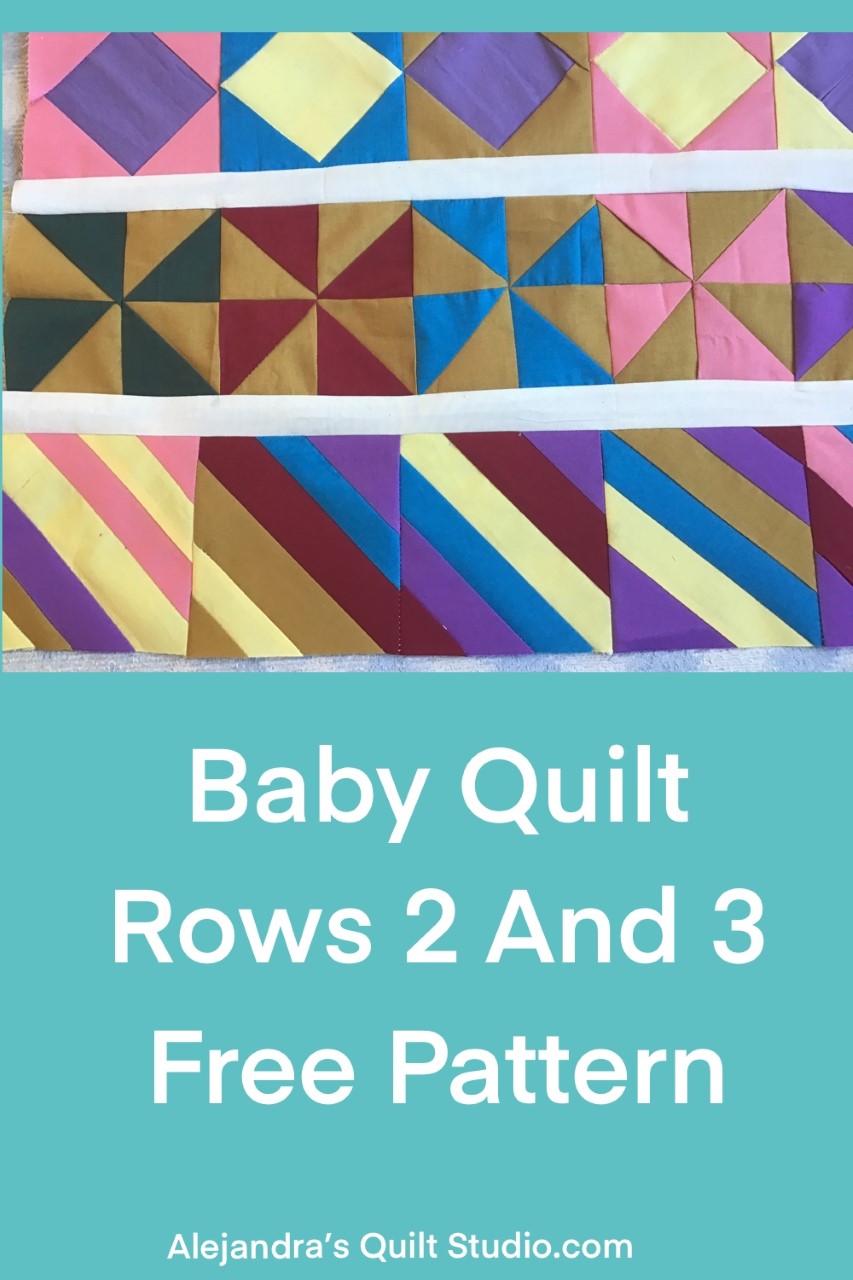
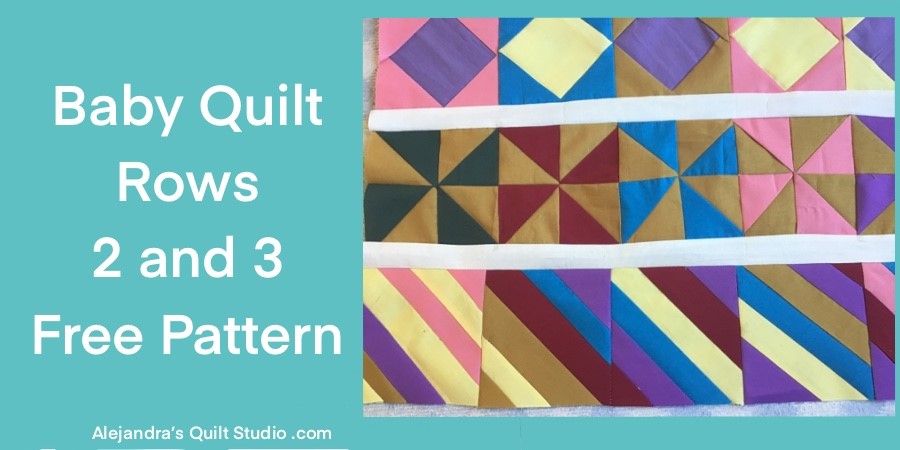
Baby Quilt Rows 2 And 3 tutorial will give you the steps to follow to make two more patchwork blocks with the Paper Piecing Pattern.
Whether you need to make a baby quilt to welcome a new baby in the family or to give it as a gift at a Baby Shower, making a row by row baby quilt is fun and is an easy to make cute baby quilt.
Making a baby quilt can be easy and fun when you work on easy blocks to make it, all you need is to find some pretty fabric to work with!
Baby Quilt Rows 2 And 3
Materials and Patchwork and Quilting Tools
- Cotton 100% fabric in assorted colors
- Paper Piecing Pattern (Click here to download the PDF FREE pattern)
- Scissors for paper
- Scissors for fabric
- Pins
- Sewing Machine
- Rotary Cutter, patchwork ruler and cutting mat
- Iron
You can read the Best Patchwork and Quilting Tools here!
Baby Quilt Rows 2 And 3 Step by Step
If you’re new to my blog or if you want to make the Baby Quilt Row by Row for the first time, you can find the tutorial to make the first row here!
Step 1 – Pinwheel Paper Piecing Pattern
The second row on the Row by Row Baby Quilt is made of 5 blocks of Pinwheel blocks made with a Paper Piecing Pattern, you can download the FREE pattern and make enough copies of it to make the 5 blocks.
You can make the 5 Pinwheel blocks like I did, with a fabric for a base, it will go on all the blocks and you can make each block with a different fabric color, so the pinwheels can stand out.

The instructions to make the Pinwheel blocks are the instructions to make any block using the Paper Piecing Pattern, on the video you can watch me working on the pattern to make one half of the Pinwheel, and you will need to make two half pieces to make each Pinwheel.
The technique to work on a Paper Piecing Pattern, is to follow the numbers on the paper pattern and sew one piece at the time. At the end of each piece, you can press it and trim each piece.
Once you made the two pieces, you can lay one piece over the other and be sure the two pieces are centered. Sew along the two pieces, open and press.
When each Pinwheel is finished, you can trim all the fabric around each block.

Step 2 – Sew On The 5 Pinwheel Blocks To Make Row 2
Lay over your work table all the 5 Pinwheel blocks and arrange them the way you like them most, sew on the 5 blocks to make a strip, press.
You can sew the strip of pinwheels to the Baby quilt. Press.
Step 3 – How To Make A Strips Block
To make a strips block is easy and fun, all you need to do is to draw a 5 x 5 inches square on a piece of paper and make 4 copies of it, so you can have 5 paper pieces.
You can draw on one side of each paper square the lines to follow to sew on the strip, like if you were working on a Paper Piecing Pattern, or you can just place the first strip on one side of the paper on the center, and start sewing each strip of fabric on both sides of the first strip.
Follow the steps like you were working on a PPP, sew, open and trip the seam, lay new strip on the pattern, sew, open and trim the seam 1/4 inch, until you cover all the paper.

When you finish sewing on all the strips to cover the paper on each piece, they will look like the squares I show you on the images above and below.

Step 3 – Trim The Strips Blocks
Lay each Strips Block on the cutting mat and trim all the strips that are out of the paper pattern, all around the four sides of each block.
If you don’t have the rotary cutter and the cutting mat, this step can be done also with a good pair of scissors.
Remove all the paper from each block and press.
Step 4 – Sew On The 5 Strips Blocks
Lay on your work table the 5 Strips Block and arrange them the way you like them most, pin the 5 blocks and sew on. Press
Step 5 – Sew On The Row 3 To The Quilt
Now you can sew on Row 3 to the baby quilt, don’t forget to sew on one strip of fabric for the sashing between the rows, press.
On the picture below, you can see how the three first rows look like on the back of the top. You can remove all those tiny pieces of paper from the quilt with the help of a small tweezers

The Row by Row Baby quilt top will look like the image below when you finish sewing all the three first rows.

You have done a great job and the quilt top looks amazing with the three first rows!
On the next post, I will be sharing how to make two more rows to finish the Baby Quilt Top.
Baby Quilt Rows 2 And 3 – Final Thoughts
Thank you so much for your interest to make the Baby Quilt Row by Row, don’t forget to follow me on Social Media!

Puedes leer el mismo tutorial en espanol para Hacer La Quilt Para Bebe, lineas 2 y 3 aqui!
You can watch the video to make the Baby Quilt here!
