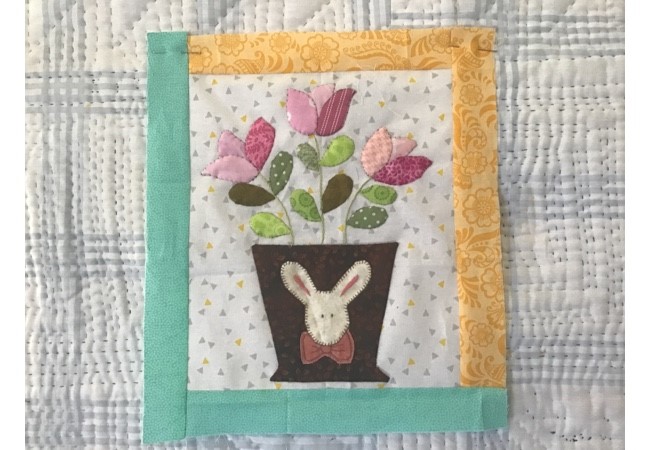
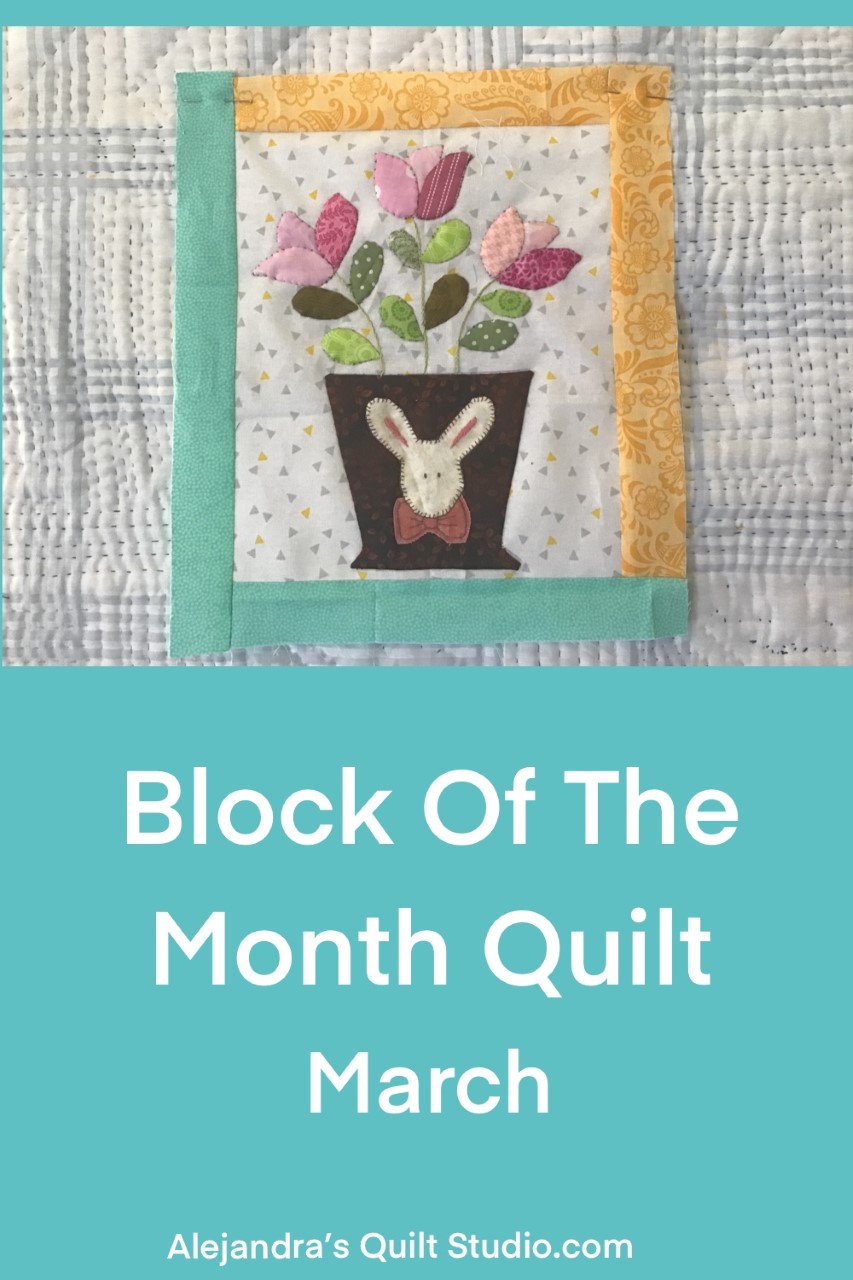
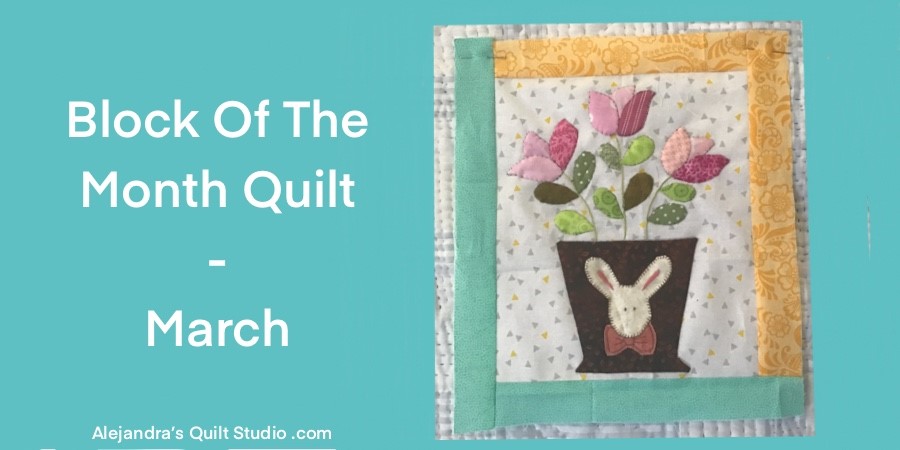
Block Of The Month Quilt on this tutorial, I will give you the March FREE pattern to download to make this month block with applique.
March is about Spring and by this means we can work with flowers and bunnies, so I designed an easy pattern to work with to make a beautiful block with flowers, a flower vase with a bunny.
March block will be made with applique and some easy embroidery on it. I hope you like it and you join the fun, by the end of the year you will have your quilt almost finished as I will share soon January and February blocks so we can catch up with the year.
Block Of The Month Quilt
Materials and Supplies
- 1 piece of cotton 100% fabric in white or light beige of 8 1/4 x 9 1/2 inches
- 2 strips of cotton 100% fabric of 1 1/2 inches wide and different length, color A
- 2 strips of cotton 100% fabric of 1 1/2 inches wide and different length, color B
- Different pieces of cotton 100% fabric in different colors and prints for the applique
- Scissors
- Pins
- Rotary cutter, patchwork ruler and cutting mat
- Hand stitching needles
- Cotton or polyester thread for the hand applique
- Sewing machine
- Quilt Block Of The Month March FREE Pattern (Click here to download the pattern)
Related: How To Make A Mini Quilt – FREE Course – all you need to learn about applique quilts.
Block Of The Month Quilt March Step by Step
Step 1 – How To Make The Block Of The Month Quilt
On this tutorial, you will be making the first block for the quilt, however all the 12 blocks will be made the same way, you can cut and sew one block for this month tutorial or you can cut and sew all the 12 blocks now, so you have them ready to work on the applique.
If you are making the 12 blocks to get them ready, you need to pick different fabrics in color and prints for each month.
Each block should be made in the same way, sew the four borders on each block with the Log Cabin technique, sew the first border and cut the strip of fabric, open and press, sew the second border, cut the strip of fabric, open and press, follow the same steps with the other two borders.
Take a look to the image below to follow the order I followed to stitch on the four borders to the piece of fabric, first I stitched on the two yellow borders and then I stitched on the two blue borders. All stitched with the sewing machine.

Step 2 – Download and Print out the Free Applique Pattern
Press the block with warm iron, and fold the block in the middle and press it gently to mark up the middle.
Download and print out the free pattern, place the pattern under the block and center it, pinch a few pins to hold the block and the pattern all the time together while you trace the pattern on the block
Use a light box or a window to trace the pattern on the block with a pencil or a pen for fabric.
Note: I only trace on the block the flower base and the steams lines for the embroidery, I traced on the block small lines for the leaves and flowers.

On the image below, you can take a look to how the block looks like once you finish tracing the pattern on it, remove all the pins and the pattern from the block.

Step 3 – How To Prepare The Applique Pieces
Cut out the applique pieces from the free pattern, and make as many leaves and flowers paper templates as needed, just trace each template on a piece of paper with a pencil and cut them out.
Cut a piece of fabric 1/4 inch bigger of each piece, pin or baste each template to each piece of fabric and glue or baste the seam folded on each piece. (I prefer to work by basting each piece)

Step 4 – How To Baste Each Applique Piece On The Quilt Block
Once you have all the pieces for the applique ready, you can lay each piece on its place on the Quilt Block, pin it or baste it on the block.

Step 5 – How To Make The Applique On A Quilt Block
Once you have all the pieces basted or pinned on the Quilt block, you can do the applique of each piece on the Quilt block, do small stitches with a single thread by hand.
When you finish the applique of each piece, you can cut out the quilt block fabric on the back of each piece to remove the paper from each piece, most of the pieces are small on this quilt block, you won’t need to trim out the fabric of the back.
On the flower vase, the piece is big enough for you to trim out the quilt block fabric on the back.
Once you cut out the quilt block fabric on the back from the flower vase, you can do the bunny face applique.

Step 6 – How To Do The Quilt Block Embroidery

Once you finish all the applique on this block, it’s ready to work on the applique, put the block on an embroidery loop and do the flower stems, all three are made with back stitch embroidery with 3 threads of embroidery DMC floss.
Bunny’s eyes are embroidered with Satin Stitch.
Note: The Bunny’s bow is too small to be worked with back folded seams, so I cut the piece from the fabric with no seams, I worked it like raw edge with back stitch with a single thread, gray.
Related: Basic Embroidery Stitches For Quilting – You can learn how to do the back stitch and the satin stitch on this post.
The First Block Of The Month Quilt is finished and it looks amazing!
Soon I’ll be sharing how to make the next block for this quilt, so I hope you visit my blog soon so you can make it!
I hope you join the fun to make the Block Of The Month Quilt with me, there will be lots of appliques to do, but it will be lots of fun to make each block!
Don’t forget to follow me on:
Facebook: Alejandra’s Quilt Studio
Instagram: alebalanzario.patchwork
Puedes leer el mismo tutorial en Espanol en el blog de Ale Cose y Cose . com
Thanks so much for sharing my Pin on your Social Media

You can watch the video here:
