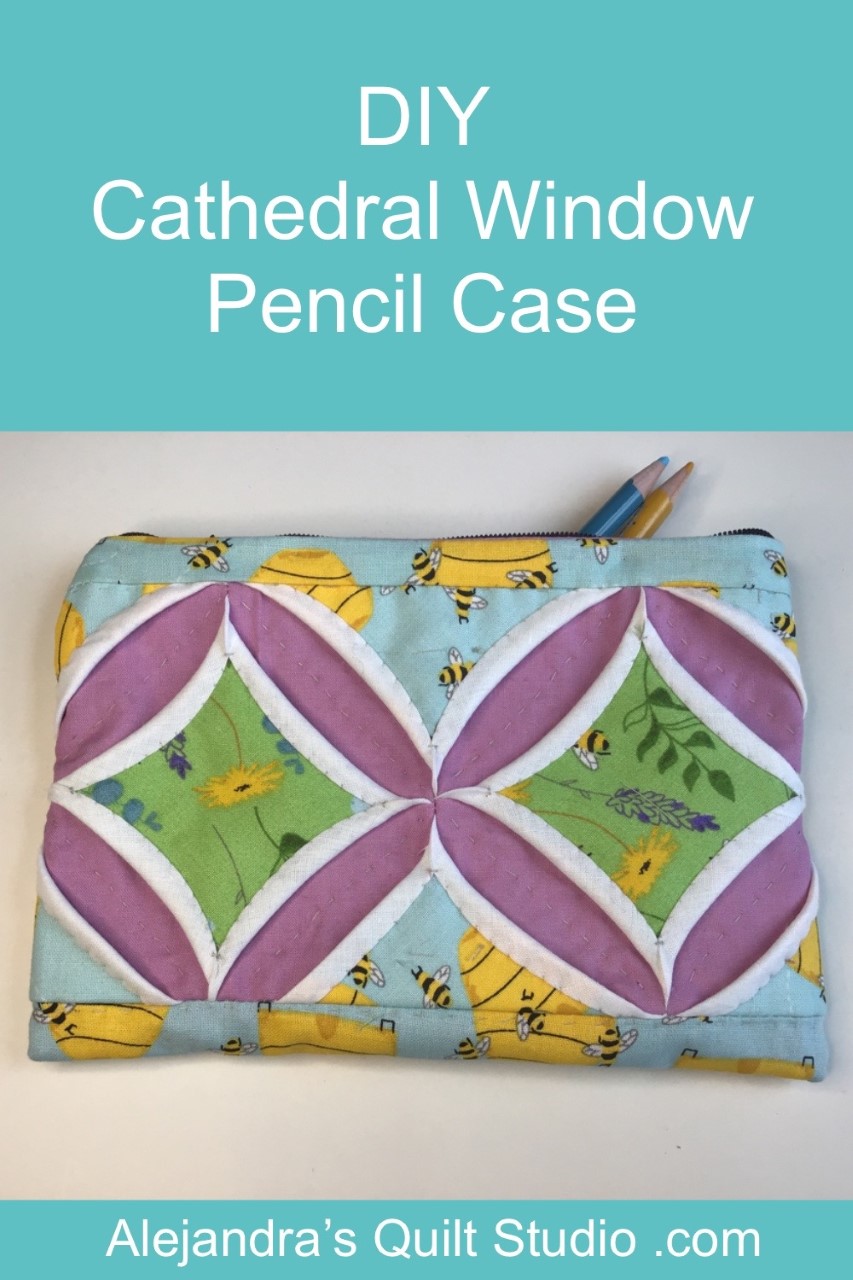
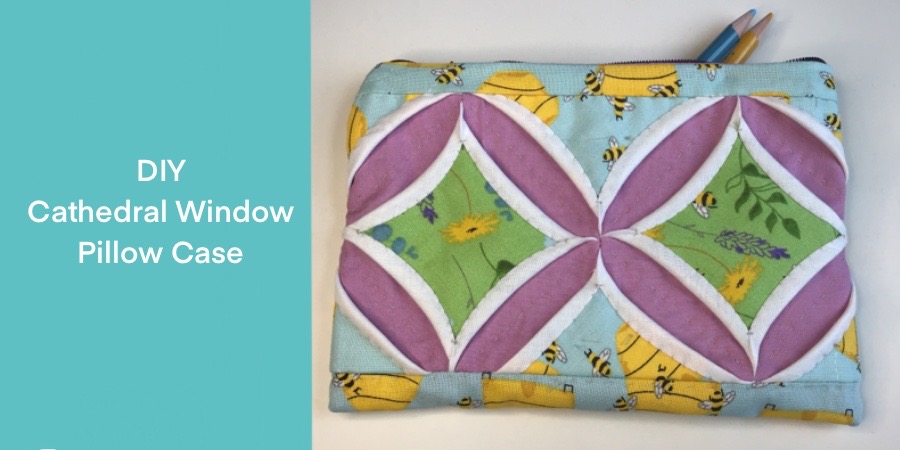
Pencil cases are easy to make, you can make one with a piece of a pretty fabric, but when you make one with a patchwork block, it will be even prettier.
Cathedral Window Pencil Case is an easy and fun project to make, with a patchwork block made with this quilt pattern, and a quilted back.
When you love to make Patchwork, you will have plenty of patterns to choose from to make a pencil case, but the Cathedral Window stands out from the rest, and it will make anything prettier and unique.
On this tutorial, I’m sharing the easy steps to follow to make a pencil case, with an already made Cathedral Window Block.
Cathedral Window Pencil Case Tutorial
The first step is to make a Cathedral Window Quilt block, with 8 pieces of fabric as a foundation, the steps to follow to make this quilt block are easy and you can see the steps on this tutorial.
To make the Cathedral Window quilt block to make the pencil case, you will need:
- 8 pieces of a cotton fabric, any color or assorted colors, of 2 1/2 x 2 1/2 inches, the layout for the Cathedral Window quilt block, should be 4 x 2
- 16 pieces of a thin cotton fabric in white, or any color, of 2 1/2 x 2 1/2 inches, these pieces should be folded to make a triangle, and press each piece.
- 2 pieces of cotton fabric, any color, of 2 3/4 x 2 3/4 inches
- – triangles of cotton fabric, any color of 3 x 3 inces
Follow the steps to make the Cathedral Window Quilt Block, on the tutorial and when you have it done, you can jump on the steps to make the pencil case.
1. Cut your fabrics.
- 1 piece of cotton fabric, any color, of 8 1/2 x 1 1/2 inches
- 1 piece of cotton fabric, any color, of 8 1/2 x 6 inches
2. How To Sew The Front Piece For The Pencil Case
Lay on your work table the Cathedral Window quilt block you made, and lay the two pieces of fabric, one on top of the quilt block, and the bigger one on the bottom. Lay these two pieces over the quilt block, pretty sides together, and sew on each piece to the quilt block, 1/4 inch seam allowance.
Open the two pieces of fabric, and press the seams, to one side, the seam of the bigger piece should go to the quilt block, and the small piece seams should go up.
3. Cut The Fabric Piece For The Lining Of The Pencil Case
Measure the piece you made, and cut a piece of fabric a little bigger on each side, from one fabric you like to use for the lining of the pencil case.
Lay the piece of fabric for the lining on your work table, pretty side up. and lay over it the piece for the pencil case, pretty side down, pinch a few pins to hold the two pieces together, and sew on top and bottom, 1/4 inch for the seam allowance.
Trim the seams to 1/4 inch on top and bottom, and turn the piece out, press top and bottom.
4. How To Quilt The Cathedral Window Pencil Case
You need to cut a piece of thin battin fabric of 6 x 4 1/2 inches, and place it inside the pencil case piece, between the two layers of fabric, when the big piece of fabric is, arrange the piece to the top. I suggest not to put any batting fabric where the Cathedral Window quilt block is, as this piece is made with a few layers of fabric already.
You can work on the quilting now, it can be done by hand or on your sewing machine.
When the quilting is done, trim the batting fabric on both sides, with the help of a pair of scissors, you can make a basting stitching on both sides.
5. How To Sew On The Cathedral Window Pencil Case
Fold the Cathedral Window pencil case quilted piece in the middle, pretty side out, and pinch a few pins, sew on both sides.
Trim seams on both sides to 1/8 inch, turn out the pencil case, lining should be out, and sew on your sewing machine both sides to 1/4 inch seam allowance, reinforce each stitching at the beginning and at the end. This step will create the French seams, an easy way to keep your sewing clean and free from any fraying threads from the fabric.
6. How To Sew The Zipper On The Cathedral Window Pencil Case
Keep the pencil case pretty side inside, and sew on the zipper on both sides of the pencil case opening, this step can be done by hand or with your sewing machine. Now you can open the zipper and turn the pencil case out.
The Cathedral Window Pencil Case is finished and it looks amazing!
You can read more tutorials to make Patchwork Bags, here!

When you see how easy is to make it, I’m sure you’ll be making more than one!
a


