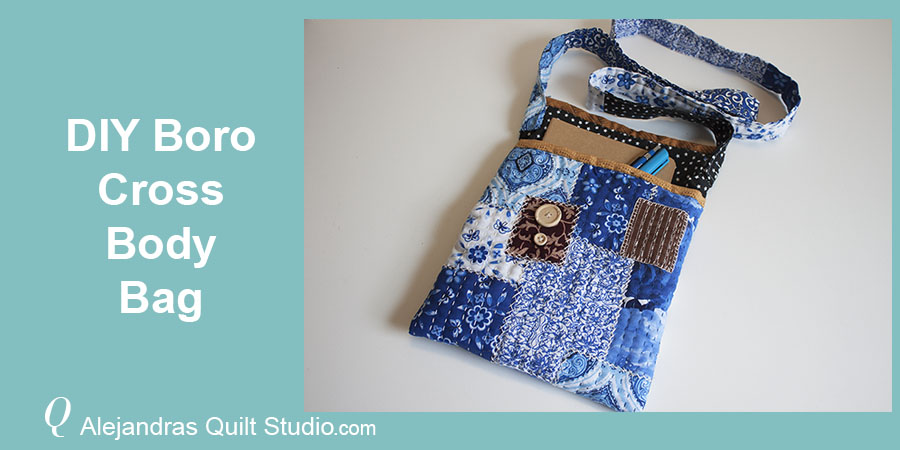
DIY Boro Cross Body Bag is a step by step tutorial to make a cute cross body bag made by you!
When you love to make quilts, you might like to make a small project once in a while, making a cross body bag is a project that won’t take long to finish and it can be made for yourself or to give the finished bag to your best friend or to someone in your family.
I will never get tired to make the patchwork boro, it’s so easy to make it and it always looks amazing!
The patchwork Boro is a great way to use those little pieces of fabric that you’ve been saving to make something special. No matter how small or big those pieces are, they will fit well on a patchwork boro work.
Tools And Supplies For Make The Boro Cross Body Bag
- 1 piece of cotton fabric for the base fabric for the bag of 21 x 9 inches
- 2 lining pieces of 11 3/4 x 9 inches
- 1 piece of cotton fabric for the pockets is 9 x 18.5 inches
- 1 piece for the lining for the piece for the pockets will be made of patchwork boro of 9 x 16.5 inches
Step by Step Tutorial To Make The Patchwork Boro Bag
1 – Make the Patchwork Boro Piece
On this tutorial I will focus on the step by step tutorial to make the cross body bag, if you’re new to quilting and patchwork, you can watch the Patchwork Boro Bag tutorial to learn how to make the patchwork boro.
On this photo below, you can see how I started to work on this boro piece by cutting the piece of thin batting fabric to make the boro piece, then I lay some pieces of fabric on it and I pinched a pin on each piece, each piece of fabric will be raw edge and this piece will be sew by hand with big stitches with two strands of embroidery floss in the needle.
You can get as creative as you want to when working on the stitching of the boro piece, I love to work with big stitches and on the raw edges of each piece of fabric I do the herringbone embroidery stitch.

2 – Cut All The Fabric Pieces For The Cross Body Bag
On the Picture below, you can see all the pieces of fabric and notions I used to make the bag, the measures of each piece of fabric are listed previously on this post.

Note: While I was working on the tutorial to make the bag, I decided to make an interior zippered pocket, the steps to follow to make it are not included on this tutorial, but you can watch another video where I teach you how to make one.

3 – Sew The Pieces Together
Lay on the work table the patchwork boro piece, right side up and lay over it the lining (3) Sew the pieces together, this time the top and bottom together, turn it right side out
You need to do the same with the piece for the bag and the two pieces for the lining for the bag.
When the patchwork Boro piece is sewn with the lining, turn it out, as the lining is bigger you will see a border on each site showing up. Make a quilting stitching on each one, top and bottom.

4 – Mark The Center Of The Piece
Fold the piece on the middle and make a little cut with a pair of scissor to mark up the middle. Make the same with the piece for the bag.

5 – Line up the centers
Lay the piece for the bag on the work table and lay over it the patchwork boro piece, line up the centers (yellow dots) and pinch a few pins.

6 – Meet The Lining Together
Meet the both lining together and fold it right side in, and sew each side straight.

Make a cut on each corner with a pair of scissors.

Top stitch the lining together and tuck it inside the bag, because the lining size is a little bigger than the bag, there is a binding, make some quilting stitches to keep it in place.

7 – Finish The Bag
To finish the bag, you can decide whether to sew a zipper on the opening of the bag, and sew a snap fastener on each pocket.

This time I decide to sew in the zipper by hand, it’s easier and it looks more handmade.

8 – Sew In The Strap To The Bag.
As a final step you need to sew in the strap to the bag, whether you decide to make it by yourself as I did or if you decide to use one already made, it will take only a little time to make some stitches on each side of the bag to sew in the strap to the bag.

Your Boro Cross Body Bag is finished and it looks amazing!
I hope you like this new tutorial to make an easy patchwork bag everyone will love, whether you make it for yourself or to give it as a gift to a friend, it will be much appreciated!
Making a patchwork bag is always fun and it will turn into a unique bag made by you! If you make it I would love to see it, you can always share a picture of it on Social Media and add the #patchworkwithalex so I can see it.
Video
Closing Thoughts
 I love to make new things with patchwork and quilting, and I hope you join the club and make the Boro Cross Body Bag too!
Don’t forget to follow me on Facebook and on YouTube as I’ll be sharing more tutorials to make many things!
If you like this tutorial you can share it on your Social Media to help me to grow my blog.
Don’t forget to sign up to our newsletter!
Puedes leer el mismo tutorial en espanol en mi blog de Ale Cose y Cose!
.
