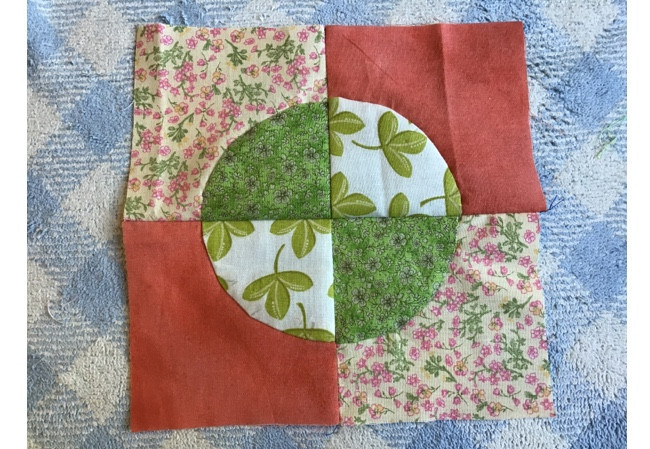
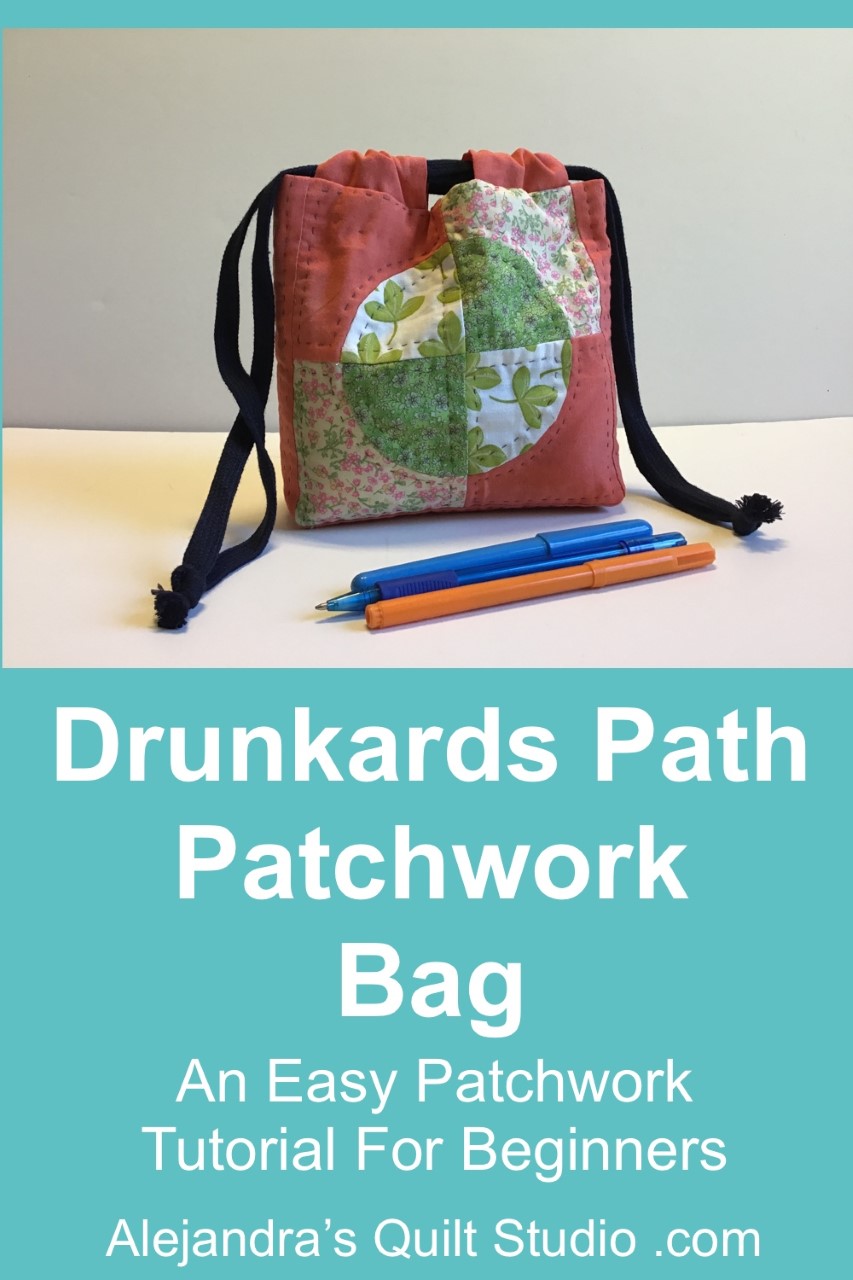
Drunkards Path Patchwork Bag is an easy step by step tutorial to make, beginners and more advanced quilters will love to make!
On this tutorial I will give you the easy steps to follow to make a pretty drawstring patchwork bag, so easy to make than I’m sure you’ll be making more than one!
Drunkards Path Patchwork Bag
Materials and Patchwork Tools
- Drunkards Path Patchwork Block of 7 1/4 x 7 1/4 inches (find the link on step 1)
- Any Patchwork Block of 7 1/4 x 7 1/4 inches
- 4 pieces of cotton 100% fabric of 7 1/4 x 1 1/2 inches
- 1 piece of cotton 100% fabric of 7 1/4 x 2 1/1 inches
- 1 piece of cotton 100% fabric of 6 11 inches (for the drawstring casings)
- 1 pieces of flannel of 10 x 16 inches
- 2 pieces of cotton fabric of 7 1/4 x 1 1/2 (for the seam bias)
- 2 pieces of cotton fabric of 3 x 1 1/2 (for the boxed corners bias)
- Rotary cutter, patchwork ruler and cutting mat
- Scissors
- Pins
- Safety pins
- Hand sewing needle (for the hand quilting)
- Thread to make quilts
- Sewing machine
*Puedes leer el mismo tutorial Para Hacer La Bolsa Patchwork Sendero Del Borracho en Espanol aqui!
Drunkards Path Patchwork Bag Step by Step Tutorial
Step 1 – How To Make A Drunkards Path Patchwork Block
On a previous post, you can read the full tutorial to make the Drunkards Path Patchwork Block to make the bag.
Step 2 – How To Make A Patchwork Block To Make The Bag
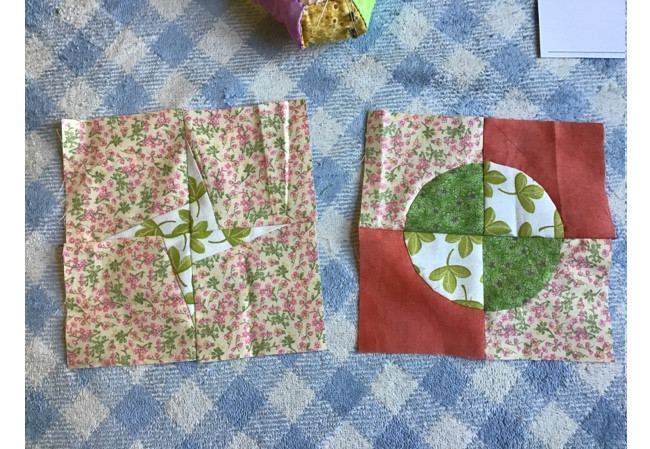
For this tutorial you will need to make a second patchwork block same size as the Drunkard Path block (7 1/4 x 71/4) it can be any pattern you want to make, it can be also a block cut out from an orphan block.
On the image below, you can take a look to the block I’m using on this tutorial, after I finished making the Drunkard Path Block, I cut 4 pieces same size as the four pieces of the Drunkard Patch block, and I stitched on each piece a piece of a different fabric on just one side, I stitched the four pieces to make the block.
Press both blocks, in case they are bigger than the measure for the block on this tutorial, you can trim both blocks with the help of your quilting tools.
Step 3 – Cut Out All The Fabric
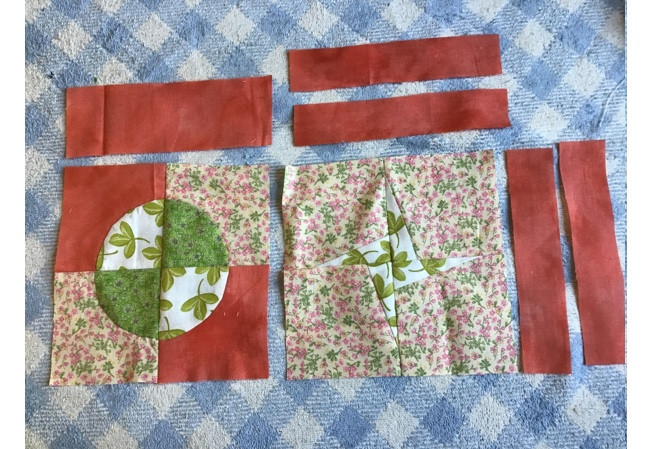
On the image below, you can take a look to all the pieces you need for this quilting tutorial.
Step 4 – How To Stitch On The Drunkards Path Patchwork Bag
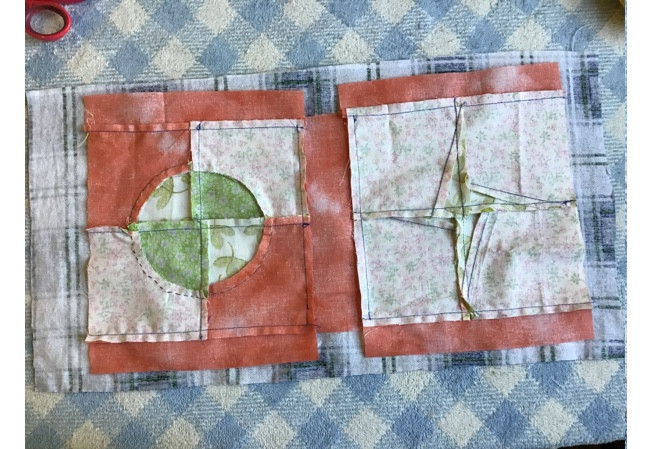
On the video you can watch how I stitched on two pieces of fabric on both sides on each block, then I stitched on the piece of fabric for the bottom of the bag, press.
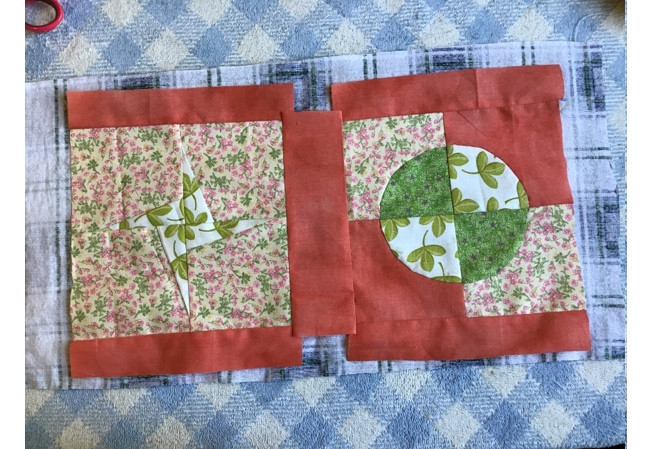
On the image below, you can see how the piece looks like on the back after you finished stitching all the pieces together.
Step 5 – How To Quilt The Drunkards Path Patchwork Bag
Lay the patchwork piece over the back of the flannel, and pinch a few safety pins to keep both pieces together as you work on the quilting.
As you can see, I did the quilting by hand, but at home you can decide whether to make it by hand or with your sewing machine.
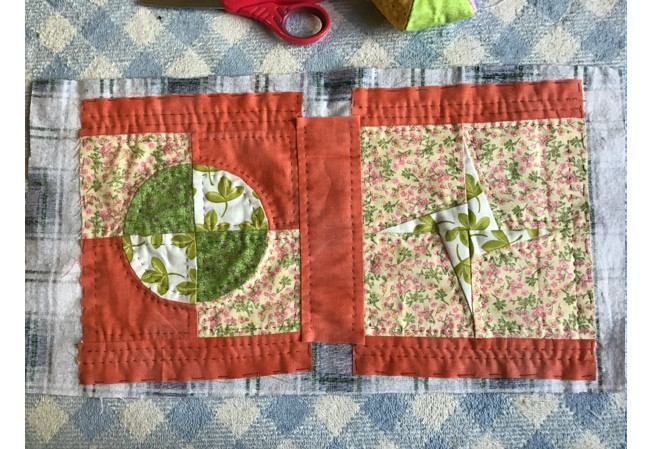
After you finish the quilting, baste the edge all around with big stitches, and you can trim all the piece.
Step 6 – How To Stitch On The Drawstring Casing
Take the fabric piece for the drawstring casing and fold it in the middle lengthwise, stitch on.
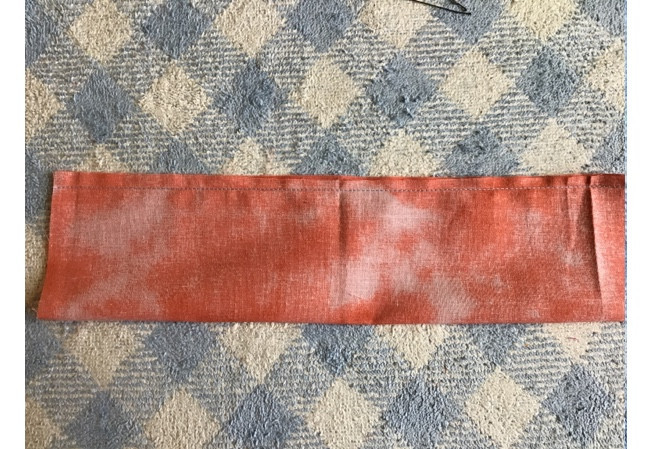
Turn out the piece and with your fingers press the stitched edge.

Fold the piece in the middle and fold it once again in the middle to get four pieces, cut out with the help of your scissors.
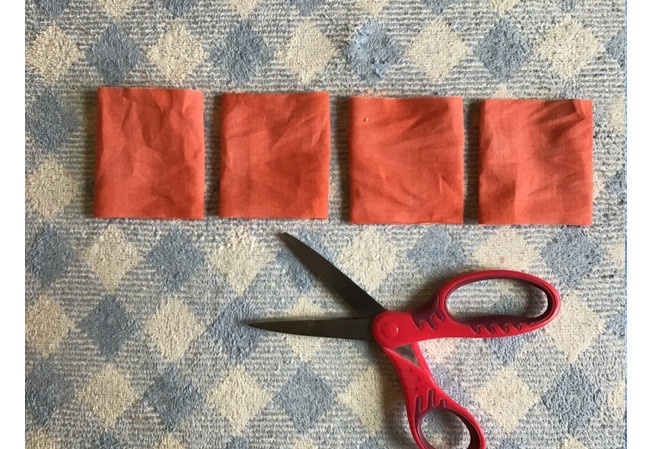
Fold each piece in the middle and pinch two pieces on the bottom of the quilted piece and two pieces on the top of the quilted piece. Stitch on top and bottom and remove all the pins.
Step 7 – How To Stitch On The Drunkards Path Patchwork Bag
Fold in the middle the quilted piece, pretty side to pretty side, stitch on both sides, and at the same time stitch on the bias.
Fold the bias to close and stitch on both sides.
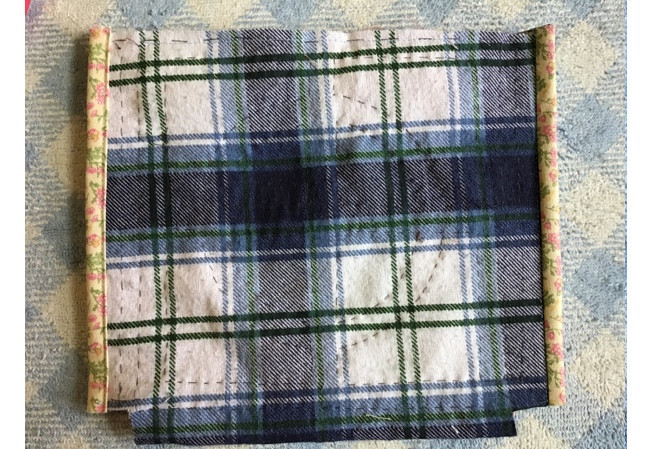
Step 8 – How To Make The Boxed Bottom On The Bag
Open one corner on the bottom of the bag, and bring the sides and the bottom together, stitch on to close and at the same time stitch on the bias.
Fold to close the bias and stitch on to close.
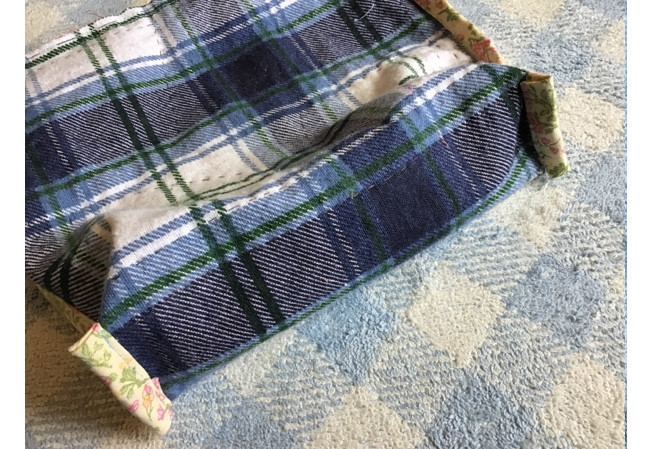
Step 9 – How To Finish The Drunkards Path Patchwork Bag
Stitch on the bias on the opening of the bag all around on the pretty side, fold the bias to close inside the bag, and stitch to close the bias by hand.
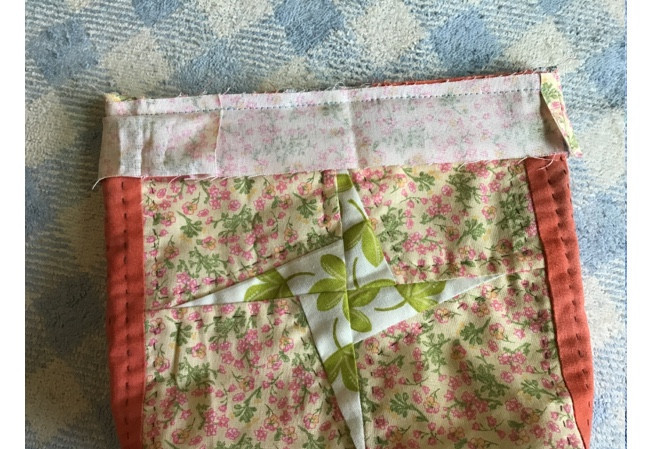
Step 10 – How To Insert The Drawstrings.
Cut the two cord pieces of 24 inches, use a safety pin on one end of the cord to insert the cord through the drawstring casings, begin with one cord in one side, go all the way to finish on the same side you started, remove the safety pin and tie a knot on both ends of the cord.
Follow the same steps to insert the second cord, but this time begins from the other side of the bag.
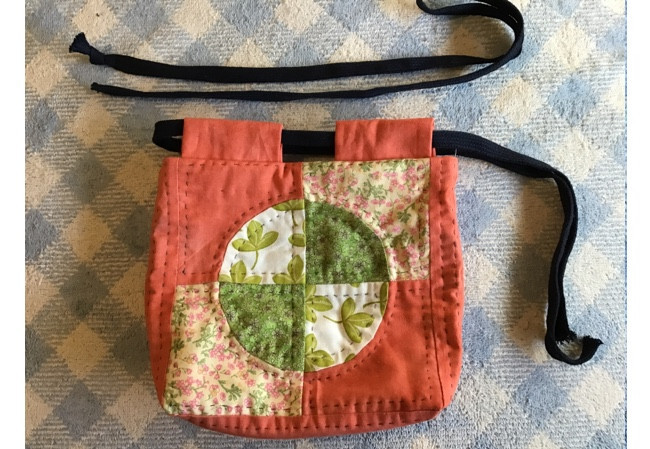
The Drunkards Path Patchwork Bag is finished and it looks beautiful!
I hope you like making this patchwork bag as much as I did, and I also hope, after making the first one, you might want to make more than one!
Thanks so much for your interest of making this patchwork bag with my tutorial, if you make it and if you share it on your Social Media, don’t forget to give me the credit!
Don’t forget to follow me on Social Media
Facebook: Alejandra’s Quilt Studio
Thanks so much for sharing my blog on your Social Media!
More Patchwork and Quilting tutorials to Make!
Drunkards Path Patchwork Bag Video

