Drunkards Path Quilt Pattern made easy is another quilting tutorials with the easy steps to follow to make a curved sewing block for a quilt!
If you’re new to quilting and curved patterns looks a little intimidating to you, but as you follow the steps I will share on this tutorial, you might change your mind and give the Drunkards Path Quilt pattern a go and you’ll be making beautiful quilts with this pattern.
Drunkards Path Quilt Pattern
Materials and Quilting Supplies
- Cotton 100% fabrics to make quilts in two different color or prints
- Pins
- Scissors to cut paper
- Scissors to cut fabric
- Rotary cutter, patchwork ruler and cutting mat
- Pencil or marker for fabrics
- Needle for hand sewing
- Sewing machine
- Drunkards Path FREE Pattern
How To Prepare The Drunkards Path Quilt Pattern
The first thing you need to do is to download the pattern and make a copy from it, so you can save one pattern in case you need it later to make a new quilt with the same pattern.
Cut out the two paper templates with a good pair of scissors for paper.
How Do You Cut A Drunkards Path Quilt Block?
Before you start cutting the different pieces of fabric, you might need to prewash your fabric to be sure they won’t bleed later.
Download and print out the Drunkards Patch Quilt Block pattern and make an extra copy from it, this way you can keep the pattern in case you want to make it later again.
With a good pair of scissors for paper, cut out the paper templates.
Take the bigger template and fold it in the middle and with the same pair of scissors for paper, make a cut where the curved seam is, this way you can mark all the fabric pieces seam on the back easily.
Fold fabric twice and place each paper template on the each fabric and pinch two pins on each piece, you can cut out with the rotary cutter all the straight sides of the big piece.
With the help of the pair of scissors for fabric cut out the curved side of each template.
You can cut out all pieces by using your scissors only.
How To Stitch The Drunkards Path Quilt Block
Take all your pieces A and on the back mark with a pencil the seam line, by laying on each piece at the time the paper template with the seam cut.
Fold both pieces A and B in the middle press to crease, right in the middle, open both pieces and lay both pieces on your work table.
Take piece B and lay it over Piece A, right side to right side, the crease will serve as a reference point, pinch a pin.
Now, take one side of piece B to match same side on piece A, pinch a pin and do the same step on the other side of both pieces.
Now you can pinch a few more pins on the curved seam.
This piece is ready to be stitched by hand or with your sewing machine, remove all pins as you work on the stitching.
Open the piece and press.
If you notice that sides are not even you can trim each piece with the rotary cutter and a patchwork ruler.
How To Make a Drunkard’s Patch Block For A Quilt?
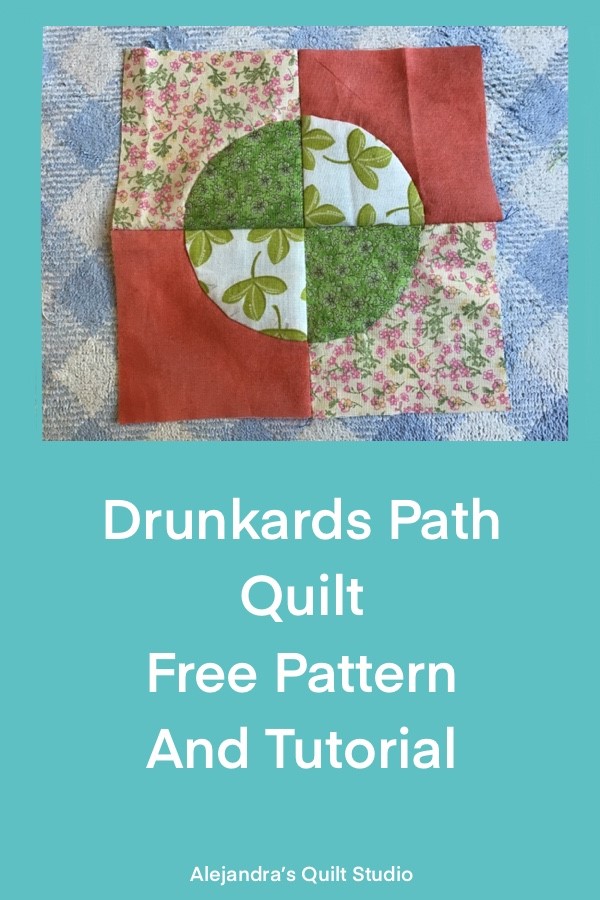
On this tutorial, you will need to make 4 pieces, when you finish stitching them all, place the 4 blocks on your work table and lay them out the way you like them more, I will work with them to make a circle.
Work by lines, stitch two blocks at the time, to make two lines, open and press.
Stitch together both lines to make one Quilt block, open and press.
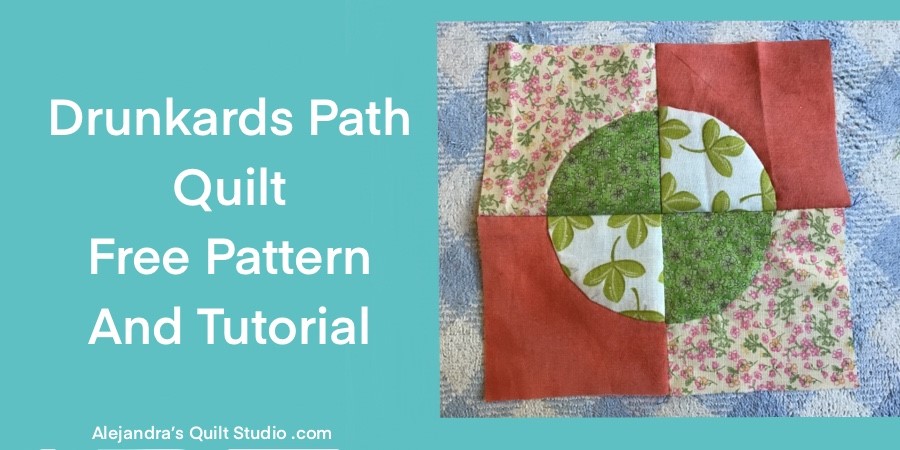
The Drunkard’s Patch Block is finished and it looks amazing!
Don’t forget to follow me on Social Media!
Facebook: Alejandra’s Quilt Studio
Instagram: alebalanzario.patchwork
Thanks so much for sharing my blog on your Social Media!

More Patchwork and Quilting Tutorials to read:
Watch the video here!


