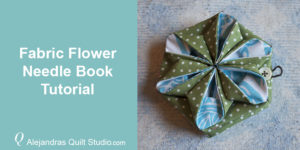
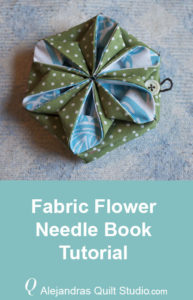
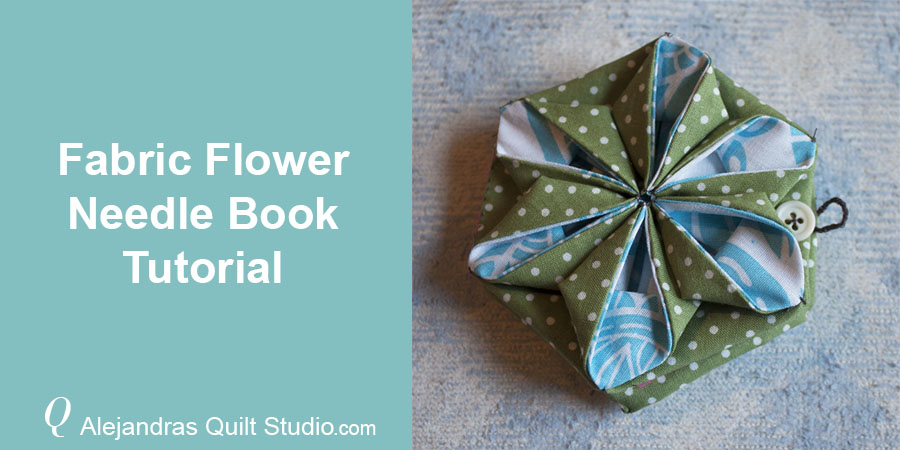
Fabric Flower Needle Book Tutorial is an easy step by step tutorial to learn to make the flowers from a hexagon and it will help you to keep your needles and pins in one place.
Keeping all your needles and pins in one place is hard when you love to sew and to make quilts, before you notice you can find them everywhere, this has happened to me many times, so I wanted to find a better choice to keep them in one place.
 Making a pincushion is another way to keep all your needles and pins in one place, but pincushions are hard to take them with you when you attend to a quilting class or when you will meet your friends for a coffee or for a tea.
Needles books are an excellent idea to keep all your needles and pins in one place and they are perfect to take them to a sewing or quilting morning or afternoon with your friends.
Let’s take a look to the easy steps to make one!
Fabric Flower Needle Book Tutorial
You Will Need To Make The Fabric Origami Needle Book
- 2 pieces of cotton fabric color A of 9 x 9 inches
- 2 pieces of cotton fabric color B of 9 x 9 inches
- 1 piece of batting or felt
- Sewing machine
- Needle, pins, scissor and thread (I use polyester thread)
- 1 piece of A4 paper (8.5 x 11 inches)
Fabric Flower Needle Book Step By Step Tutorial
1 – Make Hexagon Paper Pattern And Cut 4 Pieces of Fabric
To make the hexagon paper pattern, first you need to fold in half the piece of paper lengthwise, place a patchwork ruler with 60 degree angle aligned with the fold of the paper, and trace the 60 degree line on the paper with a pencil, with your scissors cut the 60 degrees line on the folded paper, open the paper.
Take one cut side and fold the paper, you will see a half hexagon now on your paper, with the help of a ruler, trace the other two sides of the hexagon on the paper and cut out the paper with your scissors.
Now you have your own hexagon paper pattern.
Lay on your table the four pieces of fabric, color A and B and lay over them the hexagon paper pattern, pinch a few pins and cut out the four pieces of fabric. Remove pins and remove the pattern.
Lay on your work table, the two pieces of fabric color A right side up, and lay over them the two pieces of fabric color B right side down, pinch a few pins on each pair, and trace the 1/4″ seam on each piece leaving an open gap on one side of each piece.
2 – Sew On The Two Pieces and Turn them Out
Sew on with your sewing machine, remove pins, and trim each corner with your scissors, turn each piece out and with the help of your fingers or with a round point scissors, push out each corner,

3 – Press And Sew To Close
Press both pieces and sew by hand to close the open gap.

4 – Mark Middle Point On Each Side Of The Hexagon
Take each piece at the time and take two points of each side, fold each side to meet both corners to mark the middle with your fingers or mark middle point with a pencil, do the same with each side of the hexagon on both pieces.

5 – Hand Sewing Of Middle Points.
With a needle with thread, (I use polyester 100 % as I need a strong thread to do this step) Start to make a small stitch on the first middle point on one side of the hexagon. take the next middle point on next side of the hexagon, make a small stitch and pull thread to make two middle points to meet, make a second small stitch, continue working the same on the rest of the middle points on each hexagon.

Take the next middle point on next side of the hexagon, make a small stitch and pull thread to make two middle points to meet, make a second small stitch, continue working the same on the rest of the middle points on each hexagon.

6 – Set To Form The Hexagon
Once you finish sewing together the six middle points, set your fabric flower on the table, and with your fingers pull gently each side to form the hexagon on the base, you will get a piece like the one I show on the picture below.

7 – It’s Time To Sew Each Petal Of The Flower.
The first thing you need to do, it’s taking each petal at the time to make the fabric flower, pull the point up.

8 – Take the Point Of The Petal To The Center.
With your fingers, take the point of each petal to the center and flatten the petal. Don’t press.

9 – Take The Petal Point Out
With your fingers, take gently the petal point out to meet the hexagon corner. Make two small stitches to sew the petal point to the hexagon corner. Repeat steps 7, 8 and 9 on each petal.

10- Finish To Sew The Fabric Flower
When you finish sewing the six flower petals, your piece should look like this. It’s time to do the same steps to make the second fabric flower.

11 – Mark Down The Fabric Flower Shape On Felt
This time I don’t have a pattern to give you, as each one of us sews differently, the size of the finished origami fabric flower can be different, to work on this step, you need to take one of your finished pieces as a pattern to trace it on felt, just lay on the felt one finished piece and trace each side with a pencil.
Fold felt in two, leaving a space for the width of the needle book, cut out the felt with your scissors.

12 – Sew On The Fabric Origami Flowers To The Felt
Place one of the fabric origami flowers on one side of the felt and sew it to the felt. Sew on the second piece on the other side of the felt, lay the fabric flower on the other edge of felt to leave a felt space free between the two fabric flowers.

13 – Sew On A Button
To keep the Fabric Flower needle book closed when not using it, I sew on a button on one flower and I sew a buttonhole with thread on the other fabric flower.

14 – The Fabric Flower Needle Book Finished
Your needle book should look like this on the picture below.

On the interior you can keep needles, pins and safety pins, I add a little patch to keep a needle threader just in case I need it.

Making an Origami Needle Book For A Friend
When you have some friends who love to sew and to make quilts, you might want to find an idea to make for her/him as a gift, whether is for their birthday or for the Holidays, you won’t go wrong making a needle book for her/him. I’m sure they will love it and they will find it so helpful, a perfect small gift made by you!
Fabric Origami Needle Book Tutorial Closing Thoughts
 When you love to sew and make quilts, soon you will notice you have needles and pins everywhere, this can happen to me very often, so I thought about making a needle book to keep all needles and pins in one place together, and this way it will be easier to find a needle next time I need it.
Making a needle book will be a great idea to help any sewer and quilter to keep your needles and pins in one place and it will be easier to take the needle book to your next sewing or quilting class or when you get together with your friends who also love to sew for a coffee or a tea.
I really liked working on this tutorial, as it’s easy to make the fabric flowers this way, and I hope you find it easy and fun to make them too.
Don’t forget you can follow me on Facebook and on YouTube to watch more sewing and quilting tutorials.
Thanks so much for your visit today!
You also can read more Sewing and Quilting DIY and Tutorials here:
- Basic Embroidery Stitches – Easy embroidery stitches to add on your quilts
You can watch the video to make the needle book tutorial here, if you like it, you can give it a like, comment and share with your friends who also like sewing and quilting, thanks so much!
Si te gusta hacer el quilting y la costura, pero quieres seguir los tutoriales en espanol, puedes visitar mi blog de Ale Cose y Cose aqui!
