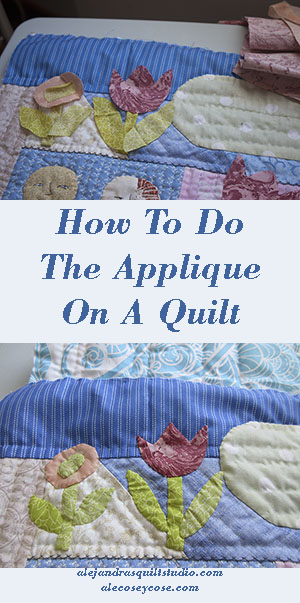
How to Make a Journal Quilt – February.
To make a journal quilt has many good reasons: to learn a new quilting technique, a new applique technique, some new embroidery stitches to try out, and even work with some fabrics that I would never thought of use on my quilts.
But most of all, working on a Journal Quilt can help you to work on try new forms of creativity, as you may want to try to do something new or your own patterns or your own style.
Why not? everything is good when you work on a quilt!
How long does it take to make a quilt?
Well a quilt is not made in one day, or in a week and there’s some quilts that will require even more than a year to finish it, when you work on a journal quilt is the same, you will need some time to finish it.
Even this quilt I’m working on is not big, it will require some time to finish it, I worked on it during January on the applique of the girls on each block, then as February got here I began to work on the block for this month, I did the applique of the moon and the girls boots, I did some embroidery and some quilting.
But at this time the quilt borders were calling me to work on them, I added a block on each side and one piece more on the bottom border and one piece on the top border.
I’ll be working on this quilt every month, and sometimes I will be working on the borders as an extra time as I want to work on the borders as a frame for the quilt.
What about if I make a mistake?
There’re no mistakes to make, you may want to make your journal quilt just the same way I’m making mine, but as you work on it, you may make some different embroidery stitches or maybe just one little small detail and it will make perfect because it’s your own quilt and most of the times there’re little things that everyone use to do that add the quilt our own personal style.
As you work on your quilt you may get some questions about your quilt like:
– Should I use this piece of fabric or not?
– I have never made that embroidery stitch before.
– How come I need to use this pink fabric for the sky on one block?
– My quilt doesn’t look at all as Alejandra’s quilt.
– I’m very slow working on this quilt, there’s no way I can finish it in one year.
And this list could go on and on, I should tell you a secret I’ve also all those questions and thoughts as I work on my quilt, but there’s also some other thought I get as I keep working on it like:
– Well after all, this fabric looks pretty good once I did the quilting!
– It took so long before I could finished it, but now that’s finished it worth it!
– My quilt doesn’t look at all as the teacher’s but I love it because it’s mine!
– It was a lot of work to do this quilt but it worth it!
– You can add here you’re own phrase, because I’m sure you’ll have many good reasons to keep working on your own Journal Quilt.
Working on my Journal Quilt – February.
I could work more on January block, I did some embroidery on the second moon, and I did some more quilting.
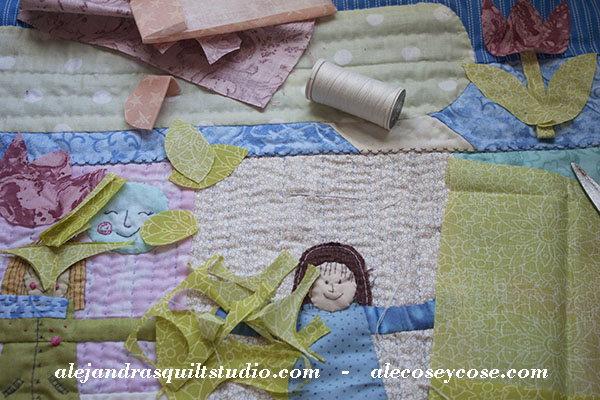
1 -February is here now, so I can work on this block, I did some quilting, and some embroidery on the moon, but I have spending more time working on the borders.
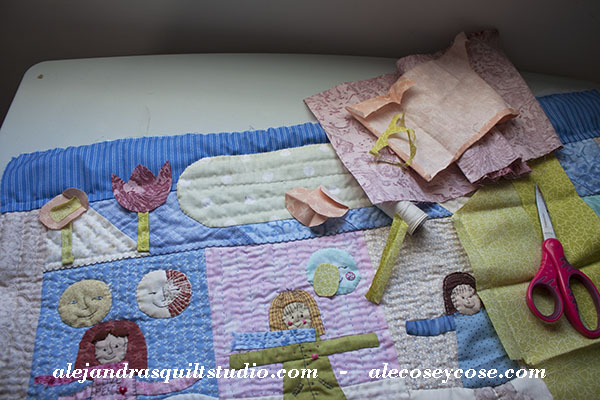
2 – As you can see on this photo above I added one more strip of fabric on the top border and I also applique a piece of fabric on the center of this border.
As I’m working on this Journal Quilt with the theme of women and abundance I wanted to add some flowers on each side of the border.
As I have been using blue fabrics on the quilt, I thought it would be better to make the flowers in pink.
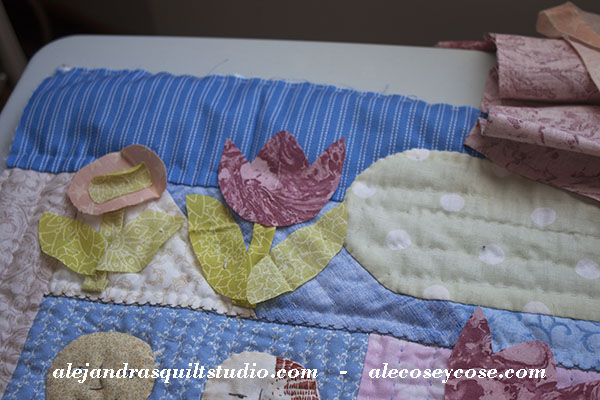
3 – One tulip and one round flower on each side of the border.
I cut the pieces of fabric for each flower, I placed them on the quilt and I did some big running stitches to hold every piece of fabric on its place.
I don’t use pins when I work on the applique, as pins use to get loose and I could miss a piece of fabric.
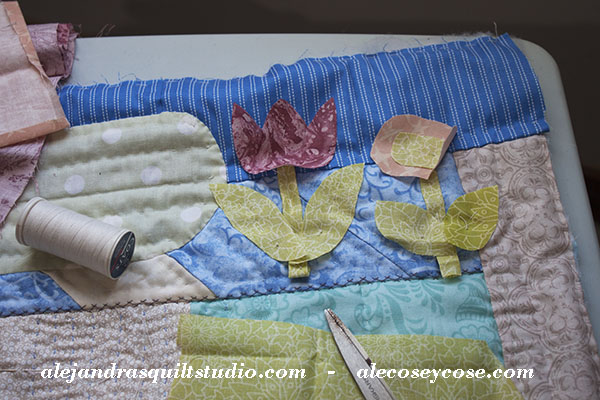
4 – Two flowers on the right side of the border, and two flowers the same on the left side.
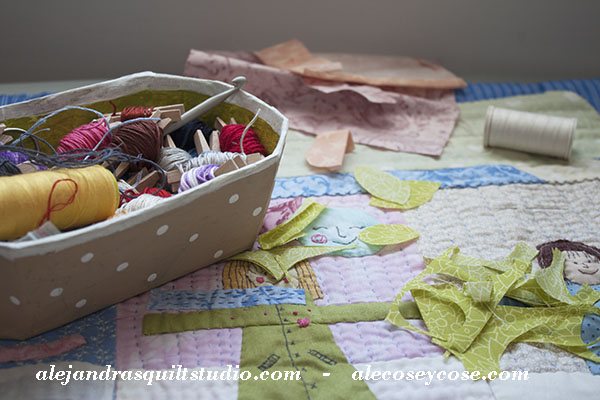
5 – On my quilts I use DMC embroidery floss, so I keep them on a papier mache open box.
Well, I know you may want to take a look how the flowers looks on the quilt once they are appliqued and had some embroidery made on them.
I didn’t take a photo, but I did a video while I was working on them, video is in Spanish but I think you can get the idea of my work as you watch the video.
And this is how on a peaceful and winter cold Canadian morning I could work on my journal quilt.
If you have any question about the applique and embroidery work, leave a comment and I will reply to you.
If you want to ask me: Alejandra I would like to make this journal quilt too.
You can start your own journal quilt 2018 following my instructions on two previous blog post, on the first one I tell you how to cut the blocks for this quilt and how to make the sandwich.
On the previous blog post I tell you how I did the first steps to work on it. But there’s a little “but” here, I started to work on this quilt sewing together the 12 blocks first, then I thought about you and I think it would be easier for you if you do the applique work first on each block and then sew them together to make the quilt top.
This time I’m sharing the template of the applique pattern.
All girls will be the same, just work on them with different fabrics and color, I did the same. Don’t forget to add 1/4″ seam if you work the applique folding the fabric to do the applique on each piece.
You can download the free pattern here.
I’ll be working on my quilt and I will be back to share with you my work, don’t miss the up dates, you can follow me on my Facebook page, Pinterest, Instagram or sign up to my News Letter here!
If you think you’ll like to make this quilt later, you can PIN IT so you can find it later.
I know you want to go to look for the fabric you’ll need to make this quilt, see you soon!
