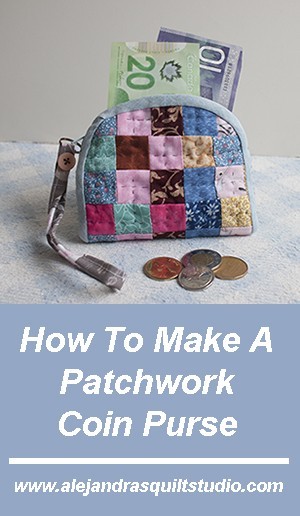
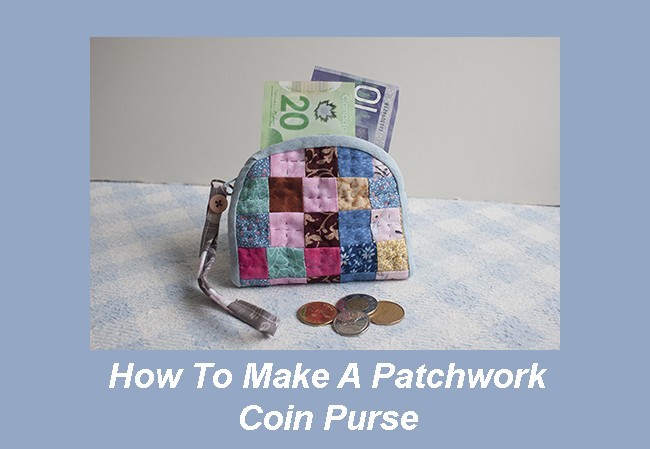
How to make a patchwork coin purse is a tutorial to make with those pieces left after you finish a quilting project, this time you will learn how to make a cute coin purse.
A coin purse is always useful but if you can make it by yourself it will have a big plus!
To make a coin purse with a quilted piece you already have at home and you have been keeping it because the fabrics on it are pretty and the quilting you did is beautiful and you just want to make something small with it.
You might have the idea to make a pin cushion or a rug mat with it, but you already might have a few of them and you want to make something different with it.
Coin purses are always cute and useful, you can keep your purse more organized when you keep all those coins in just one place, but if the coin purse is made by you, it will become a priceless coin purse!
After you make this coin purse, I know you won’t stop making a few more to have them ready to give them as a birthday present, or as a small gift to give to a good friend of yours on a special day!
Materials:
1 piece quilted of 6 1/2 x 12″
thin batting fabric 6 1/2 x 12″
1 piece of cotton fabric 100 % de 6 1/2 x 12
1 zipper 7″
1 piece of bias of 1 1/2 x 26 ”
Needle, pins, safety pins, polyester 100 % thread, scissors, sewing machine.
Video
Tutorial
Step 1
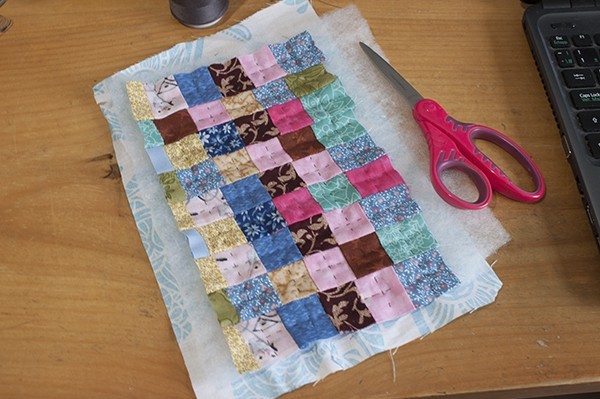
You will need to quilt the patchwork piece in case is not yet quilted, in case your patchwork piece is already quilted you can go to step 2.
Make the quilting sandwich with the three layers of fabric and pinch a few safety pins on them to hold the three layers together why you do the quilting.
You can make the quilting by hand or with your sewing machine, both ways will be great.
Step 2
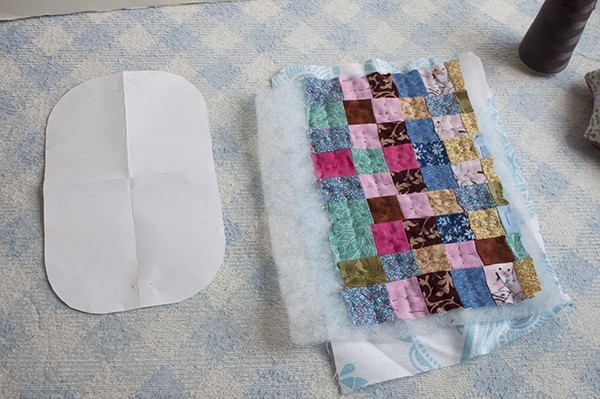
You can download the patchwork coin purse template here, print it twice, so you can use one and you can keep the second copy in case you want to make another coin purse later.
Cut out the paper template, and lay it over the quilted piece, pinch four pins to keep the template on its place while you make a running stitch around it, you can also mark the template on the quilted piece with the help of a pencil for fabrics and make the running stitches after you marked it.
Add the 1/4″ of seam when you trim the piece.
Step 3
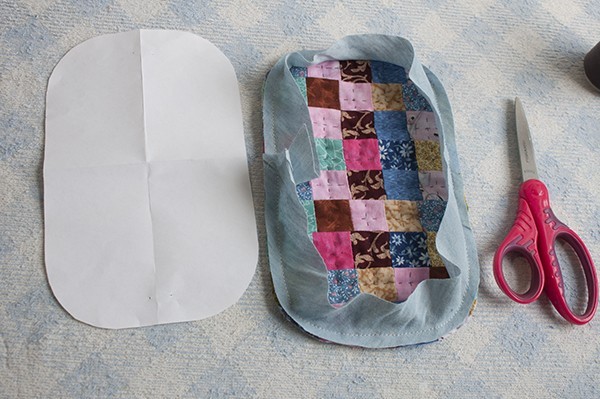
Sew the bias all around the edge of the quilted piece.
Step 4
Trim the seam with the help of your scissors, sometimes after you sew the bias to a piece, seams are bigger than 1/4″ and it will make hard to work to close the bias, you can trim the seam where you see it is a little bigger than 1/4″
Step 5
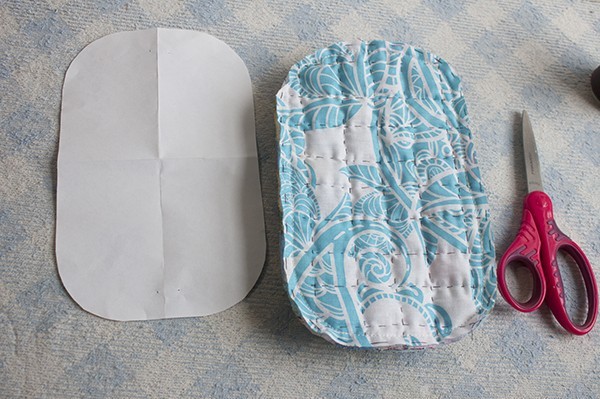
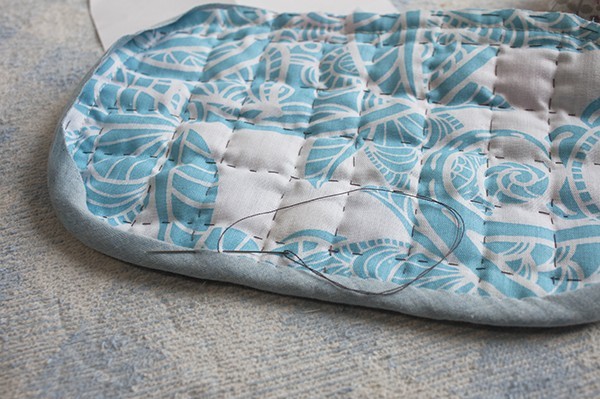
Fold twice the bias on the back of the quilting piece and close by hand.
If you want to make this step with your sewing machine, it will be OK too.
Step 6
Your quilted piece should look like this, when you finish sewing to close the bias,
On this step, you need to fold on the middle the quilted piece to mark the middle point on the top and on the bottom, you can place a pin on each point as I did on the video.
Fold the zipper to mark the middle point on each side of the zipper too.
Step 7
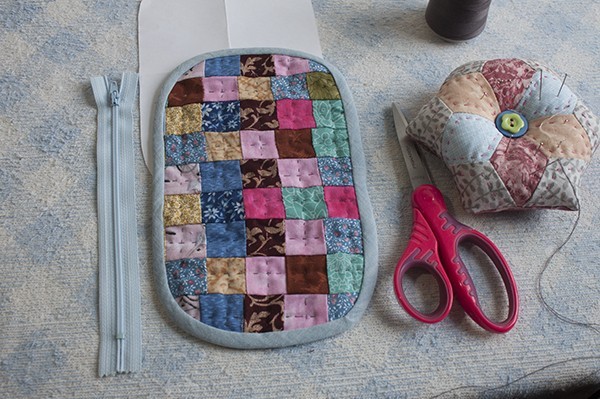
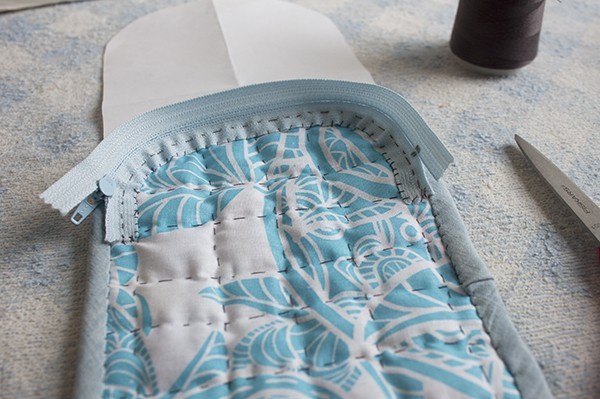
Match one middle point of the coin purse to the middle point on the zipper, and pinch some pins to place the zipper on the coin purse, sew by hand.
Once you finish sewing one side, it should look like this photo below.
Do the same steps to sew the other side of the zipper to the other side of the coin purse.
A good tip is to open the zipper and it will be easier for you to work on this step.
Step 8
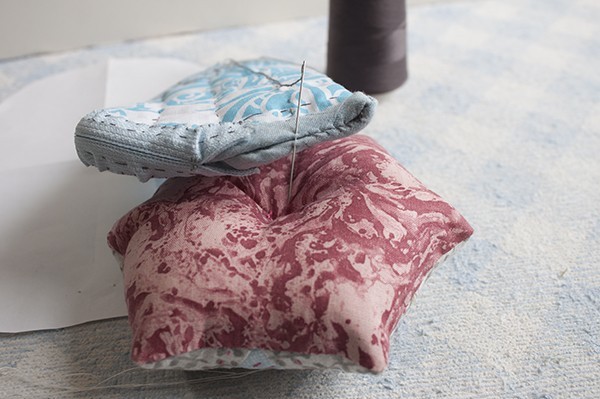
Once you have both sides of the zipper sewn to the coin purse, you need to fold the coin purse in the middle and sew both sides by hand.
Step 9
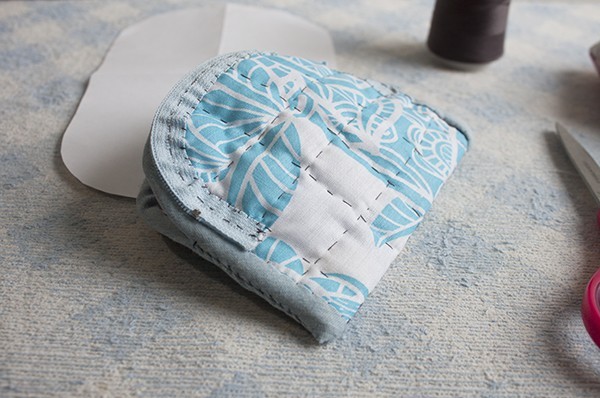
Once you finish sewing both sides of the coin purse, it should look like this.
You can turn out the coin purse.
I did a second “sew” on both sides of the coin purse on the right side, but this time I did an embroidery stitch. By doing this it will look better and it will make the coin purse stronger (I don’t want the coin purse opens one day and I could lose my money, lol).
Step 10
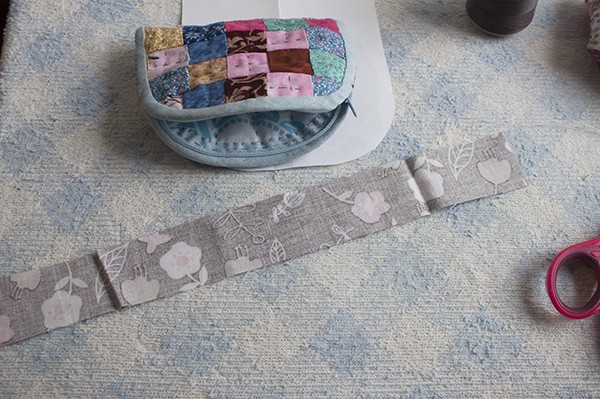
The coin purse is already finished, but if you are like me and you love to add a strap to it to make it easier to carry it, you won’t miss making this step.
You will need to make the strap this way:
Fold 1/4″ on both sides of the fabric strip and then fold to meet the two sides of the strip, run your sewing machine all along the strip (just once) and the strap is ready.
Step 11
Place the key ring in the zipper, and place one end in the key ring, fold the strap 1/2″ and get the other end of the strap to meed the folded end in the key ring.
Make a few stitches by hand and sew a button to hide the ends of the strap. It will make to look better and to keep hidden the ends of the strap while making it stronger to carry the coin purse with coins inside.
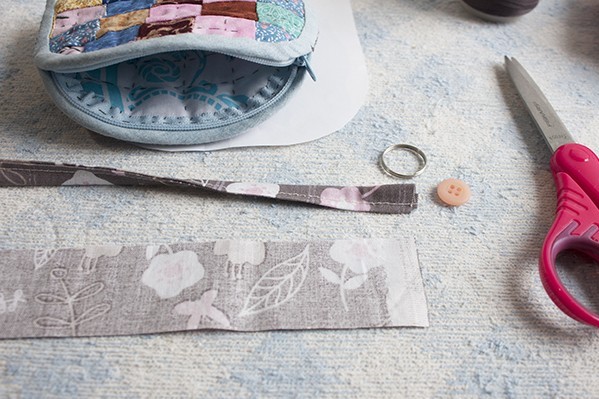
Your patchwork coin purse is finished and ready to keep all that money you have in it!
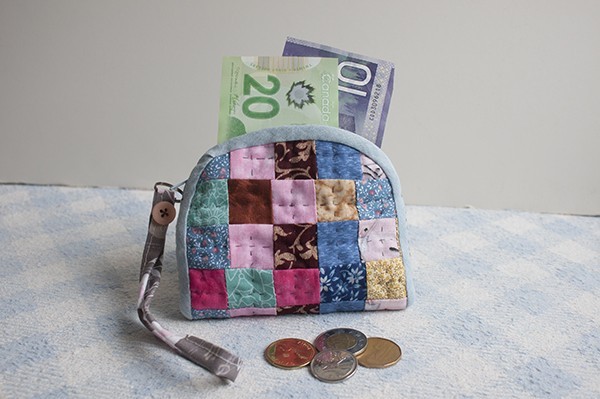
Well, now you have another cute idea to make with those little patchwork pieces that quilters always have left after we finish a quilt.
It’s so hard to get rid of them as cotton fabrics are always cute, small projects to make are the best to make something cute and useful with them!
Don’t forget you can follow me on Social Media and get the latest of my work, and be the first one to know what new quilting project I’m working on!
I thank you for making the time to stop and read my blog, I love to know you were here, if you leave me in a comment where do you live, so I can know how far (or close) you read me!
I let you go now, as I know you will love to go and take that little patchwork piece you have been keeping to make a small project!
If you want to look for another Patchwork project to make, you can take a look to the Free Patterns Page, I’m sure you will find the quilting project you want to make.
If you want to make the coin purse later, you can save this article on your Pinterst account so you can find it later.
