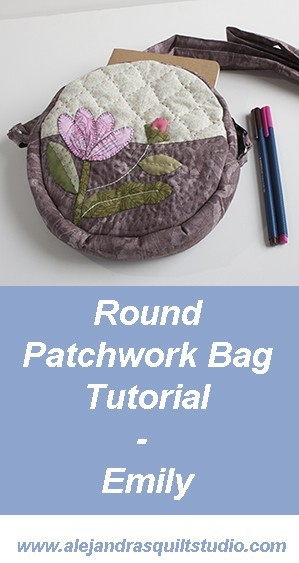
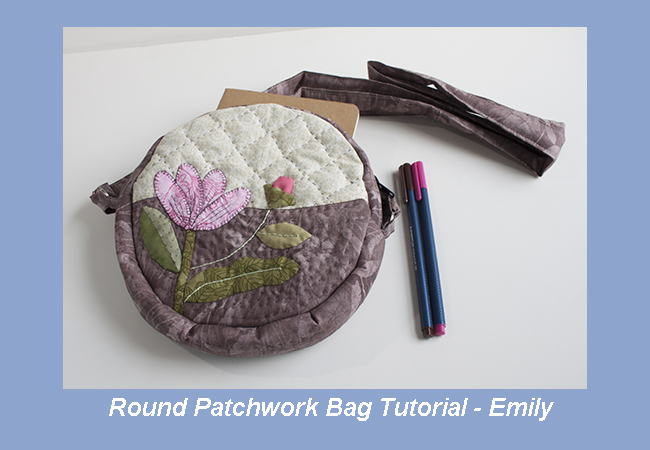
If you think patchwork bags are pretty, a round patchwork bag is even prettier, today I will share some easy steps to follow to make a round patchwork bag!
If you love as much as I do to make patchwork bags, I’m sure you will love this tutorial.
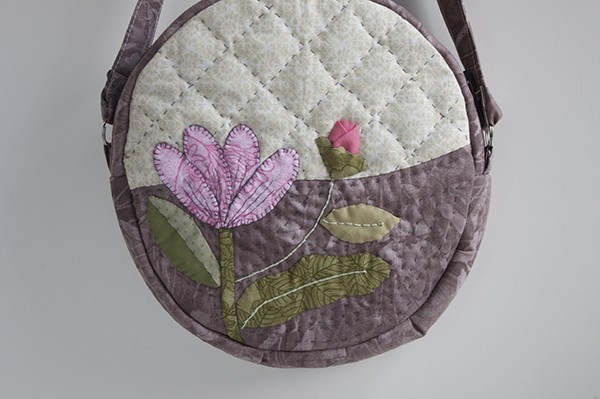
Emily is a pretty patchwork bag, small and practical, it will help you to carry with you all those things you can’t live without!
I’m sure you will enjoy this tutorial to make the Emily patchwork bag, it’s going to be a pretty bag that you will love to take with you anywhere, and I’m sure your friends will notice it!
You will need to come back to this blog post to let me know how many Emily patchwork bags you will be making because I know your friends will ask you to make one for them!
Something I love about quilters is that we all have a good heart and we all love to share, whether It is making an extra bag to give as a present to a friend or to share that magazine or book or blog where our quilter friends can find that tutorial to make one for themselves.
So now you know, if your friends ask you for an Emily bag for them but you are too busy to make one for each one of them, just share the link of my blog with them.
I will welcome them and I’ll be happy to share my tutorials with all your friends. And I will thank you for sharing my blog!
You can read also how to make a Quilted Summer Bag
Puedes leer este mismo articulo en espanol en el blog de Ale Cose y Cose.com
Materials:
12 pieces of cotton fabric on different color and print of 1 – 1/2 x 5″ (A)
12 pieces of cotton fabric on different color and print of 1 – 1/2 x 10 1/2″ (B)
1 piece of cotton fabric in light beige of 7 x 9″ (C)
1 piece of cotton fabric in brown of 6 x 9″ (D)
2 piece of cotton fabric in brown of 1 x 3″ (E)
1 piece of cotton fabric in brown of3 x 12 – 3/4″ (F)
1 piece of cotton fabric in blue of 3 x 14 – 3/4″ (F1)
2 pieces of cotton fabric in brown of 1 – 1/2 x 12 – 3/4″ (G)
2 pieces of cotton fabric in blue of 1 – 1/2 x 12 – 3/4″ (G1)
1 zipper for a jacket 12 ”
1 piece of cotton fabric in brown 3 1/2 x 10 (H)
1 piece of cotton fabric in blue of7 1/2 x 10 (I)
1 button
3 key rings
1 piece of fabric of 3″ wide X the long that you need for the strap of the bag
1 piece of batting fabric of 1″ wide X the long you need to make the strap.
1 piece of batting fabric of 11 x 11″
1 piece of batting fabric of 11 x 8″
Sewing machine
Rotary cutter
Patchwork ruler
Needle, pins, safety pins, DMC embroidery floss
Scissors
Click to download the FREE patterns and templates to make the “Emily” patchwork bag here:
>> Emily patchwork bag, free patterns 1 <<<
>> Emily patchwork bag, free patterns 2 <<<
>> Emily patchwork bag, free patterns 3 <<<
Video
Tutorial.
Step 1
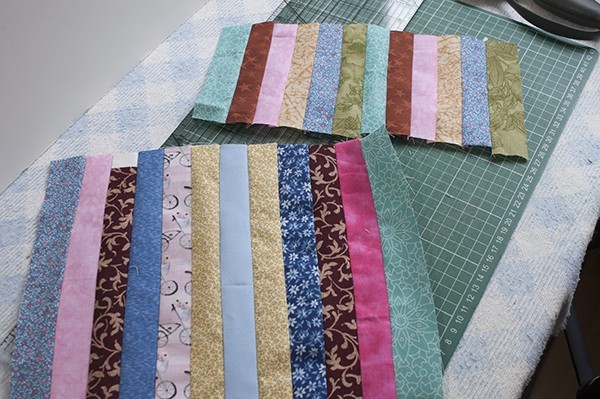
Cut all the strips you need to make the block A and B
Sew all the pieces together to make each one of these pieces. Press.
Cut strips of 1 1/2″ and sew the lines to make a block made of squares. Press.
Step 2
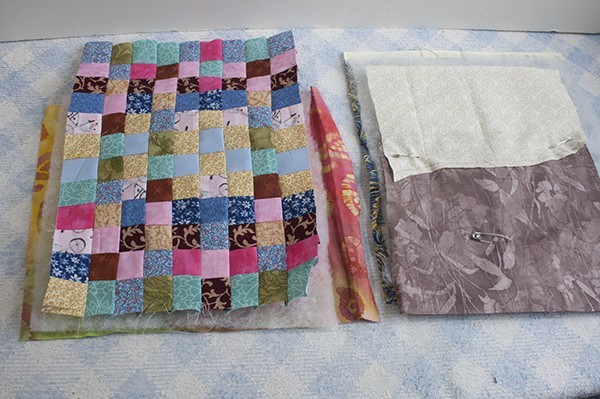
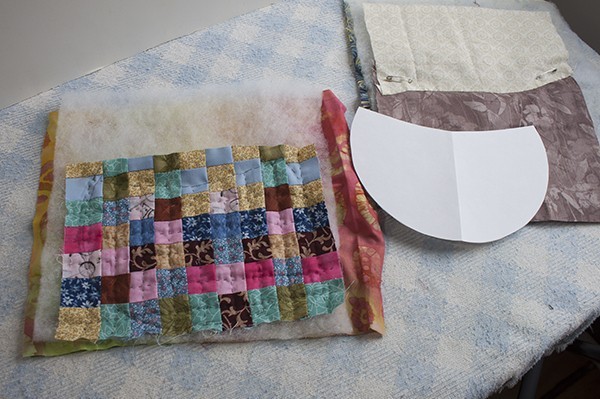
Make the quilting sandwich by laying the three pieces of fabric together, place a few safety pins and do the quilting.
On the second piece on the right, you will be working in the front of the bag, prepare the sandwich for this piece and place the piece C and D on the top.
On the Piece C, you will need to trace with a pencil the curved line, trim the fabric and don’t forget to add the seam of 1/4″, you will need to do the applique of this piece to the piece D.
Step 3
On this photo you can see I did the hand quilting, I trimmed the piece made with squares, you will need to download the template to make the pocket. Lay the template on the top of this piece and with the help of a pencil for fabric, trace the contours of this piece, make a running stitches all around the piece and trim this piece, add the seam of 1/4″.
Step 4
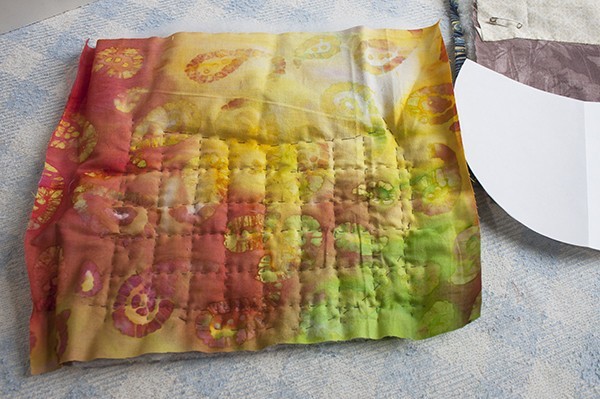
On this photo you can see how this piece looks on the back after I did the running stitches all around the piece, now you can trim this piece with the help of your scissors.
You can sew the bias on the top side of this piece.
Step 5
On the piece for the front or the back, you have already did the applique of the two pieces of fabric, now you can download the template to work on this step. Cut out the template with the help of a pair of scissors.
You can see two pointed lines, you need to cut this lines with your scissors.
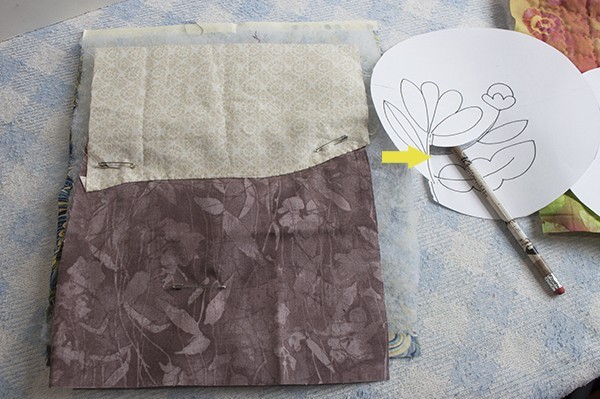
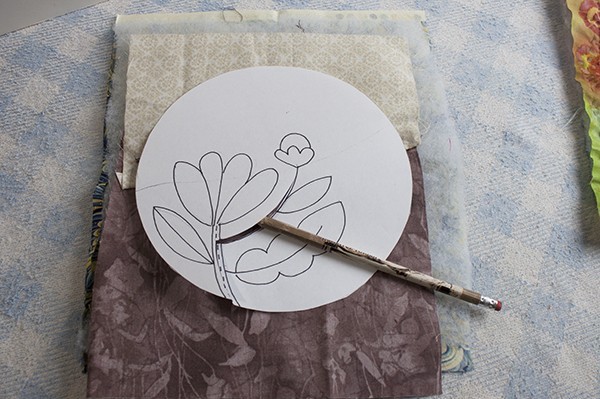
Lay the template on the top of this piece and trace the two lines with a pencil on the fabric. These two lines will help us to sew the bias and do the embroidery for the steam of the flowers.
Step 6
You can do the applique of the different pieces for the front of the bag.
If you are new to patchwork and to the applique, you can take a look to this tutorial where I show you the steps to follow to do the applique on the tutorial to make a Baltimore mini quilt.
Note: when you trace the templates on the fabric, just lay every template on the fabric and trace it with the help of a pencil for fabrics, when you cut out each piece add the 1/4″ of seam.
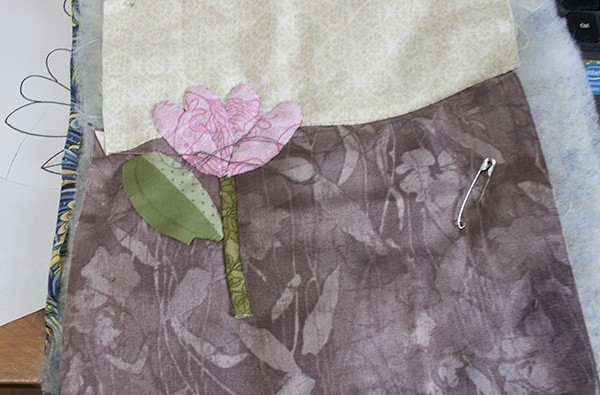
You can take a look how the applique will look like when you finish the applique.
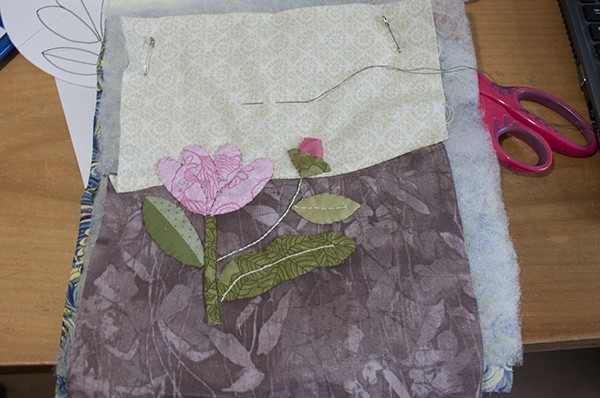
Step 7
You will get a template to trace the contours of this piece, I did it by using an embroidery loop of 8″
Lay the template on this piece and with the help of a pencil trace a line on the fabric.
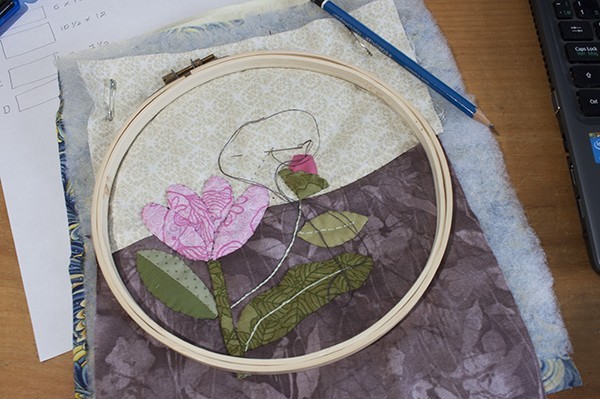
Step 8
It’s time to do the quilting, I did it by hand, buy you can decide whether to make it by hand or by machine.
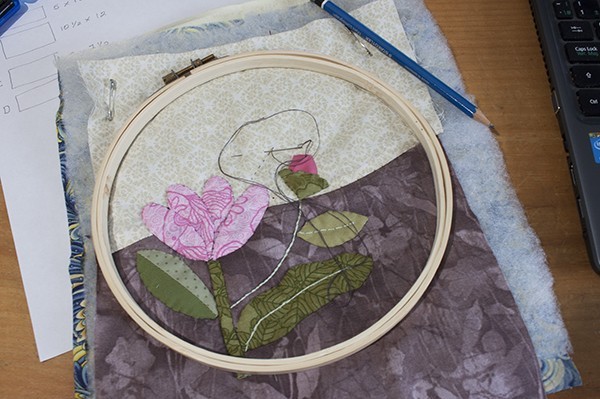
When you finish the quilting you can do the embroidery of the different pieces of the applique.
Step 9
You will need for this step the pieces of fabric H and I, sew them together.
On the piece of fabric J, you need to fold one side twice and run your sewing machine, make a button hole in the middle.
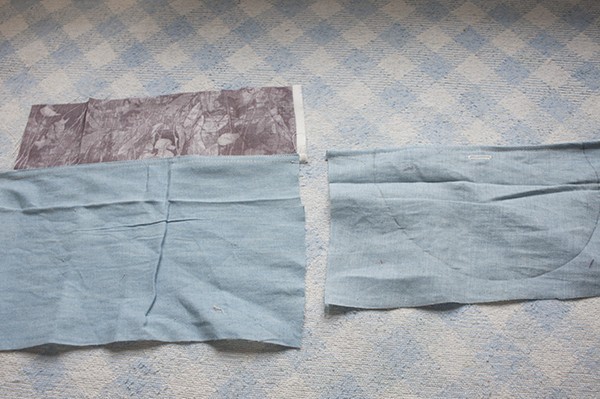
Lay the piece for the external pocket on the piece of fabric for the back of the bag, and place the pocket on it, pinch a few pins and run your sewing machine to sew these two pieces together.
Mark the rest of the circle on the top for this piece with a pencil, trim this piece.
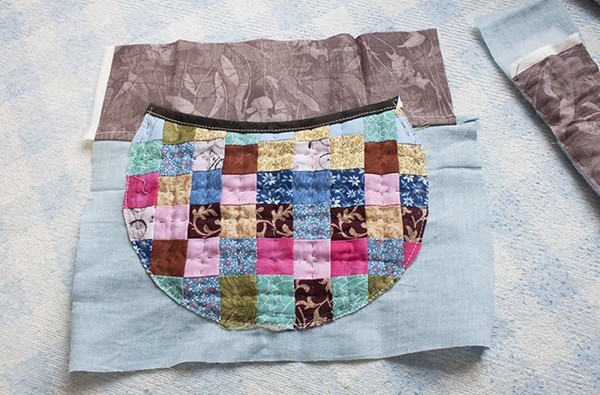
Step 10
On the piece for the front of the bag, place the piece of fabric for the inside pocket, and trace the curve.
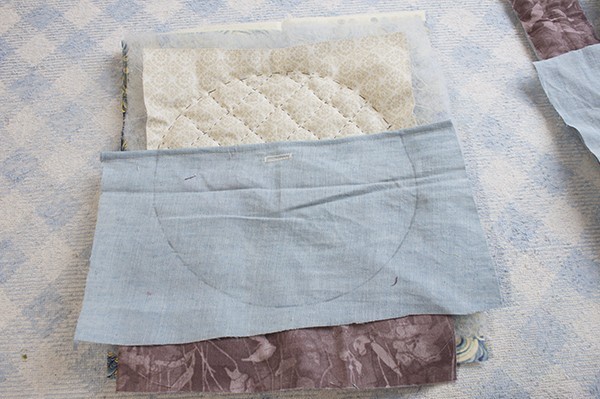
Lay the piece of fabric for the inside pocket on the back side of the piece for the front of the bag and match the circle you marked on this piece to the circle you have with the running stitches of the piece for the front, sew these two pieces together with your sewing machine. Trim.
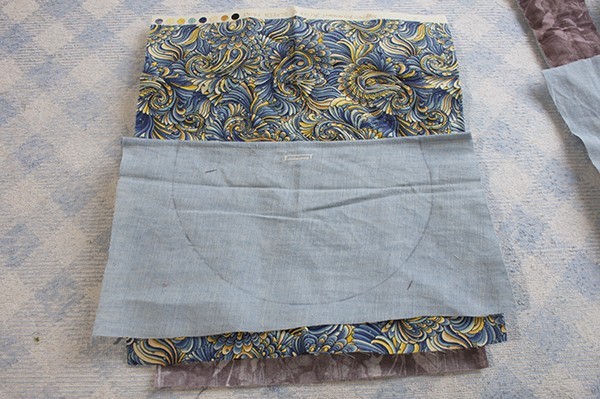
Step 11
Take the pieces of fabric G and G1 and make the piece for the zipper. You will need two pieces of batting fabric for each side of the zipper.
Make the other part with the pieces of fabric F and F1, I did on this piece by hand, you can decide whether or not to do it by hand or by machine, you will need a piece of batting fabric same size as F.
When you get these two pieces made, you will need to sew the two pieces E to fold them as bias and run with your sewing machine. You will use these two pieces to sew them each one on each end of the piece G folded, these pieces will hold the key rings for the strap of the bag.
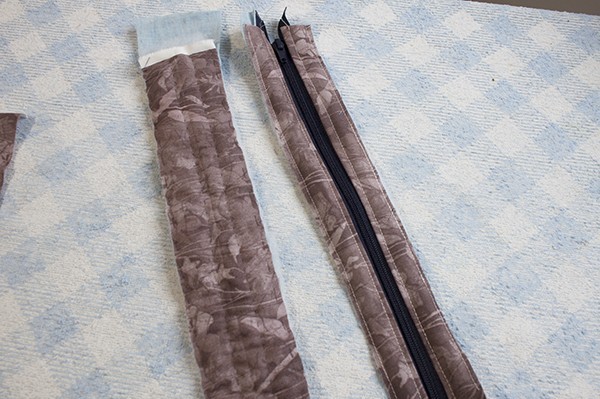
Face these two pieces front to front and sew with your sewing machine both ends, trim the zipper and the fabric of the piece G, fold the rest of the fabric of the piece F as a bias and close by machine or by hand.
The piece for the box of the bag will look like this when you get it ready for the next step.
Now, the next step is to fold each round part in the middle and make a little cut with your scissors, this cut will mark the middle point to match this point to the piece for the box.
You will need to mark also the middle point in the part of the zipper, mark it on both sides. This will help you to match the middle point on the three pieces to make the round bag.
Place one round piece to match the middle point to the piece for the box and pinch a few pins as you go matching all the round piece to the piece for the box.
Once these two pieces have matched well, make a running stitches all around and remove the pins, do the same with the other round piece for the bag.
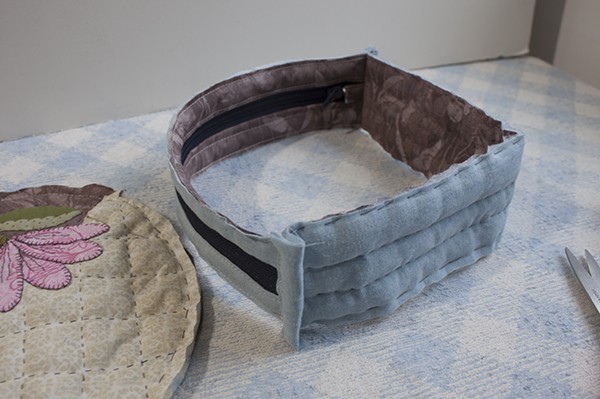
Step 12
Your bag is ready to run your sewing machine on both sides, but you will need to add the bias on each side as you go.
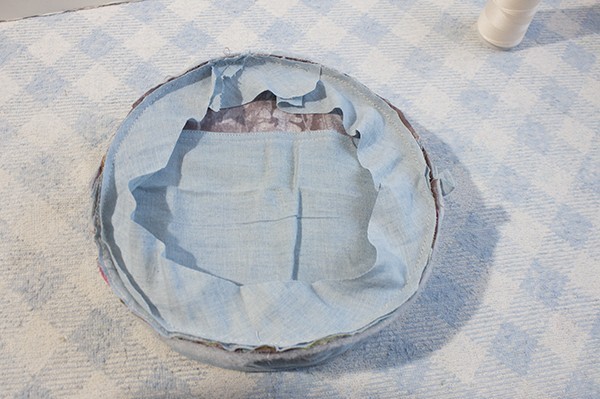
Step 13
Fold the bias and close it by hand or by machine. If you want to, you can add a piece of fabric to make a key ring, this will help you to place your key rings on it and you will have no problem at all to find your keys fast.
You can turn your Emily bags out.
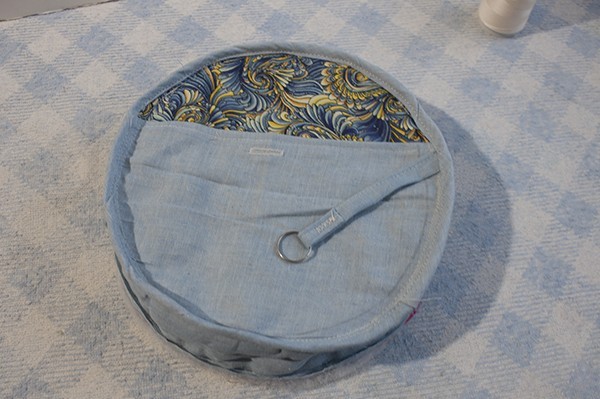
Oh, my ! your Emily bag looks amazing!!
Don’t forget to follow me on Social Media and take the sneak peek of my work as I share it daily!
- Facebook Fans Page – Alejandra’s Quilt Studio.
Si quieres leer este mismo articulo en espanol, visita mi blog en espanol Ale Cose y Cose.com
Are you looking for a sewing machine with Quilting feature, take a look to my picks.
You can find more patchwork projects to make on FREE Patterns Page.
If you want to make the patchwork bag Emily later, you can PIN it so you can find it.
