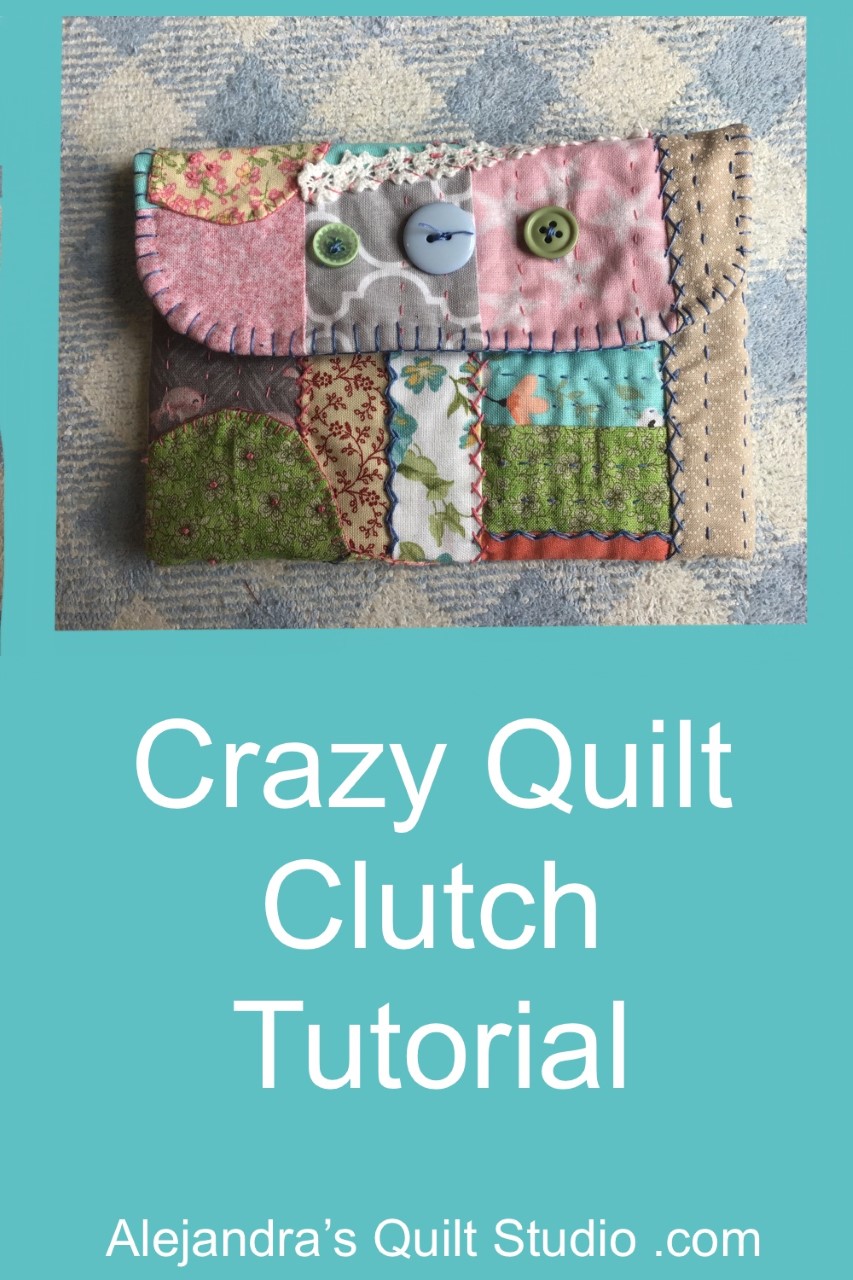
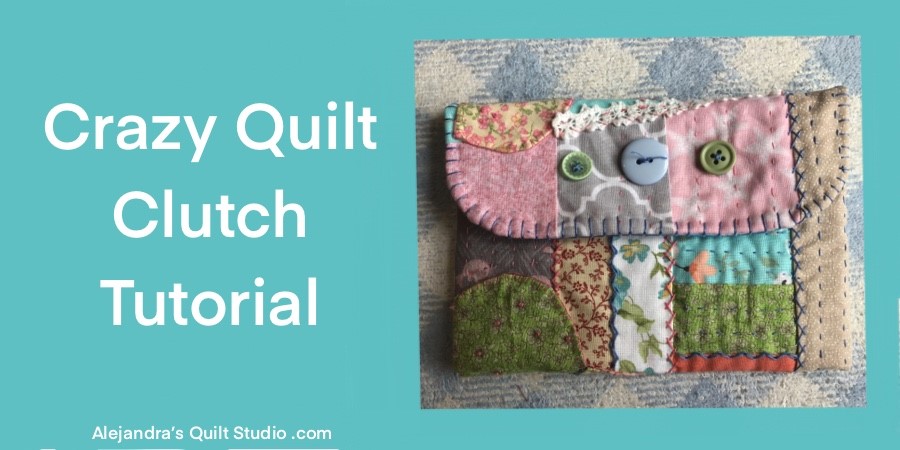
Crazy Quilt Clutch is an easy quilting tutorial to make a block with scraps of fabric and embroidery to make a clutch in a few steps.
As a quilter, you might have a good collection of different scraps of fabric, making a Crazy Quilt with them is a good idea to make something pretty, today I will share the easy steps to follow to make a crazy quilt block first and then a small clutch with that block.
Crazy Quilts have no pattern to follow, you will start with a foundation shape and then cover it with your scraps of fabric, you start with one scrap of fabric in the center, and then you will stitch more pieces of fabric around it, always keep the 1/4 inch seam, and keep stitching more pieces of fabric until you finish to cover the foundation shape.
Crazy Quilt Clutch
Materials and supplies
- Fabric scraps and some small patchwork blocks
- 1 piece of flannel or thin batting fabric of 7 1/2 x 13 inches
- 1 piece of any fabric for the lining of 7 1/2 x 13 inches
- Embroidery floss and/or Perle thread
- 1 snap
- Hand sewing needle
- Hand embroidery needle
- Scissors
- Pins
- Safety pins
- Sewing machine
Crazy Quilt Clutch Step by Step
Step 1 – Piecing A Crazy Quilt Block
Making a Crazy Quilt block will help you to make a block for any quilt or to make a clutch using all those scraps of fabric you have been saving, and it can be made also with some patchwork blocks, small or big that you might have after you didn’t use them for a quilt.
On this sewing tutorial to make a clutch you need to find enough scraps of fabric or patchwork pieces to stitch them together to make a block big enough for this tutorial.

Step 2 – Get Creative And Make A Crazy Quilt Block
Follow the steps to make a crazy quilt, first start with one piece and stitch it to another piece of similar size, always keep stitching all the pieces with the 1/4 inch seam allowance.
Open the two first pieces stitched and stitch one more piece on one side, open and press and continue stitching more pieces until the block reaches the size for this tutorial.
As you can see I used a half Dresden Plate, I appliqued this piece to the block, after I finished the applique I cut out the fabric in the back of the Dresden Plate.

Step 3 – How To Do The Embroidery On A Crazy Quilt Block
To make the quilting sandwich on this project, I’m using a piece of flannel as a batting fabric.
Place the flannel on your work table and lay over it the Crazy Quilt Bloc, pinch a couple of safety pins and you can work on the quilting.
As you might know well, the Crazy Quilts are most of the time quilted by adding embroidery stitches, everything goes.
On this piece you can see the following embroidery stitches along with some long quilting stitches:
- Daisy stitch
- Herringborn stitches
Related: Basic Embroidery Stitches For Your Quilts.
While working on the embroidery, you can also add some lace, just make some stitches to stitch the lace on the block.

Step 4 – Cut Your Fabric For The Clutch Lining
After you finished the quilting and the embroidery, trim the block with the help of a patchwork ruler and a rotary cutter to the size needed to make the clutch.
Note: On this tutorial I’m using a fabric for the lining made with a few scraps of fabric, at home you can use one piece of fabric for the lining.

Step 5 – How To Trace The Seams On The Lining
With the help of a patchwork ruler and a pencil, mark the 14-inch seam allowance on the four sides of the fabric for the lining on the back.
On one end on this piece, trace round corners with the help of something round you have at home.

Step 5 – Stitching The Crazy Quilt Block and The Lining One Side Together
Place the Crazy Quilt Block on your work table, pretty side up and cover with the lining, pretty side down, pinch a couple of pins on one end (where square corners are) and stitch on your sewing machine.

Open the seam and turn out both pieces, the project will look like its shown in the image above.

Step 6 – How To Set Up The Folds In The Clutch
It will take a few folds on both pieces to make this bag, it will be easier for you to watch the video where I explain how to make the folds.

Once you have all the folds on the project made, pinch a few pins.

Stitch on the seam, leave an opening on one side on the clutch cover. Trim the cover with the help of a pair of scissors and make small cuts on both curved corners.
Turn out the piece by the opening.

On the image below you can take a look how it looks like after it’s turned out.

Close the opening by pushing inside the seams and with ladder stitching.

You can take a look how the Crazy Quilt Clutch looks like on the front and on the back, on the images above and below.

Crazy Quilt Makes Pretty Clutch
To add some final touch, you can do some quilting stitching in the inside open, on the cover edge do some buttonhole stitching, and you can add some buttons on the cover.
Sew on a snap to keep the clutch close.

Congratulations, your Crazy Quilt Clutch is finished and it looks amazing.
I hope you’ve had as much fun making it as I did when I was making it for the tutorial.
Making a small clutch with a Crazy Quilt Block is a great idea to use all those scraps of fabric you’ve been saving to make something pretty with them.
I’m sure after you make your first, you’ll be making more, as it will be the perfect gift to someone in your family, or to a good friend!
Don’t forget to follow me on Social Media:
- Facebook – Alejandra’s Quilt Studio
- Instagram – alebalanzario.patchwork
You can find more Patchwork and Quilting tutorials here:
- Crumb Quilt Tutorial – How to make a quilt with all those scraps of fabric you have been saving after making your quilts.
Thanks so much for sharing my blog on your Social Media

Puedes leer el mismo tutorial para hacer un Bloque Crazy Quilt en espanol aqui!
Watch The Video here:
