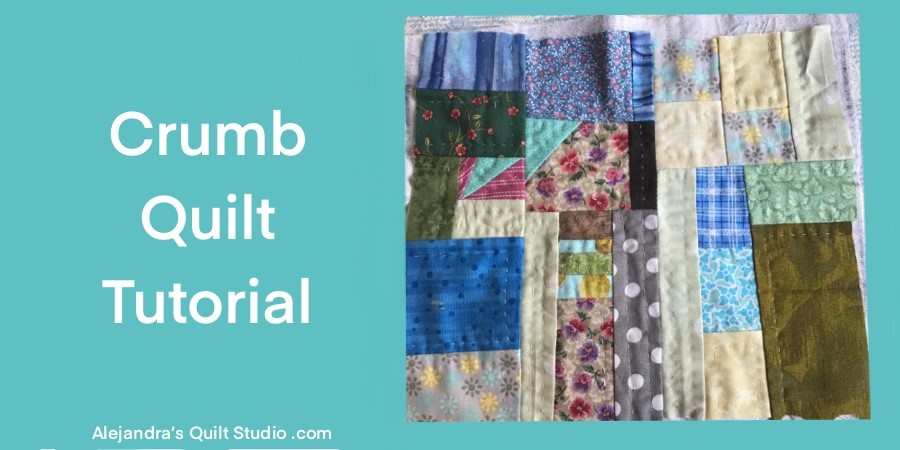
Crumb Quilt Tutorial with the easy steps to follow to make a quilt block with those scrap fabrics you saved after making a quilt!
When you love to make quilts, sooner or later you will get lots of small scraps of fabric, and you might be wondering what to do with them as many are so pretty, and you keep them as every scrap is like the biggest treasure for you, and I must say many quilters do this, including me.
A few weeks ago, I noticed there was many quilters making a crumb quilt, and sharing beautiful images from their quilts on the internet, so as I also have a good amount of scraps of fabric, I decided to make my first Crumb Quilt block and today I will share the steps I followed to make it.
Crumb Quilt Tutorial
What is A Crumb Quilt?
The Crumb Quilt is made by stitching together all those small scraps of cotton fabric that are left after you made a quilt. There is no pattern to follow and there’s no rules to follow, you can stitch up together one scrap of fabric to another or you can also start stitching a few different scraps of fabric to a piece of fabric to cut out the piece of fabric with the stitched scraps, then you will stitch up all those pieces to make a block.
Materials and Quilting Supplies
- Scraps of cotton 100% fabric to make quilts, any size, color or print.
- Quilting Tools
- Scissors
- Pins
- Sewing machine
- Hand sewing needle
- Quilting thread
- Safety pins
- Batting fabric (optional)
- Fabric for the back
Related: Best Quilters Tools –
Crumb Quilt Tutorial Step by Step
Step 1 – How To Organize All Scraps Of Fabric To Make A Crumb Quilt Block
You might have all your scraps in one basket or box all together, I used to have them that way, but a few weeks ago, I decided to get more organized and I sorted them out by color and put the scraps in a small plastic bags, this way is easier for me to find the scrap I’m looking for.

Step 2 – How To Stitch Up The Small Scraps Of Fabric
The good thing about making a Crumb Quilt is that you can use even the smallest scrap of fabric, and there’s no rule, it can be a square, a triangle or even a hexie that was left after you finished making a quilt.
The first thing to do is to set two pieces of fabric, pretty side to pretty side and stitch up one side, don’t forget to stitch up with 1/4 inch for the seam, open and press.
You can decide whether to keep stitching one piece to the previous pair of scrap to make a strip, or you can stitch two similar pieces to make a square.
As the scraps are not cut the same, you might end with a strip of fabric where the sides are not even, don’t worry, you can press the strip and trim out with the help or a patchwork ruler and the rotary cutter.
Keep stitching on more pieces until you reach the length of the strip for your project.

Step 3 – Stitch On The Strips To Make A Block
On the image below, you can take a look how I kept working to make three different strips by stitching up all those small scraps of fabric, at the end, the three strips are different and they all look great!

Step 4 – How To Make A Crumb Quilt Block
When you finish stitching all the pieces to your strips, you can trim each strip with the help of the quilting tools, and stitch up one strip to the other.
On the image below, you can take a look to the back of the block I made, showing the back, you can take a look how I stitched up the three strips to make one block.

Step 5 – How To Quilt A Crumb Quilt Block
For this Crumb Quilt Tutorial, I’m working on a one block, to make the quilting sandwich, I’m using a piece of flannel, no batting, at home if you want to use a batting fabric and make a regular quilting sandwich, it will work great too.
The Crumb Quilt can be quilted by hand like I did, or it can also be quilted by machine.
On the image below, you can take a look how the Crumb Quilt block looks like when it’s already quilted and before the quilting.

Step 6 – How To Finish A Crumb Quilt
On this Crumb Quilt Tutorial, I’m working on one block mini quilt, after I finished the hand quilting, I can trim the four sides with the help of the quilting tools, the patchwork ruler and the rotary cutter.
This block could be finished with a bias all around.
I will use this quilted block for another project for the next tutorial on this bloc, so I hope you come over to read it.

How To Make A Crumb Quilt Tutorial
If you’re looking to know how to make a quilt with a Crumb Quilt blocks, on the two images below you can get an idea, on the first image below, you can see how the quilt will look like when you add some sashing between the blocks and four borders to the quilt. You will need to stitch up the quilt top before you make the quilting sandwich.

On the image below, you can take a look to how the quilt will look like, when you make a number of blocks and stitching them together to make the top without the sashing. You will need to make the quilting sandwich and decide whether to do the quilting by hand or with your sewing machine, to finish the quilt just add a bias to the four sides of the quilt.

I hope the two images above help you to get the idea on how you can make a Crumb Quilt by stitching a number of blocks, on the images above I just make the sampler with 6 blocks, but to make a quilt you might need to make more blocks depending on the size of block you decide to make.
I thank you for visiting my blog again, and for your interest to learn more about making quilts with me. On the next post I’ll be sharing a new tutorial to make a quilting project with one Crumb Quilt Block, see you soon!
Don’t forget to follow me on Social Media:
- Facebook – Alejandra’s Quilt Studio
- Instagram – alebalanzario.patchwork
Thank you so much for sharing my blog on your Social Media!

More Patchwork and Quilting Tutorials:
- Best Batting Fabrics For Quilts – If you’re looking for more ideas to use different fabrics for your quilts, I’ve been testing a few of them.
- How To Hand Quilting – All you want to know about how to do the hand quilting!
Puedes leer el mismo tutorial de patchwork para Hacer Una Crumb Quilt aqui!
Watch the video here!