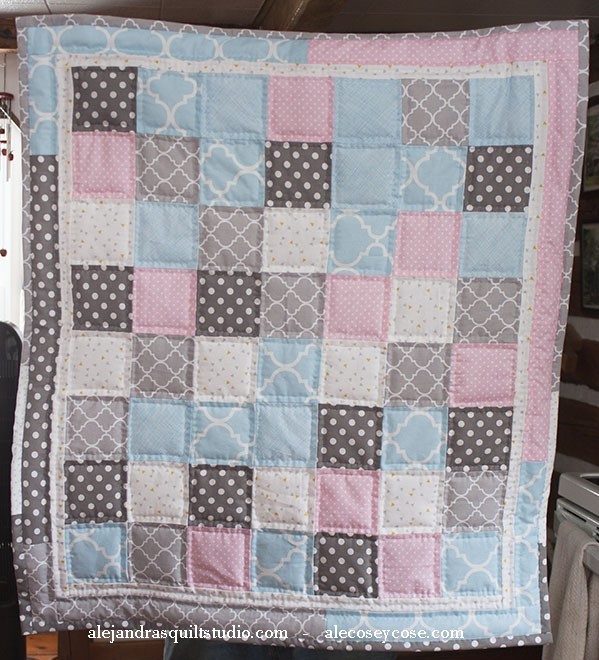
Making a Baby Quilt is always a nice project to work on, because of its size it’s a quilt you can finish in a couple of days and it will always look nice.
As I’m currently working to make this baby quilt for my grand child that is due in Summer I thought it would be nice to share this quilting project with you.
I shared the first part to make this baby quilt on a previous post, you can read it here, so you can get the instructions to cut the fabric blocks and borders to make the top.
Another good reason to make a baby quilt is that you might have a friend who is a mother to be,and you might get invited to a baby shower too.
Puedes leer mi blog de patchwork en espanol en Ale Cose y Cose.com

A baby quilt is always the best gift to make for a baby shower.
There’s so many good reason for this:
- It’s easy to make and to quilt, whether you quilt it by machine or by hand, it won’t take long to finish it.
- It always looks beautiful.
- it’s always easy to use, fold and carry in any bag.
- it’s always helpful to cover a baby or to set it on the floor so the baby can sit on it and play.
- It’s unique, it doesn’t matter if you follow a pattern, making a quilt where you can add your personal touch.
- it’s easy to wash and to keep.
- it will give you nice memories of your baby.
I made a video to show you how to finish it (in Spanish) I will work on it to get English subtitles, I will change the video here as soon as I get the English subtitles.
Steps to finish the baby quilt.
On the previous post I told you how to make the top of the quilt and how to make the sandwich for the quilting.
1. You can work on the quilting, I did it by hand but if you want to make it by machine, I’m sure you’ll go a great job on it.
I did a simple hand quilting 1/4″ along the seams of each block, and I did some quilting on the borders.
2. Once you finished the quilting, you can trim out the batting fabric with the help of a pair of scissors.
3. With the help of your ruler, trim out the fabric for the back 1 1/4″ all along the baby quilt.
4. Fold up the fabric for the back as it was a bias, and sew it on the top of the quilt.

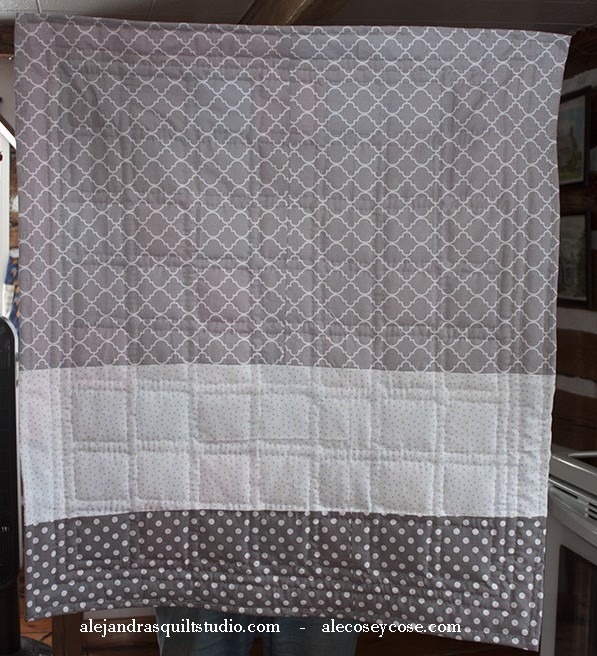
The baby quilt is finished now, this time I want to show you how the back looks like.
You can use a fabric for the back or do as I did, I got 4 more fat quarters for the back, I sew them together to make a fabric a little bigger than the top, I will do some applique on the white fabric and I will share the Part 3 as soon as I finish it.
If you have any questions about this baby quilt, leave a comment below and I’ll reply to you.
You can follow me on Facebook, Instagram, Pinterest and YouTube.
I thank you for making the time to stop to read my blog.
