Paper Piecing Star Block is an easy tutorial to make a new block for the BOM Quilt, every beginner and the advanced quilter will love to make!
Working with a Paper Piecing pattern will help you to get accurate seams all the time when making a new block for your quilt.
Today I will be sharing the easy steps to follow to work with a paper piecing patter without the need to sew on the paper, this way you can go more green and save lots of paper and time as you don’t need to tear out the paper from the finished block!
Paper Piecing Star Block
Materials And Supplies
- Fabric for quilting in three different color or prints
- Scissors to cut paper
- Scissors to cut fabric
- Pins
- Safety pins
- Sewing Machine
- Hand quilting thread
- Hand quilting needle
- Free Paper Piecing Star Block
Related: Best Quilting Tools
Paper Piecing Star Block Step by Step Tutorial
1 – Cut All Your Fabrics
Download the free pattern and make two copies from it, one you can cut out all the templates to make this block for the Sampler Quilt, and the second copy to save it, in case you want to make this block later again.
Pre-cut all your fabrics first, with the help of the paper templates, you can pre-cut each piece a little bigger than the template, you can do this step with the help of a pair of scissor for fabric.

2 – Stitch On The Paper Piecing Star Block
As this block is made with the Paper Piecing technique, you will need to use each template to make each piece, stitch on the different pieces of fabric by the number.
On the video, you can watch me working on this step, as this time I fold the paper when sewing on the sewing machine, this way, you can use the same paper template to make the four pieces to make the Star Block.
This way of folding the paper to stitch on the pieces on each piece, will make you to save on paper, and this way we can go “green” and save on paper, and you won’t need to work on tearing out the paper template after you finish the block, which is a huge save of work and paper.
When you finish stitching the two pieces, you can stitch on together to make the first part of the block, then you can remove all the pins and use the same paper templates to make the three other parts to make this block.

3 – How To Assemble The Star Block
When you have the four pieces to make this block, you can lay them on your work table, as you can see I did on the image below.
As always, working on a patchwork block, you will need to stitch on two pieces at the time to make two halves of the block

When you get the two halves, then you can lay one half over the other, and nest the seams in the center, pinch a couple of pins in the center and two more on the edges, stitch on your sewing machine.
Remove the pins, open the block and press.

4 – How To Trim The Paper Piecing Star Block
You can take a look to the block once it is made, now you can measure it and it should be bigger than 10 x 10 inches, as all the blocks for the Sampler Quilt needs to have that measure, you can trim out the block at 10 x 10 inches.

5 – How To Make The Quilting Sandwich?
Lay on your work table the piece of fabric for the back, this time as I’m working to make the Sampler Quilt as a Summer Quilt, the sandwich is made with two layers of fabric, the top and a flannel piece as the fabric for the back.
At home if you want to make it as a regular quilt, you can place a batting fabric in the middle.
Pinch a few safety pins, to hold the layers of fabric as you work on the quilting.

6 – How To Make The Quilting On The Paper Piecing Star Block
If you have been following me for a while, you might know I like to make the quilting by hand, at home if you want to do the quilting with your machine, it will look pretty as well.

On the image below, you can take a better look to the hand quilting work on this block.

7 – How To Finish The Paper Piecing Star Block
As final steps, you can do large basting stitches on the edge, this will help you to work easier on the stitching the blocks together later to make the quilt.
Now you can cut out the fabric for the back and the batting fabric (in case you added it to the quilting sandwich) with your scissors.
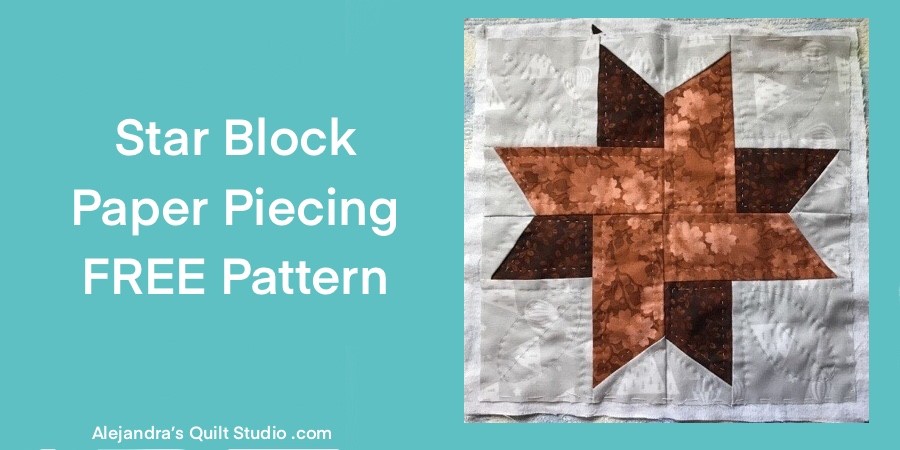
The Paper Piecing Star Block is finished, and it looks awesome!
This is the block # 6 for the Sampler Quilt and this quilt is starting to look better. You can take a look to read the other tutorials to make the Sampler Quilt here:
- Apple Core Quilt Block – An easy tutorial to follow the step by step to make a block with one template!
Thanks so much for sharing my blog on your Social Media!

a
Free Paper Piecing Quilt Blocks
- Row by Row Baby Quilt Tutorial – Read the tutorial to make a pretty baby quilt everyone will love!
Puedes leer el mismo tutorial para hacer el Bloque Estrella Paper Piecing en español aqui!
Paper Piecing Quilt Patterns