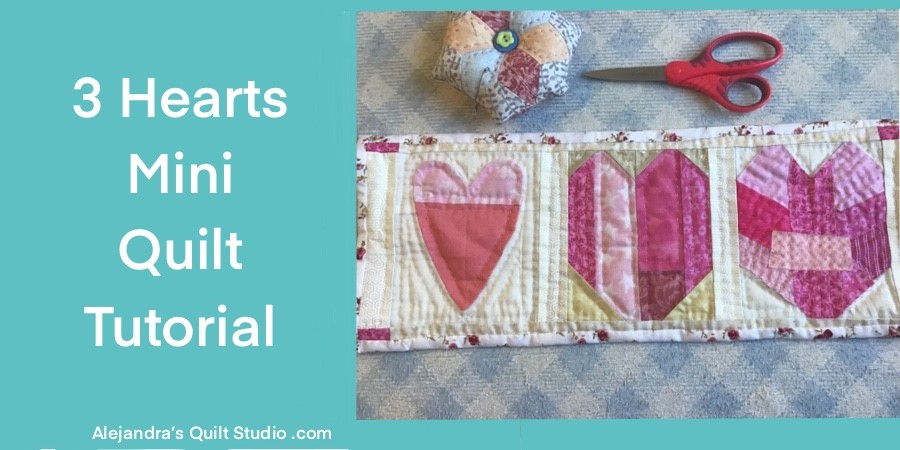
3 Hearts Mini Quilt is a tutorial to make 3 different ways to make a heart any beginner or the more experienced quilter will love to make.
Making a mini quilt with 3 different ways to make a heart with Patchwork is a fun way to make a mini quilt to add a lovely decoration to any room during this month or any month.
If you are looking for a tutorial to make a mini quilt and learn more about the different ways to make a patchwork block for a mini quilt, I’m sure you will enjoy making this mini quilt!
3 Hearts Mini Quilt
 Materials and Patchwork Tools
- Assorted pink and red cotton 100% fabric
- 4 pieces of white cotton fabric of 1 1/2 x 6 1/4 inches
- 2 pieces of white cotton fabric of 17 x 1 inches
- 4 pieces of pink cotton fabric of 1 x 1 inches
- 1 piece of any cotton fabric for the quilting sandwich back of 20 x 8 1/2 inches
- 1 piece of thin batting fabric of 20 x 8 1/2 inches
- 1 piece of cotton 100 % fabric for the back 19 x 10 inches
- 2 pieces of cotton 100 % fabric for the two pieces for the bias of 1 1/2 x 17 inches
- 2 pieces of white cotton 100% fabric for the two heart blocks 6 1/2 x 5 1/2 inches
- Scissors
- Patchwork ruler, rotary cutter, cutting mat
- Thread
- Needle
- Pins
- Safety pins
- Thimble
- Sewing Machine
- FREE pattern – 3 Hearts Patchwork – For personal use only.
3 Hearts Mini Quilt Step by Step
Step 1 – Patchwork Heart
To make the patchwork heart you need to cut two pieces of —— or to make two pieces of —- sewing on two or more pieces of fabric.
Cut out 2 pieces of fabric in beige or white of 2 x 2 inches and cut 4 pieces of fabric in beige or white of 1 3/4 x 1 3/4 inches.
On the back side of all squared pieces of fabric, mark a line from one corner to the other diagonally.
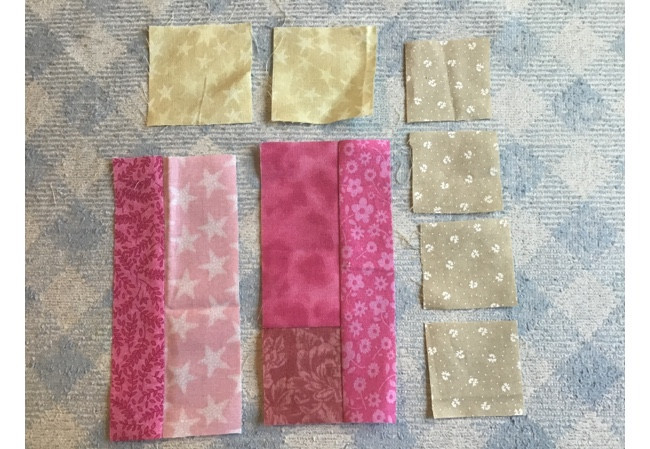
Sew on each square of fabric on one of the two pieces of fabric made with strip of pink fabric, both big squares go on the bottom on each piece, and the four squares goes on top on the two pieces made with the pink strip.
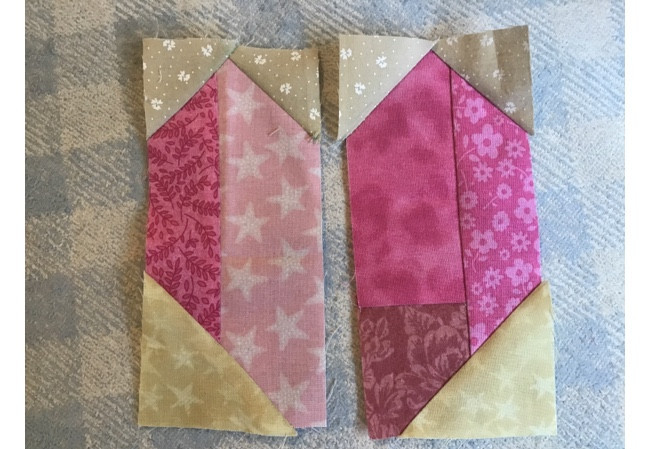
Lay each square of fabric, right side to right and sew on the pencil mark, fold the square and press with your fingers or with a warm iron, open and cut off the piece leaving a 1/4 inch for the seam on each piece. Open and press.
When you have the two pieces like it’s shown on the image below, lay one piece over the other piece and sew on both piece on the center edge, 1/4″ for the seam. Open and press.
Step 2 – How To make The Boroboro Heart
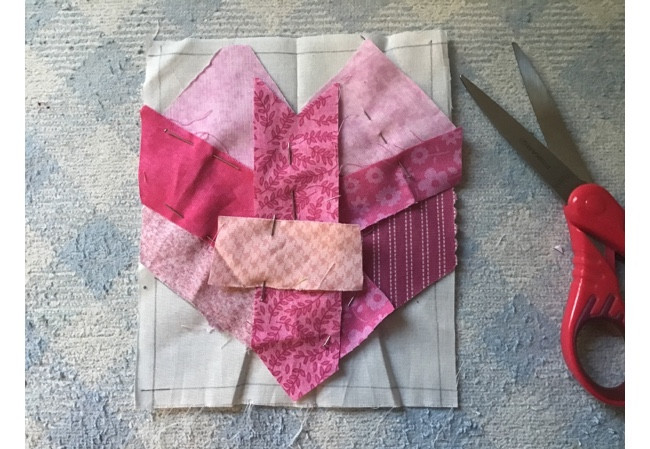
Cut out one piece of white fabric and with a pencil or a marker for fabrics, mark down 1/4″ for the seam all around. Then mark all the lines for the heart, you can follow the lines on the patchwork heart you did before.
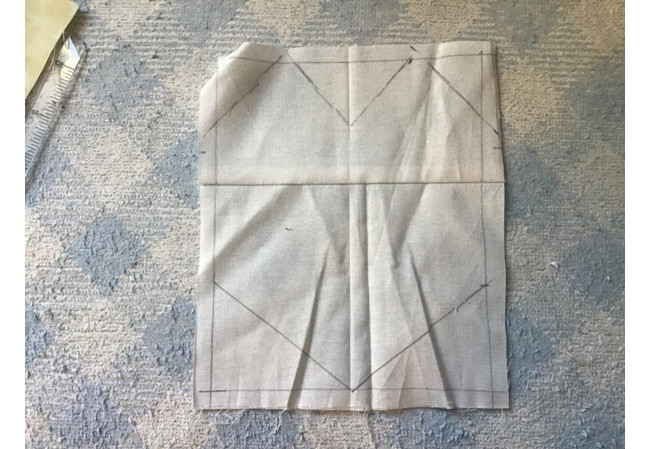
Lay small pieces of fabric on the piece of fabric for the Boroboro heart, no rules and follow your heart, this is the time when you can use all those small pieces of pretty fabric you have been saving to make something pretty with them.
Pinch a few pins and then you can baste the heart. No need to press.
Step 3 – How To Make The Applique Heart
If you have been following me for some time, you might know how to make an applique block for a quilt, if you’re new to patchwork and quilting, you can find all the steps to follow to do an applique block here.
To make the applique heart, you will need to cut out the piece of fabric for this block, then cut out the heart from one piece of fabric or using two like I did.
Lay the heart on the piece of fabric, pinch a few pins and do the applique of the heart, when you finish the applique stitching, as this piece is big enough, you can cut out the white fabric from the back of the heart, don’t forget to leave a seam of 1/4″, press.
Step 4 – Sew On The Sashing On The Mini Quilt
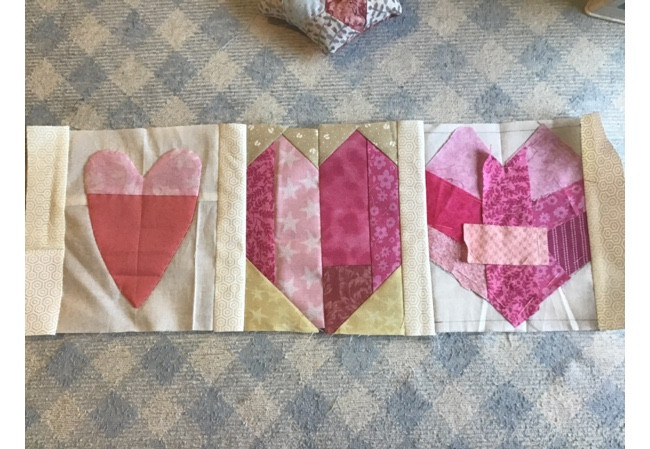
Cut out all the pieces for the sashing and sew on the 4 pieces to the three pieces with the hearts, follow the lay out on the image below.
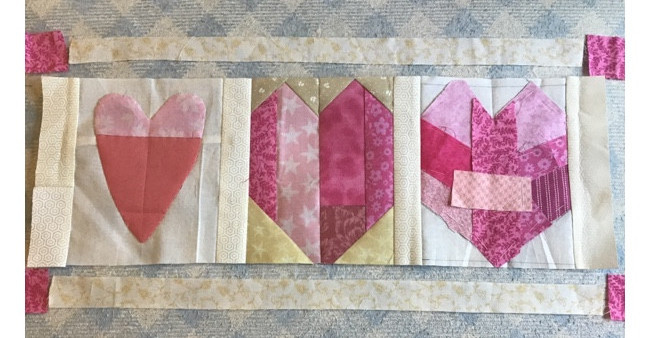
Sew on the two pieces of pink fabric to each white piece for each of the borders for the top and for the bottom, press.
Sew on the two borders, one on the top and one of the bottom, press.
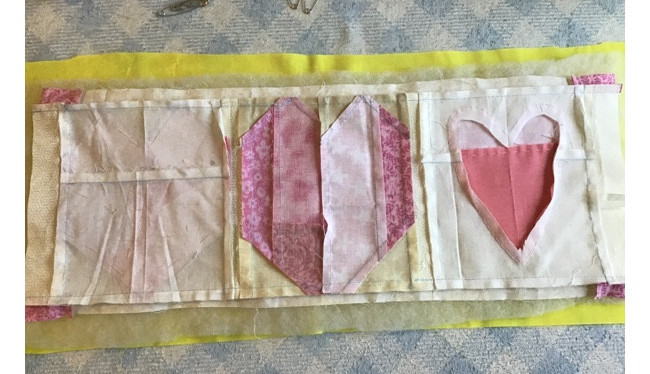
On the image below, a look to the back of the mini quilt.
Step 5 – How To Make The Quilting Sandwich
Now it’s time to cut out the batting fabric and the fabric for the quilting sandwich back piece, both pieces should be bigger than the mini quilt.
Lay on your work table the piece of fabric for the back, and lay over it the batting fabric, lay on top of the batting fabric the top of the mini quilt, pinch a few safety pins.
You can work on the hand quilting or you can decide to do the quilting on your sewing machine.
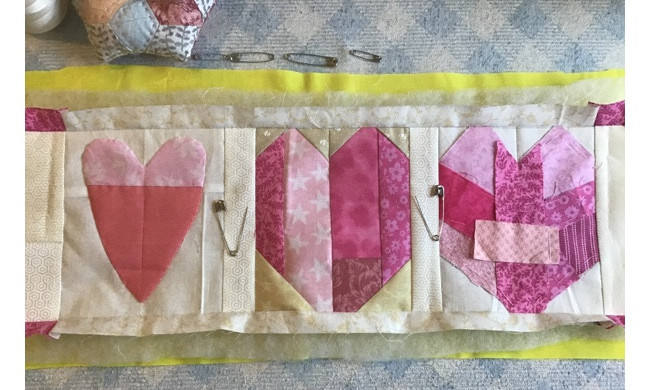
Take your time to do the quilting, and enjoy the moment.
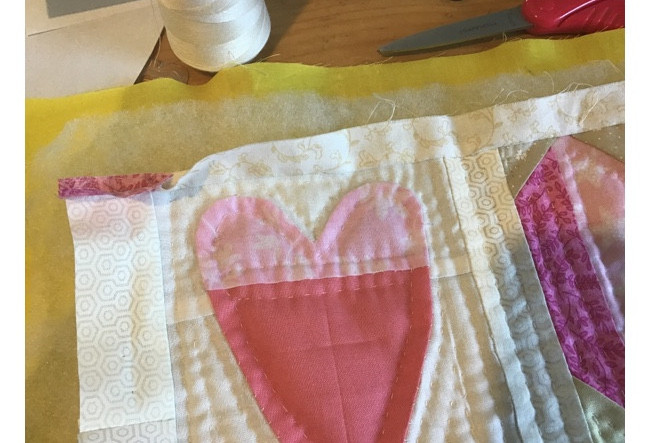
Once the quilting is all done, baste all around, it can be with big stitches.
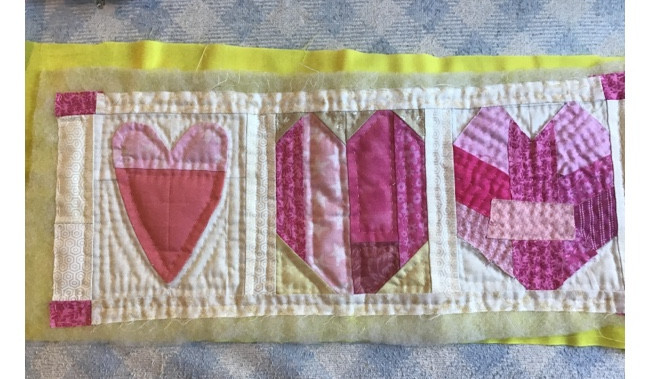
With the help of a good pair of scissors, trim all around the quilt.
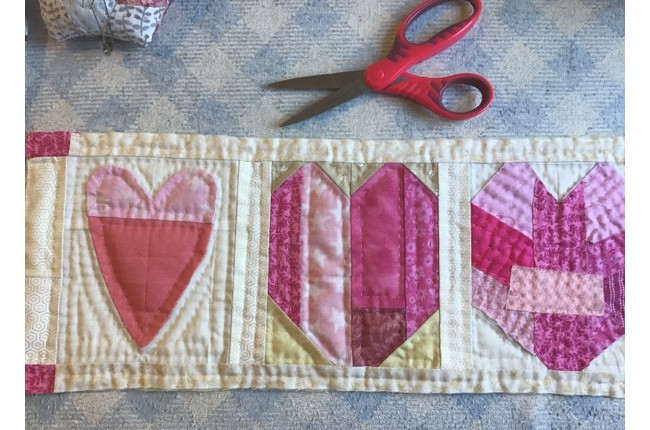
Step 6 – It’s Time To Finish Up The Quilt
For this quilt I decided to make it like an open pillow case, the two ends will be open.
Lay on your work table the piece of fabric for the back, center the mini quilt and finish the top and the bottom with the self -biding technique for the quilts.
To finish both ends, all you need to do is to sew on each piece of fabric on all around each end, right side to right side, you can do this step by hand like I did or with your sewing machine.
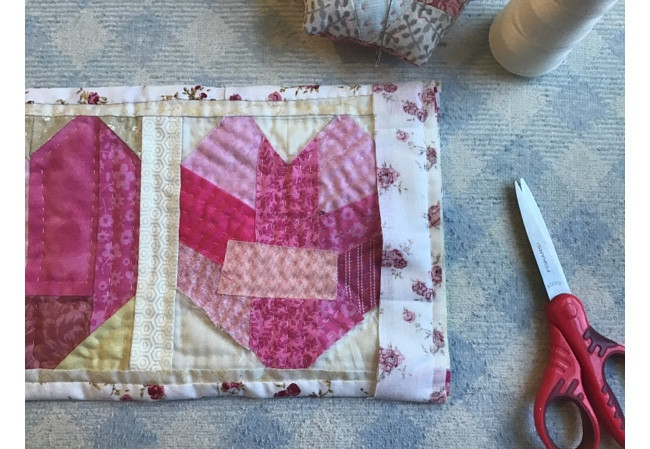
To finish this step, open the bias and fold it twice on the back and sew to close it on the back, I recommend doing this step by hand.
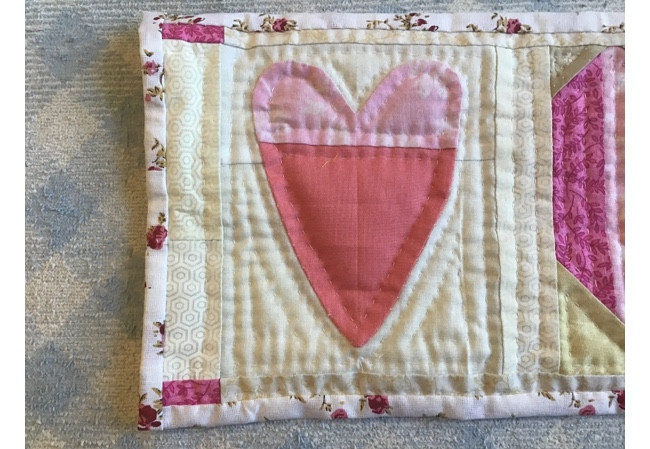
The 3 Hearts Mini Quilt is finished and it looks amazing!
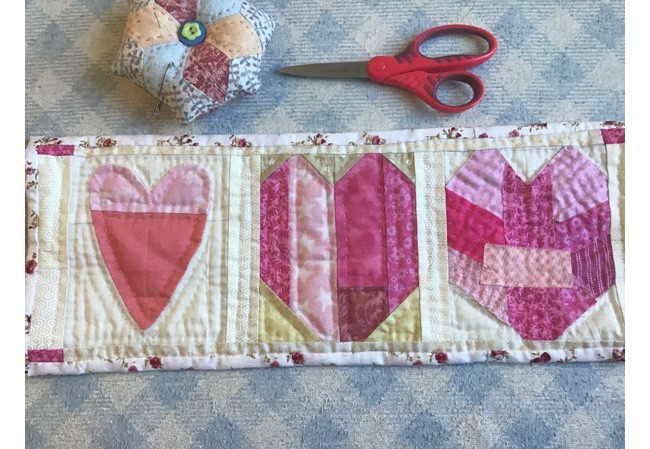
The 3 hearts mini quilt is designed to be used like a pillow (you will need to sew on a pillow to put it inside), like a table runner (without a pillow inside) or you can also use it as a wall hanging.
I hope you enjoy the 3 hearts mini quilt as much as I did when I made it. This is a simple mini quilt where you can learn how to make 3 different types of heart with Patchwork.
More Patchwork and Quilting Tutorials To Make
Puedes leer el mismo tutorial en espanol aqui: 3 Corazones De Patchwork
You can save the Pin, so you can find the tutorial later!
You can watch the tutorial video here:
