When you love to make quilts, making a soft toy to give as a gift is a great idea to use an orphan quilt block, and today I’m sharing the easy steps to make a cute Patchwork rabbit.
Patchwork Rabbit is a step by step tutorial to make a soft toy with any quilt block, it will be the perfect gift for doll collectors or the youngest member in your family, it can be made on their favorite color and it will look so cute!
Whether you make it to give it as a gift or for yourself, I’m sure this soft toy will be one of your favorites, and when you see how easy it is to make, you might be making more than one.
How To Make A Quilted Block
To make the Patchwork Rabbit you will need a quilted block of 9 x 12 inches, on this tutorial I’m working on a quilted block made with the Boro boro inspired method, but any quilt block pattern will work great, it needs to be already quilted with no backing fabric.
You will need also a piece of any fabric for the back of 9 x 12 inches.

How To Trace The Patchwork Bunny Template On Your Fabric
Download The Patchwork Rabbit FREE pattern here and print it out, cut the paper pattern with a pair of scissors to cut paper.
Lay on your work table the fabric for the back, pretty side down, lay over this fabric the paper template and pinch two or three pins to hold the paper template while you trace it on the fabric, remove the pins.
Trace also two times the ear template on the fabric.

How To Sew On The Patchwork Rabbit
Lay on your work table the quilted block, pretty side up, and lay over it the fabric for the back, pretty side down, pinch a few pins, and cut the two ears, add a seam allowance of 1/4 inch.
Sew on the two ears on your sewing machine and leave the bottom of each ear open, trim the seam allowance and make some small cuts on the seam allowance, turn out each ear, with the help of a pair of scissors with rounded point, push the seam out from the inside on each ear.
Fold the bottom on each ear, each side to the center and place each ear on the top of the head on the fabric for the back, the line you marked will be your reference, pinch one pin to hold each ear on its place while you sew on the whole piece, leave an open gap on one side of the rabbit to turn out the piece.

How To Turn Out The Patchwork Rabbit
Trim the patchwork rabbit, leave a seam allowance of 1/4 inch all around the piece and make some cuts on the seam.
Turn out the patchwork rabbit, with the help of a pair of scissors with rounded point, or with a wooden stick, push the seam out from the inside to give the shape to the soft toy.
How To Stuff the Patchwork Rabbit
Stuff the rabbit with pillow stuffing or with left overs from the batting fabric.
Close the open gap with ladder stitches.

How To Do The Face Embroidery on the Patchwork Rabbit
The embroidery is easy to do with basic stitches.
- Satin stitch – nose, with one strand of embroidery floss in pink, and eyes with one strand of embroidery floss in black.
- Long Stitches – Mouth and eye browns
- Daisy stitches – flowers.

How To Finish the Patchwork Rabbit
Cut a 2 1/2 inch circle and make a yo-yo with it, stitch it on the back as the tail of the rabbit.
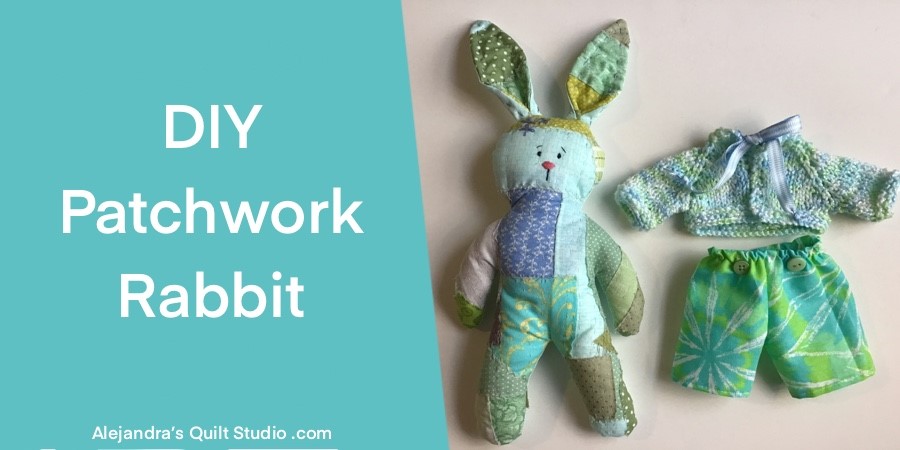
How To Make The Patchwork Rabbit Clothing
At the end of the video, you can see I made a knitted sweater and pants for the rabbit, if you want me to make a video tutorial to share the steps to make the clothing, leave a comment on this tutorial, telling me that you want to see that video.
Thanks so much for reading my blog today!

Puedes leer el mismo tutorial en Español para hacer el Muñeco Conejo Patchwork, aquí!
You can read more Patchwork Tutorials to make for children here:
- How To Make a Pajama Pillow Tutorial –
- How To Make a Softie Doll –
- Easy Baby Bib Tutorial –
- How To Make A Baby Bib –
- How To Make a baby Quilt –
- How To Make A Rag Doll –
Video Tutorial: